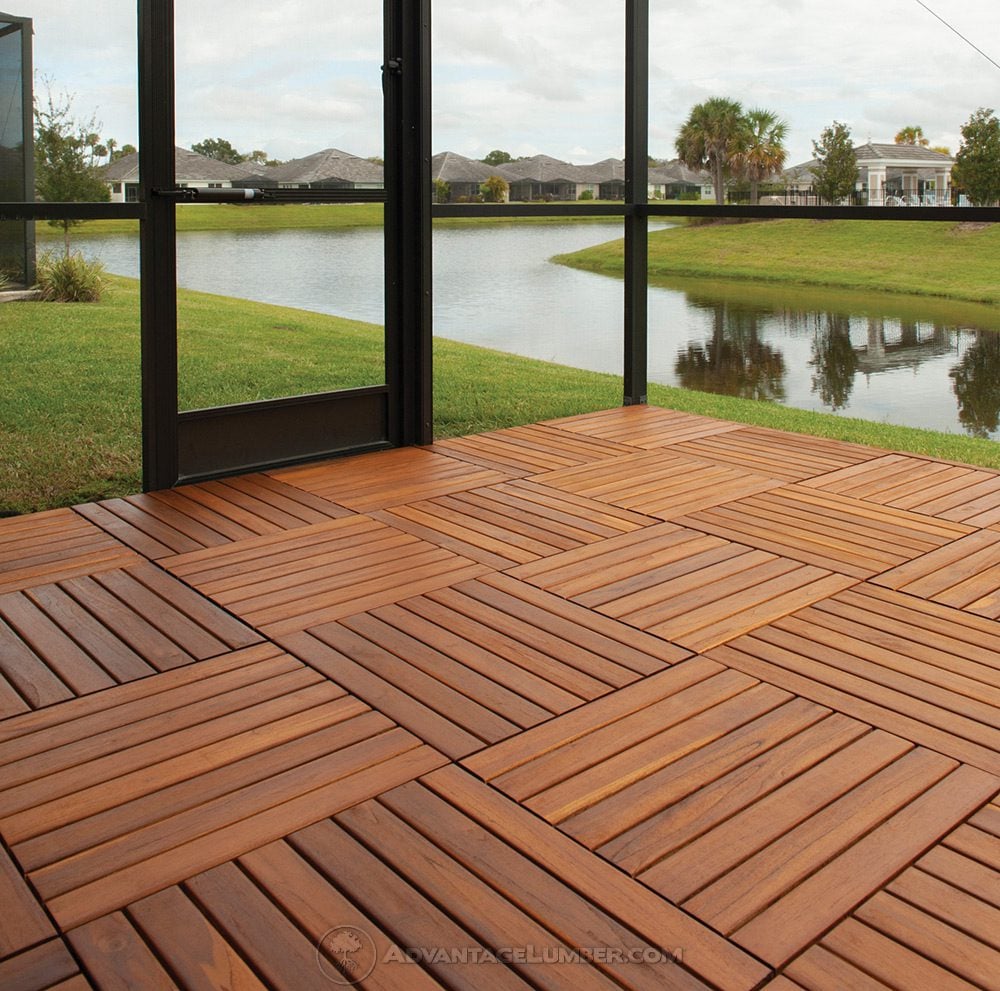
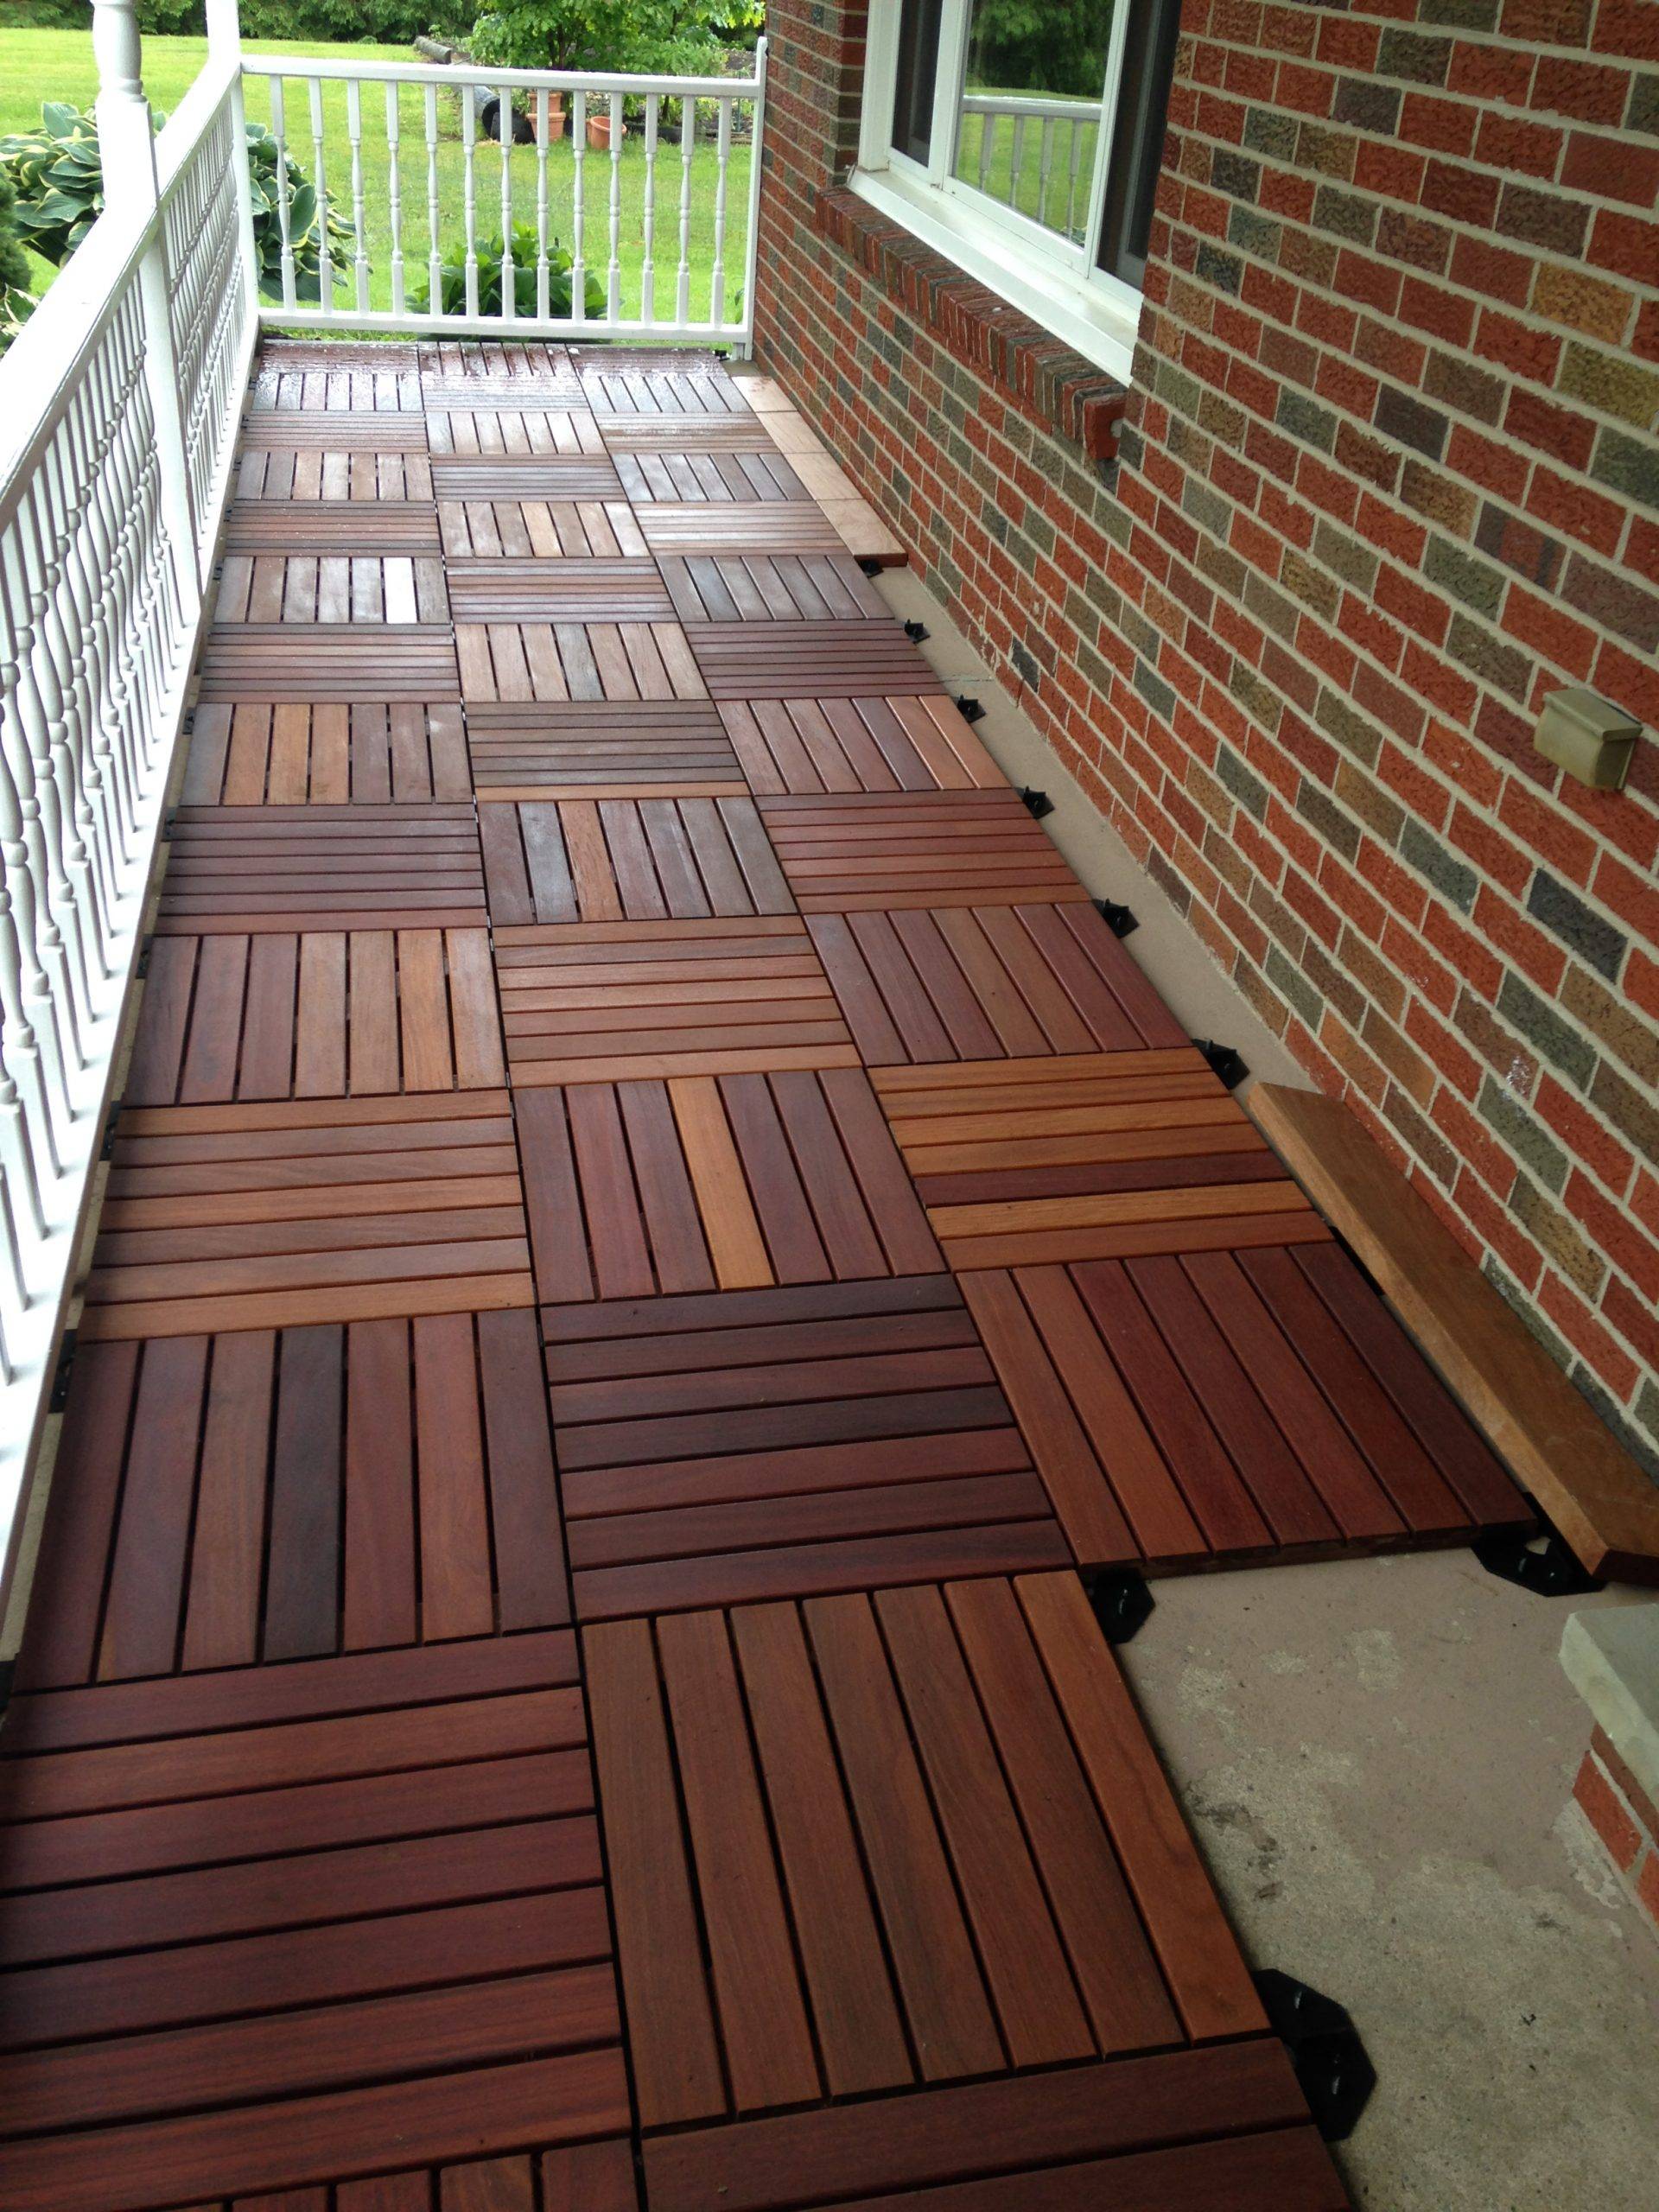
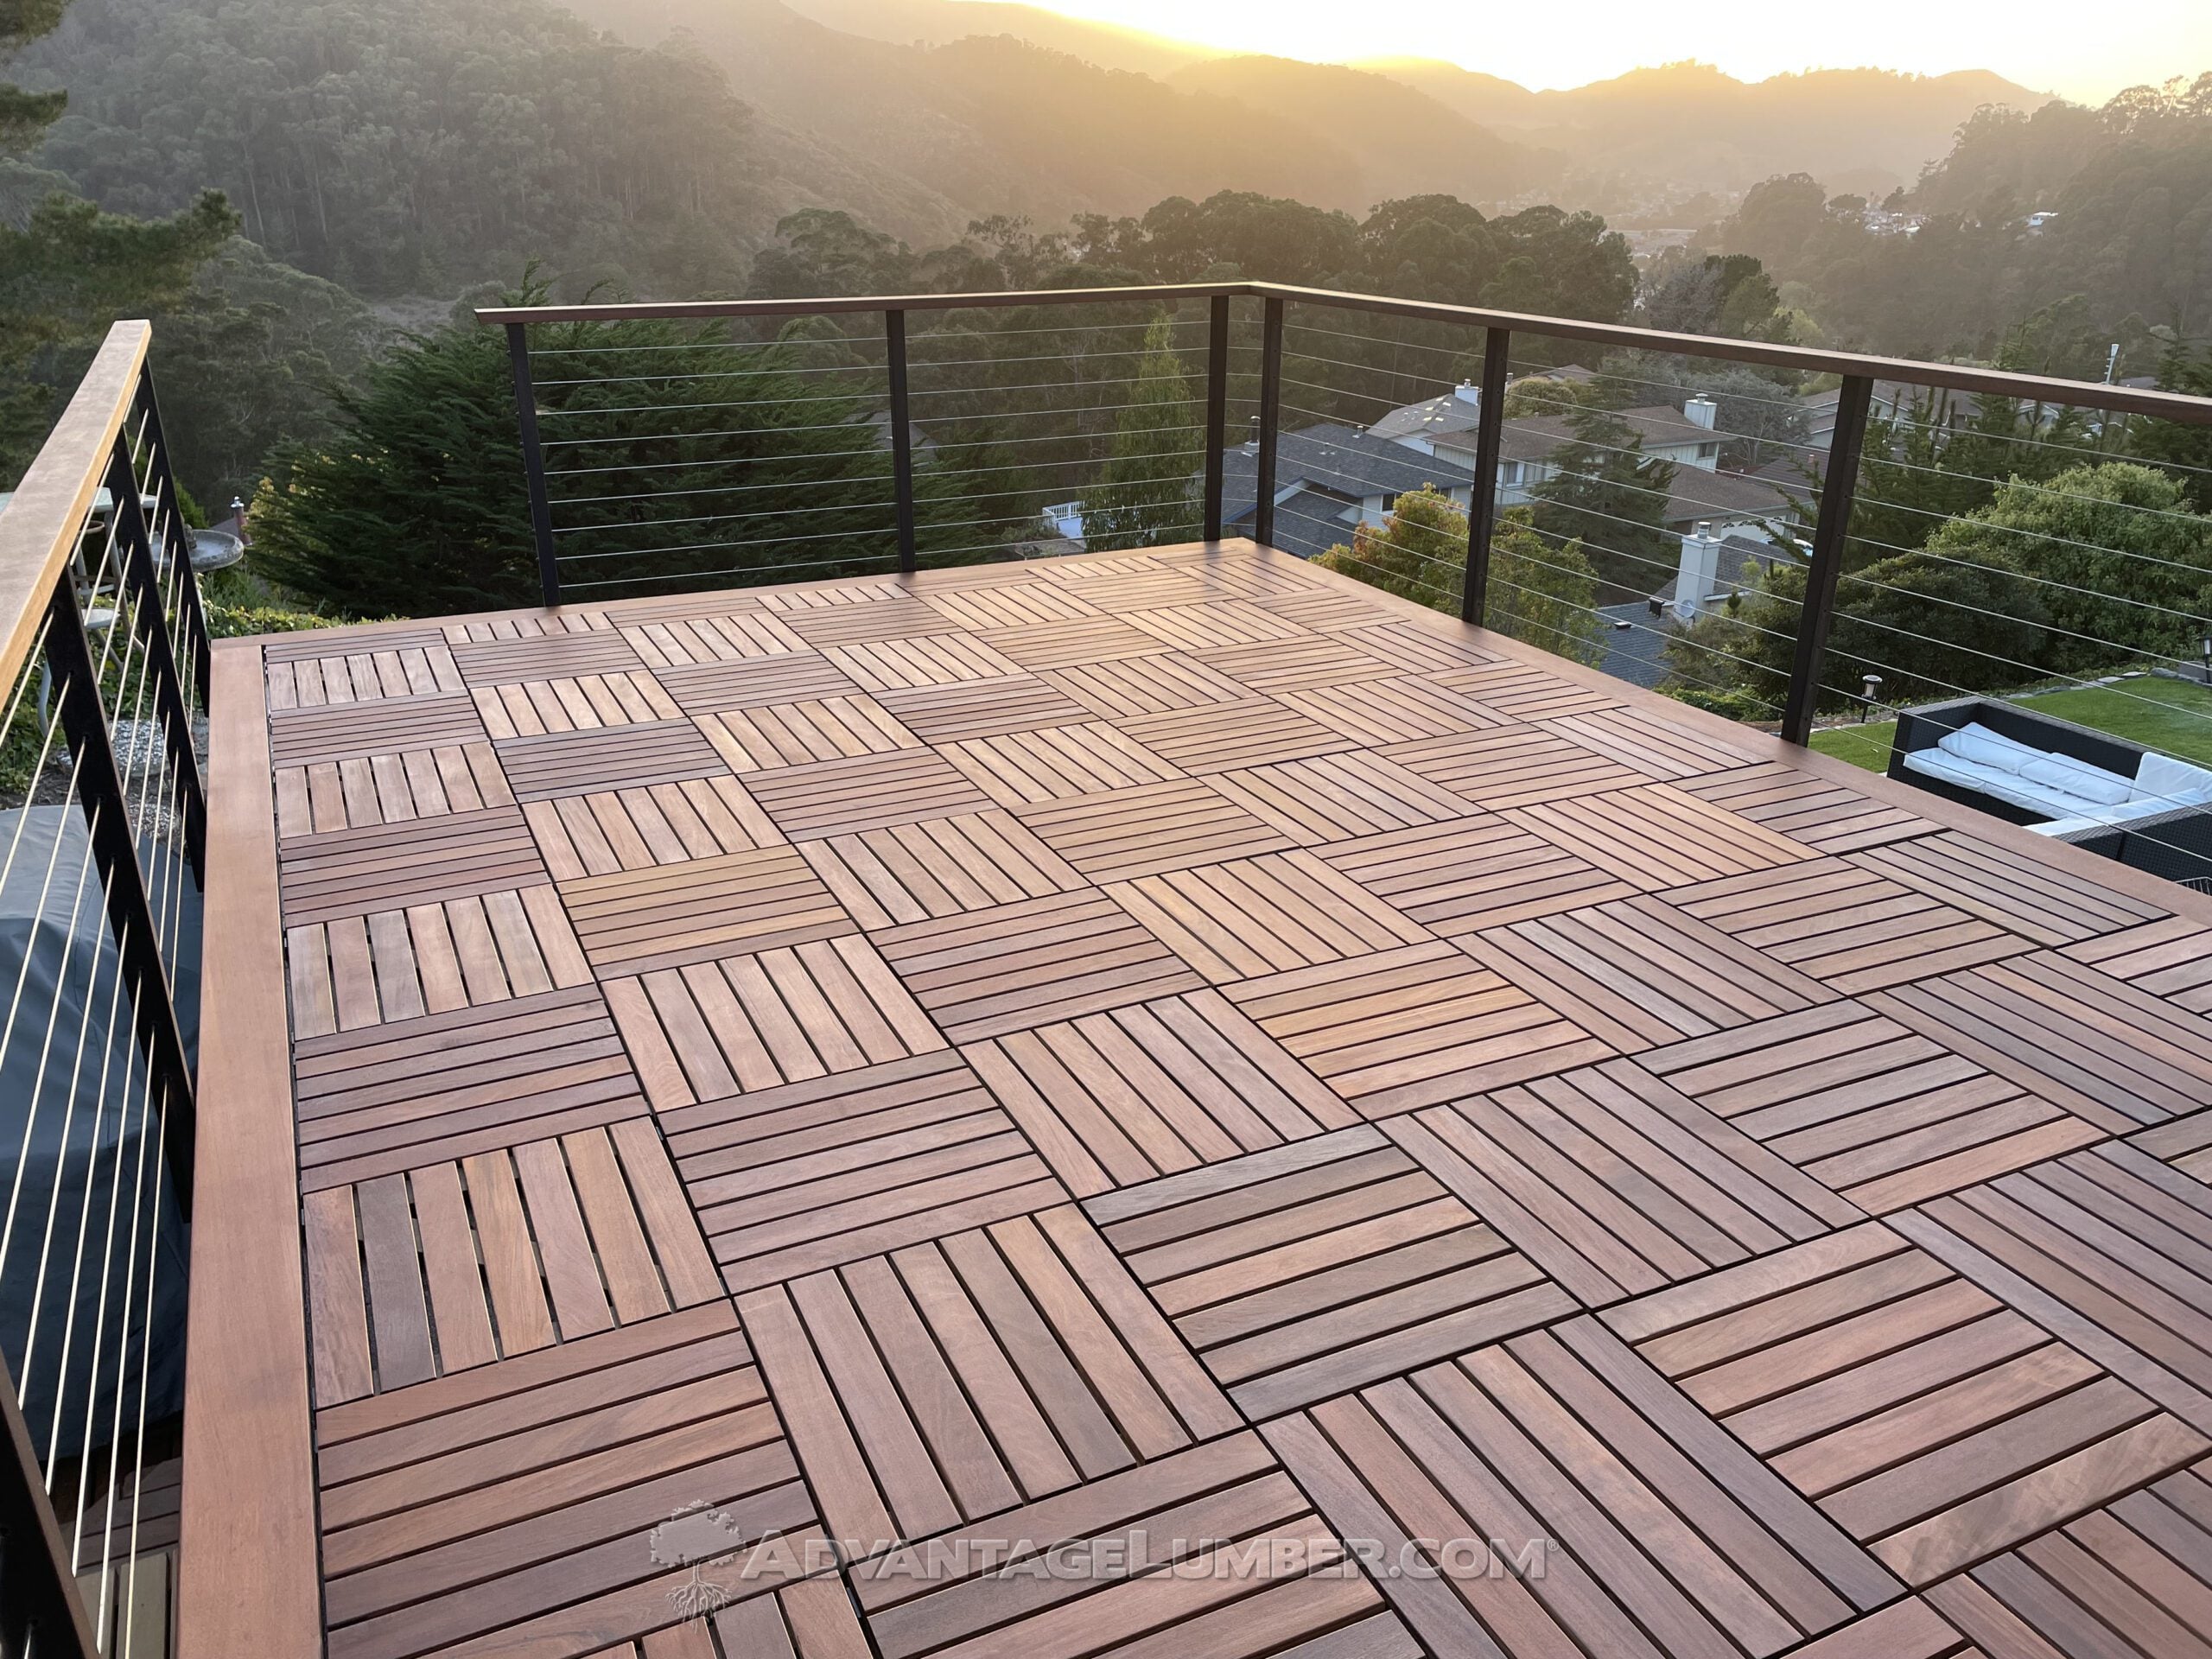
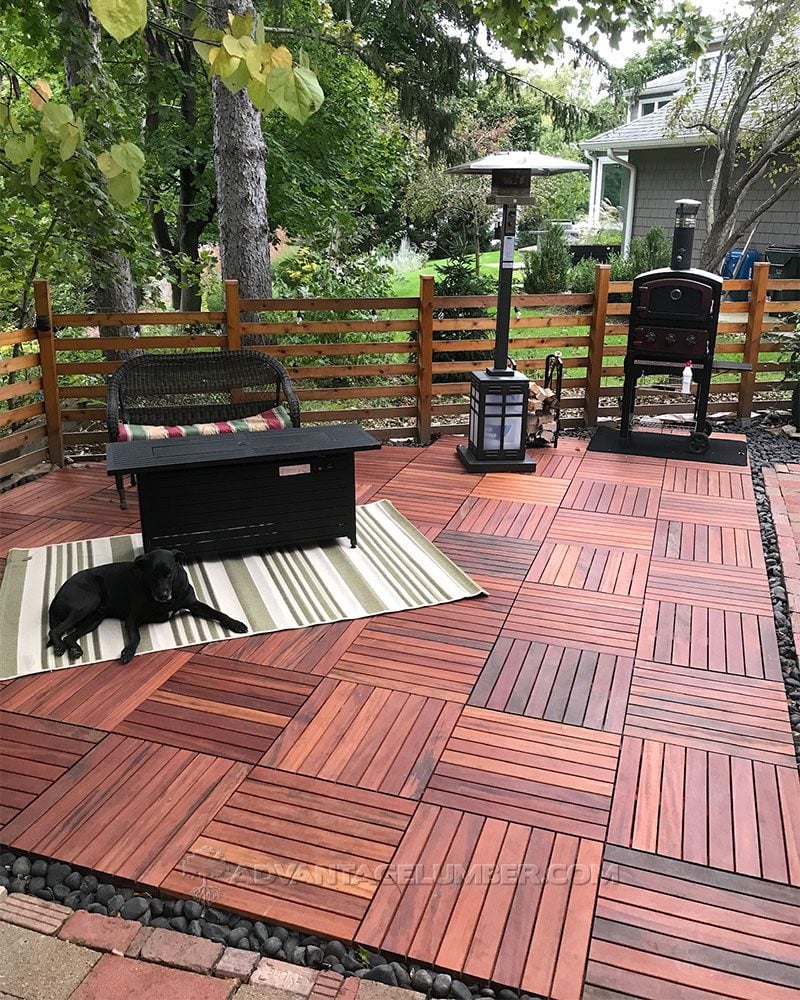
Can You Install Hardwood Decking Around a Pool?
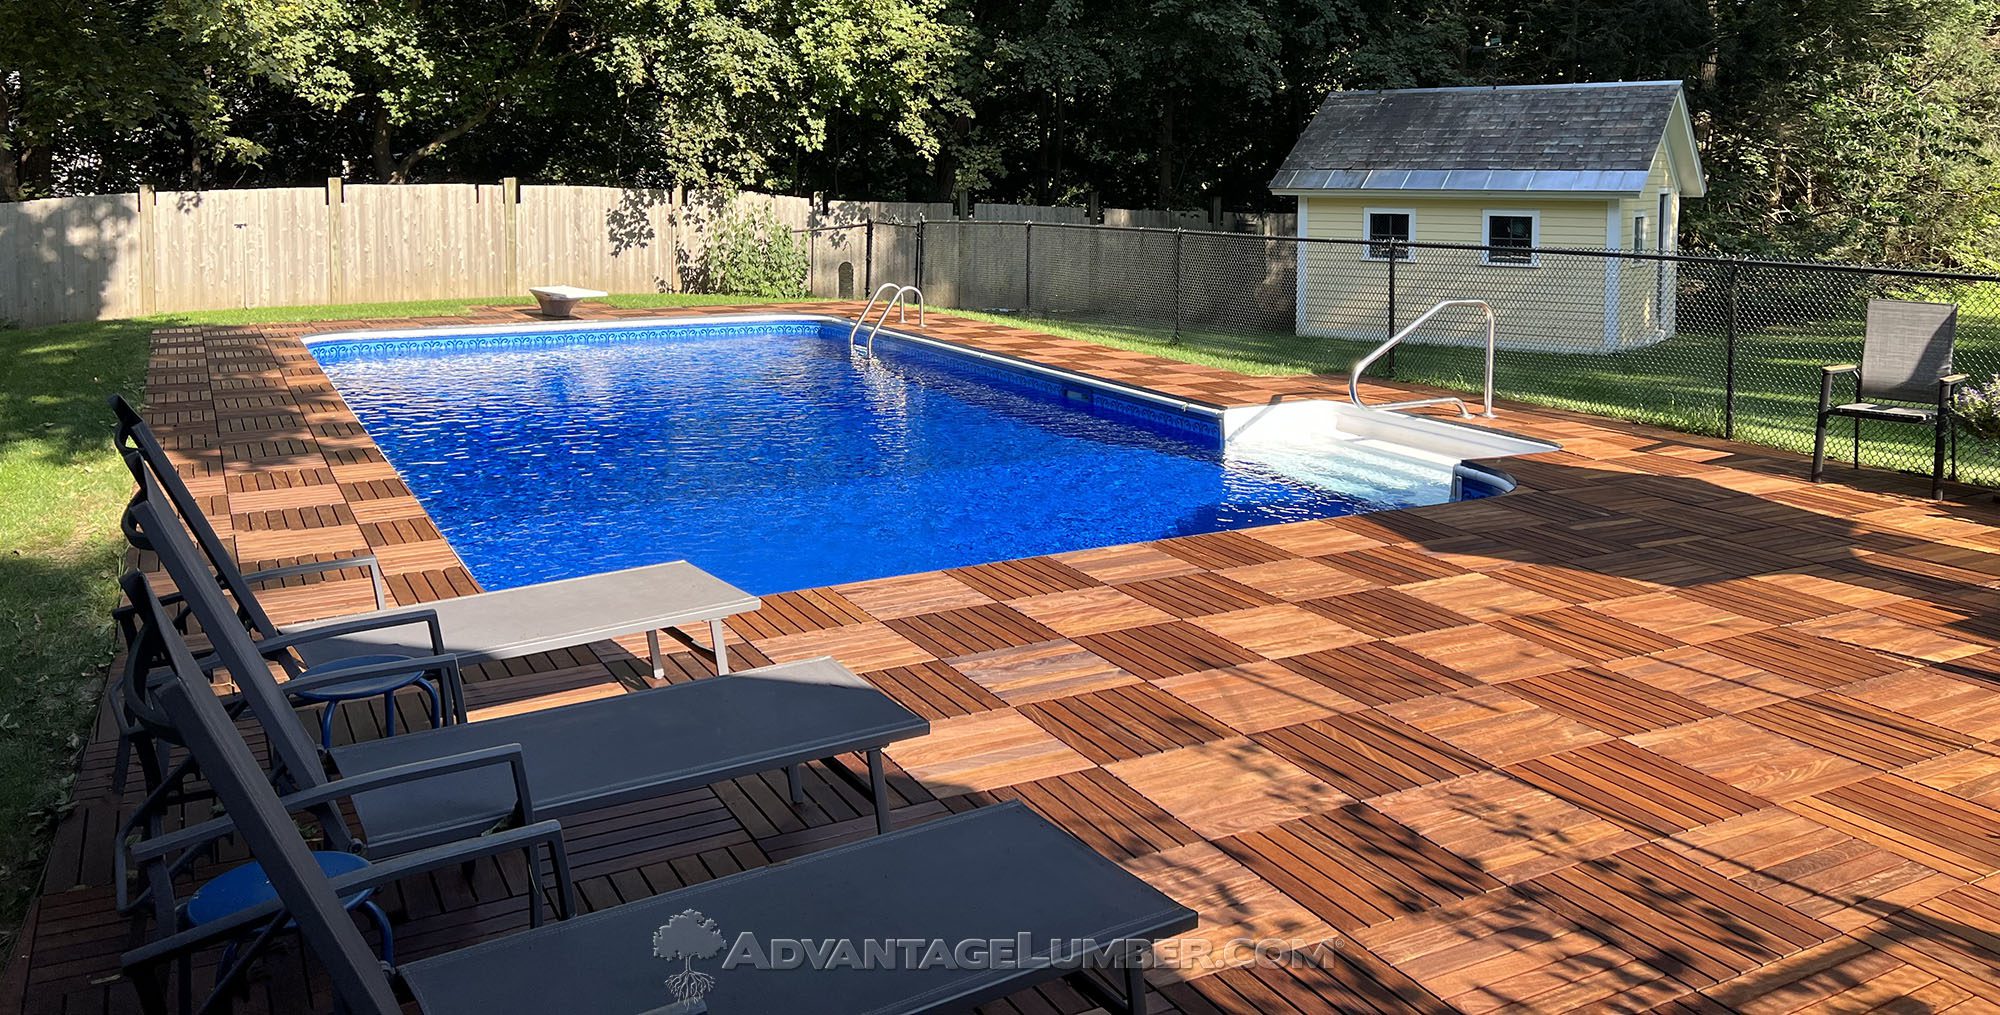
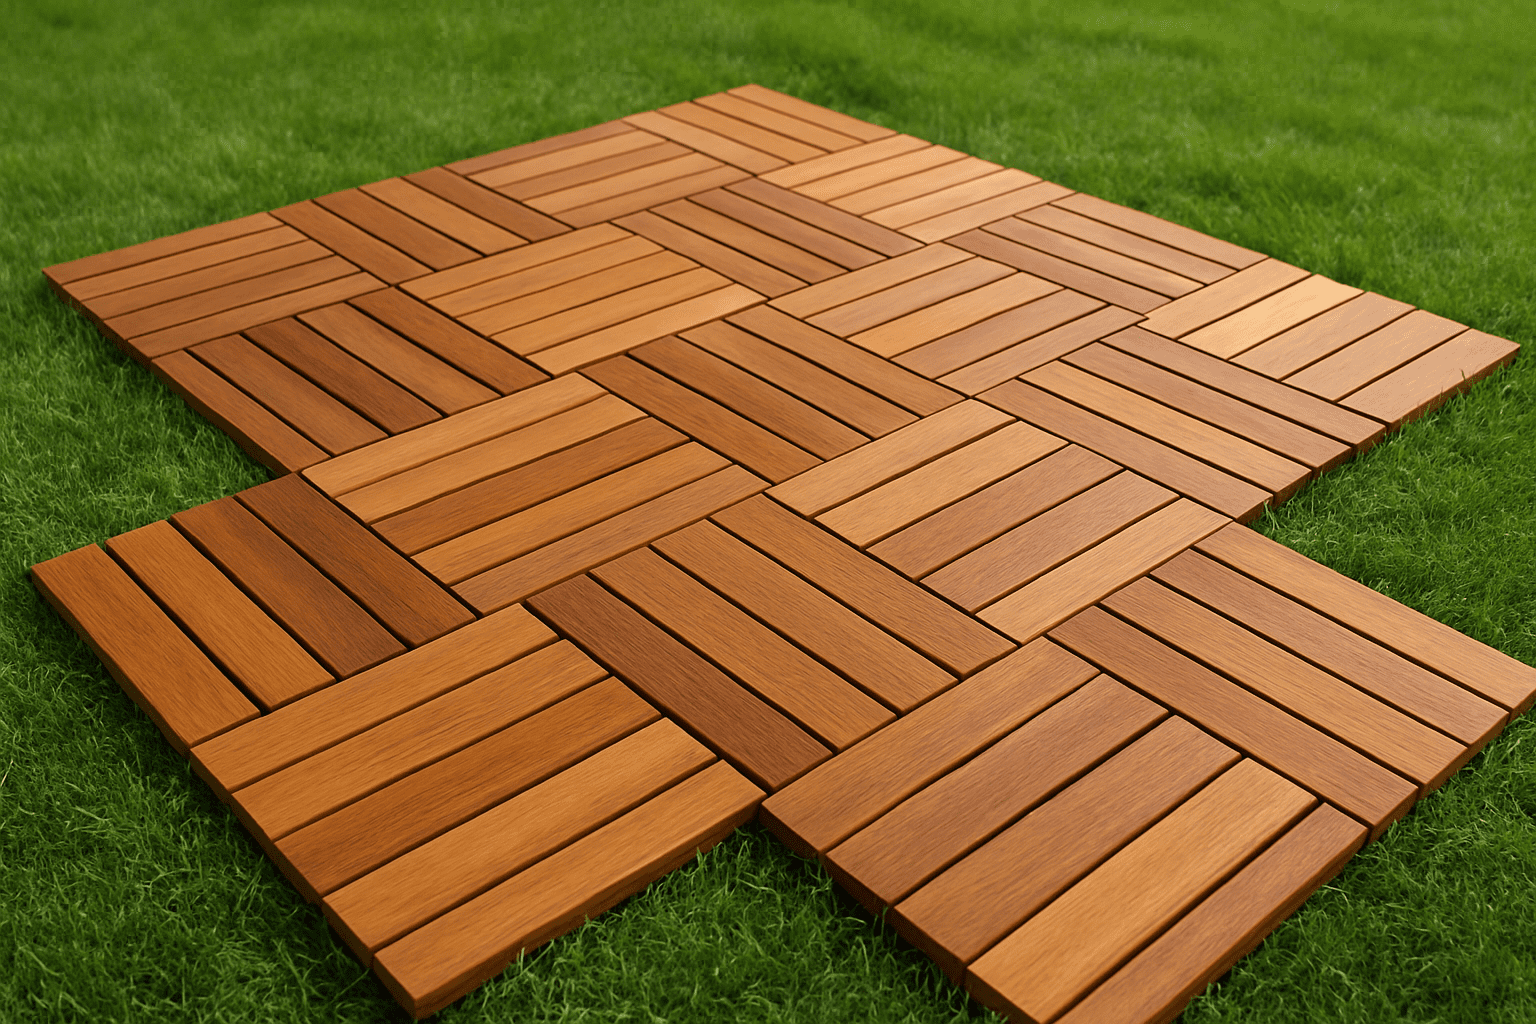
If you’re considering upgrading your pool area, one question that often comes up is: Can you install hardwood decking around a pool? The answer is yes. In fact, hardwood decking species such as Ipe, Cumaru, Tigerwood, Garapa, and Brazilian Redwood are excellent choices for pool decks due to their natural durability, resistance to rot and …