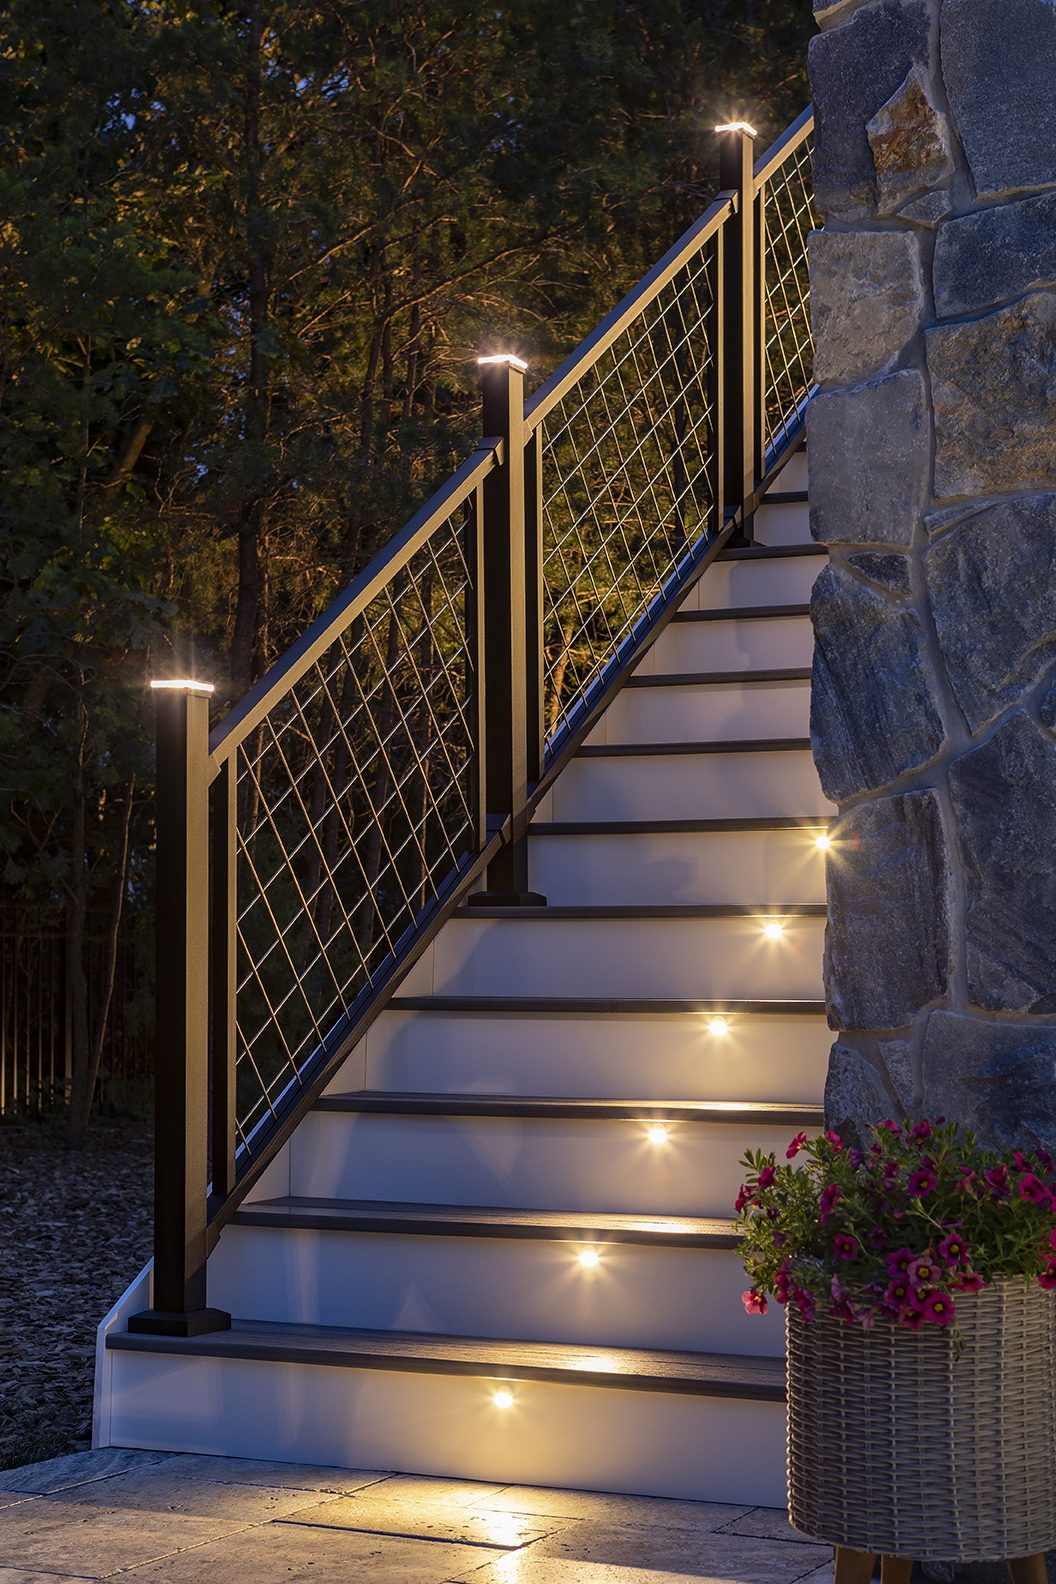
Trex Signature Mesh Stair Railing is a popular choice among homeowners and builders for its sleek design, durability, and ease of installation. Installing it on stairs might seem daunting, but with the right tools and a step-by-step guide, you can achieve a professional finish. Here’s how to do it:
Materials and Tools Needed:
- Trex Signature Mesh Railing Stair Kit (includes mesh panels, top and bottom rails, brackets, and hardware)
- Measuring tape
- Pencil or marker
- Level
- Saw with non-ferrous metal blade
- Angle grinder with cut off wheel or heavy duty bolt cutters
- Drill with appropriate bits
- Safety gear (gloves, safety glasses, etc.)
Step-by-Step Installation Guide:
- Measure and Plan:
- Start by measuring the length and angle of your stairs. This will determine how many railing sections you need and at what angle the brackets need to be set.
- Mark the locations where the posts will be installed at the top and bottom of the stairs.
- Install Posts:
- Follow the manufacturer’s instructions to install the posts at the top and bottom of the stairs. Ensure they are plumb and secure.
- Cut Rails to Length:
- Measure the distance between the posts and cut the top and bottom rails to the required length. Remember to account for the brackets and any overhang you desire.
- Attach Brackets to Rails:
- Attach the provided brackets to the ends of the top and bottom rails. Ensure they are set at the correct angle to match the slope of your stairs.
- Install Bottom Rail:
- Place the bottom rail between the posts, ensuring it’s level and at the desired height above the stairs. Secure it using the provided screws.
- Insert Mesh Panel:
- Slide the mesh panel into the grooves of the bottom rail. Ensure it’s seated properly and evenly spaced between the posts.
- Install Top Rail:
- Place the top rail over the mesh panel, ensuring it fits into the grooves and sits flush with the posts. Secure it using the provided screws.
- Check for Stability:
- Gently push on the railing to ensure it’s stable and secure. If there’s any wobble, double-check your screws and brackets.
- Final Touches:
- If your kit comes with post caps or other decorative elements, install them according to the manufacturer’s instructions.
Tips and Tricks:
- Always wear safety gear when cutting, drilling, or handling tools.
- Double-check measurements before cutting to avoid mistakes.
- If you’re unsure about the angle of your stairs, use an angle finder tool to get an accurate measurement.
- For a cleaner look, consider using color-matched screws or paintable screw covers.
Conclusion:
Installing a Trex Signature Mesh Railing on stairs can greatly enhance the aesthetics and safety of your outdoor space. With careful planning, the right tools, and a bit of patience, you can achieve a professional-looking installation that will last for years to come. If you ever feel unsure about any step, don’t hesitate to consult with a professional or refer back to the manufacturer’s instructions.