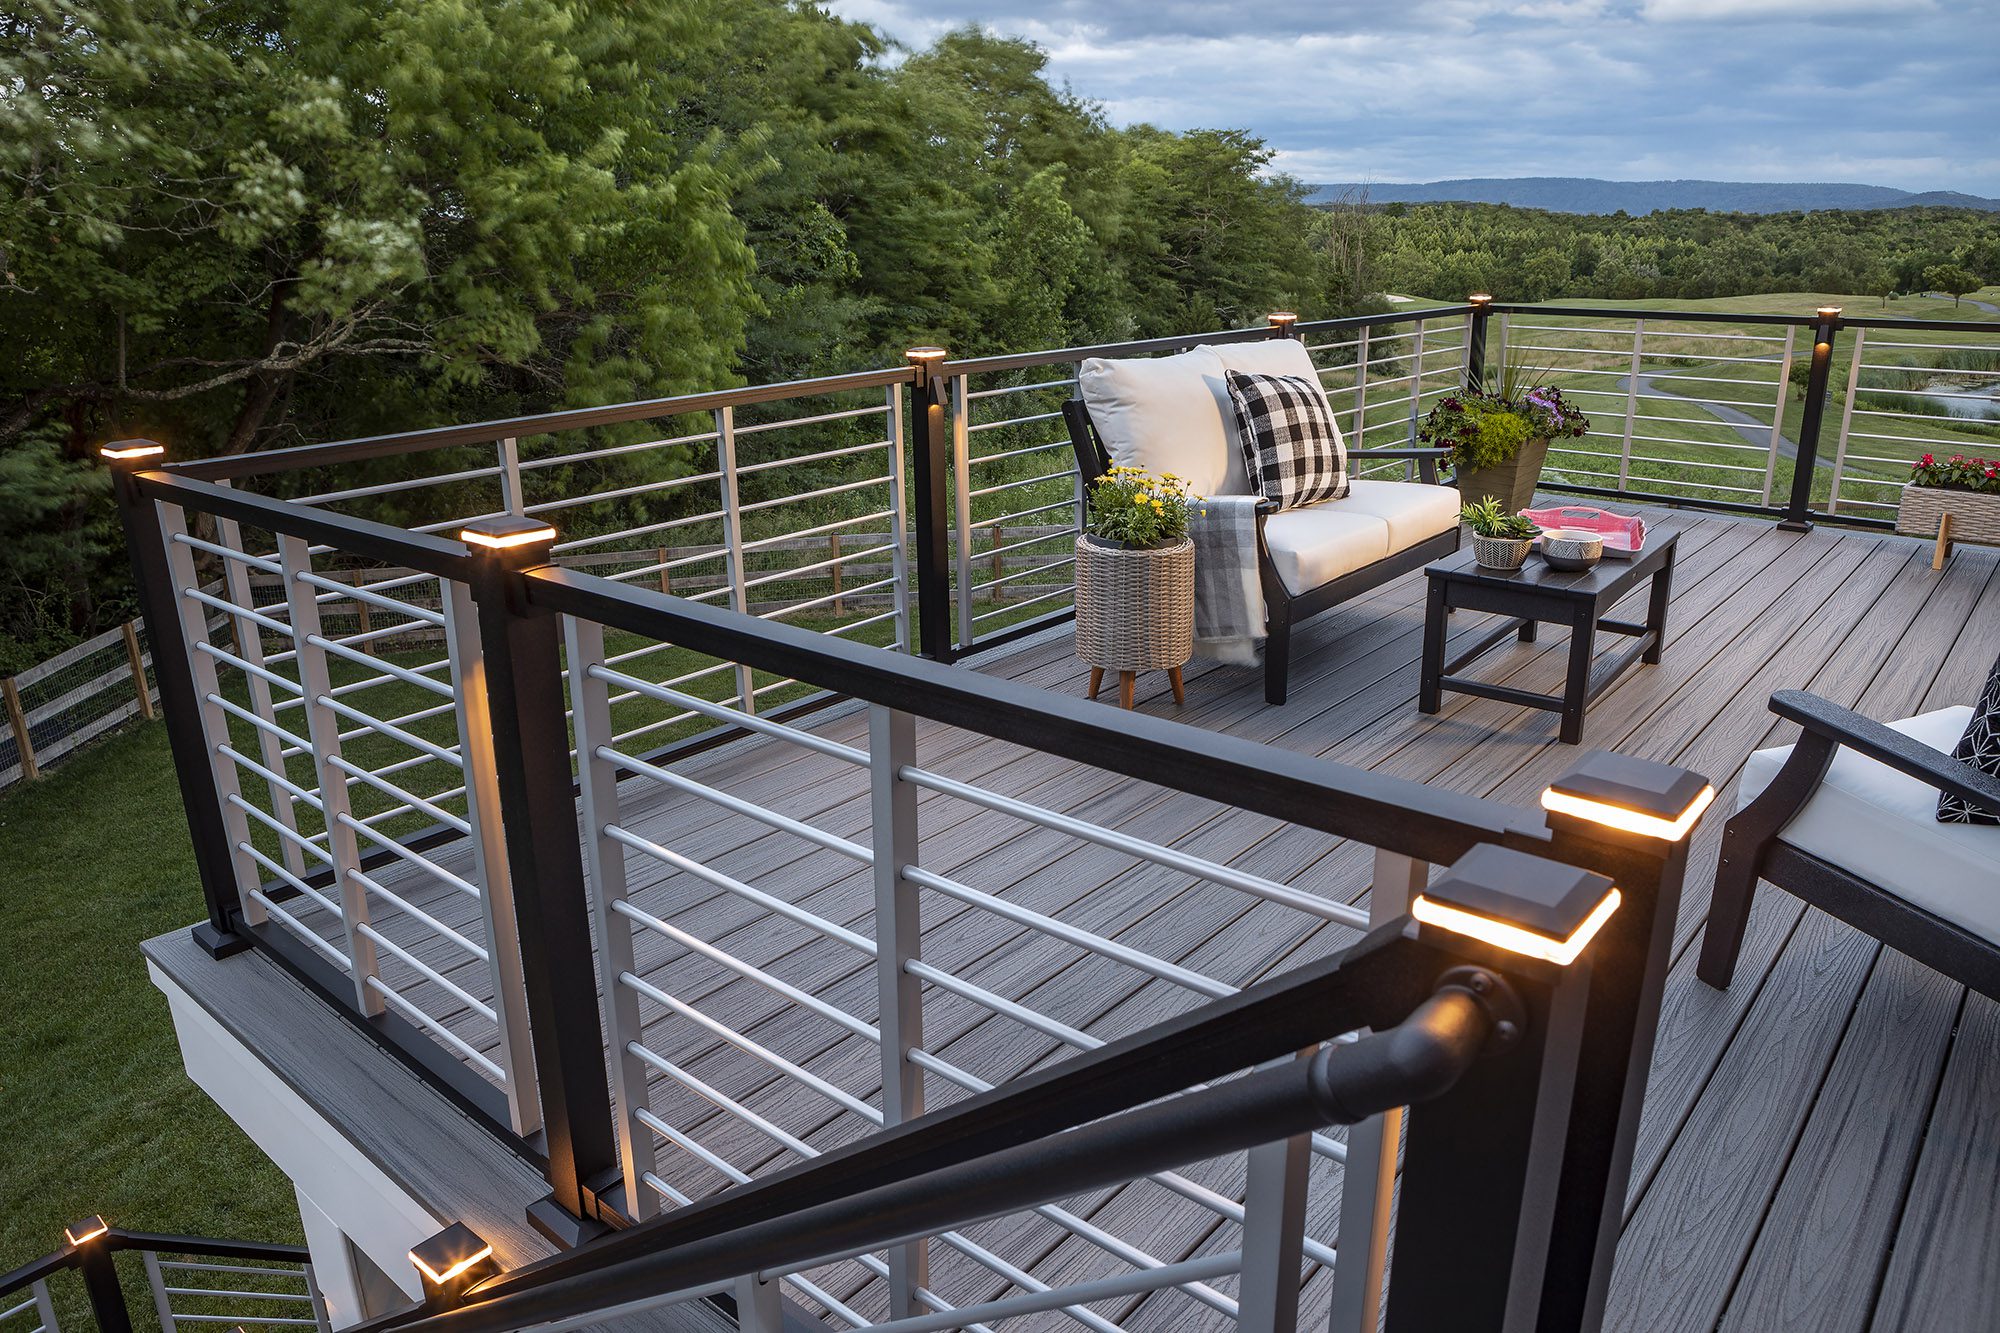
Trex Signature Rod Rail is a popular choice for homeowners and builders who are looking for a sleek, modern railing system that offers durability and a touch of elegance. The horizontal configuration of this rail system provides a contemporary look and an unobstructed view. In this blog post, we’ll guide you through the steps to install the Trex Signature Rod Rail in a horizontal configuration.
Materials and Tools Needed:
- Trex Signature Rod Rail Kit
- Drill and drill bits
- Level
- Measuring tape
- Pencil or marker
- Saw (if necessary for cutting rail lengths)
- Safety gear (gloves, safety glasses)
Installation Steps:
- Preparation:
- Before starting, ensure that you have all the necessary materials and tools.
- Read the manufacturer’s instructions that come with the Trex Signature Rod Rail kit. This will provide specific details and precautions to be aware of.
- Measure and Mark:
- Measure the distance between the posts where the rail will be installed.
- Mark the locations for the brackets on both the top and bottom of the posts, ensuring they are level.
- Install Brackets:
- Using the provided screws, attach the brackets to the posts at the marked locations. Ensure they are level and at the correct height for your desired rail position.
- Prepare the Rail:
- If necessary, cut the rail to the desired length. Ensure the cut is clean and straight.
- Slide the end caps onto the ends of the rail.
- Insert Rods:
- Begin by sliding the rods through the holes in the rail. Ensure they are evenly spaced.
- Secure the rods according to the manufacturer’s instructions. Typically, this involves using fasteners or clips to hold the rods in place.
- Attach the Rail to the Brackets:
- Position the rail between the posts, resting it on the brackets.
- Secure the rail to the brackets using the provided screws. Ensure the rail is level and firmly attached.
- Final Adjustments:
- Check the entire rail system to ensure everything is secure and level.
- Make any necessary adjustments to the rods or rail to ensure they are straight and evenly spaced.
- Clean Up:
- Remove any debris or packaging materials.
- Wipe down the rail and rods to remove any fingerprints or smudges.
Tips for a Successful Installation:
- Always wear safety gear, especially when cutting or drilling.
- Double-check measurements before making any cuts.
- It’s always a good idea to have an extra set of hands. Installing the rail can be much easier with two people.
- If you’re unsure about any step, refer back to the manufacturer’s instructions or consult a professional.
Conclusion:
Installing the Trex Signature Rod Rail in a horizontal configuration can transform the look of your deck or balcony, offering a modern aesthetic and an unobstructed view. With the right tools and a bit of patience, this DIY project can be completed in a day, adding value and beauty to your home.