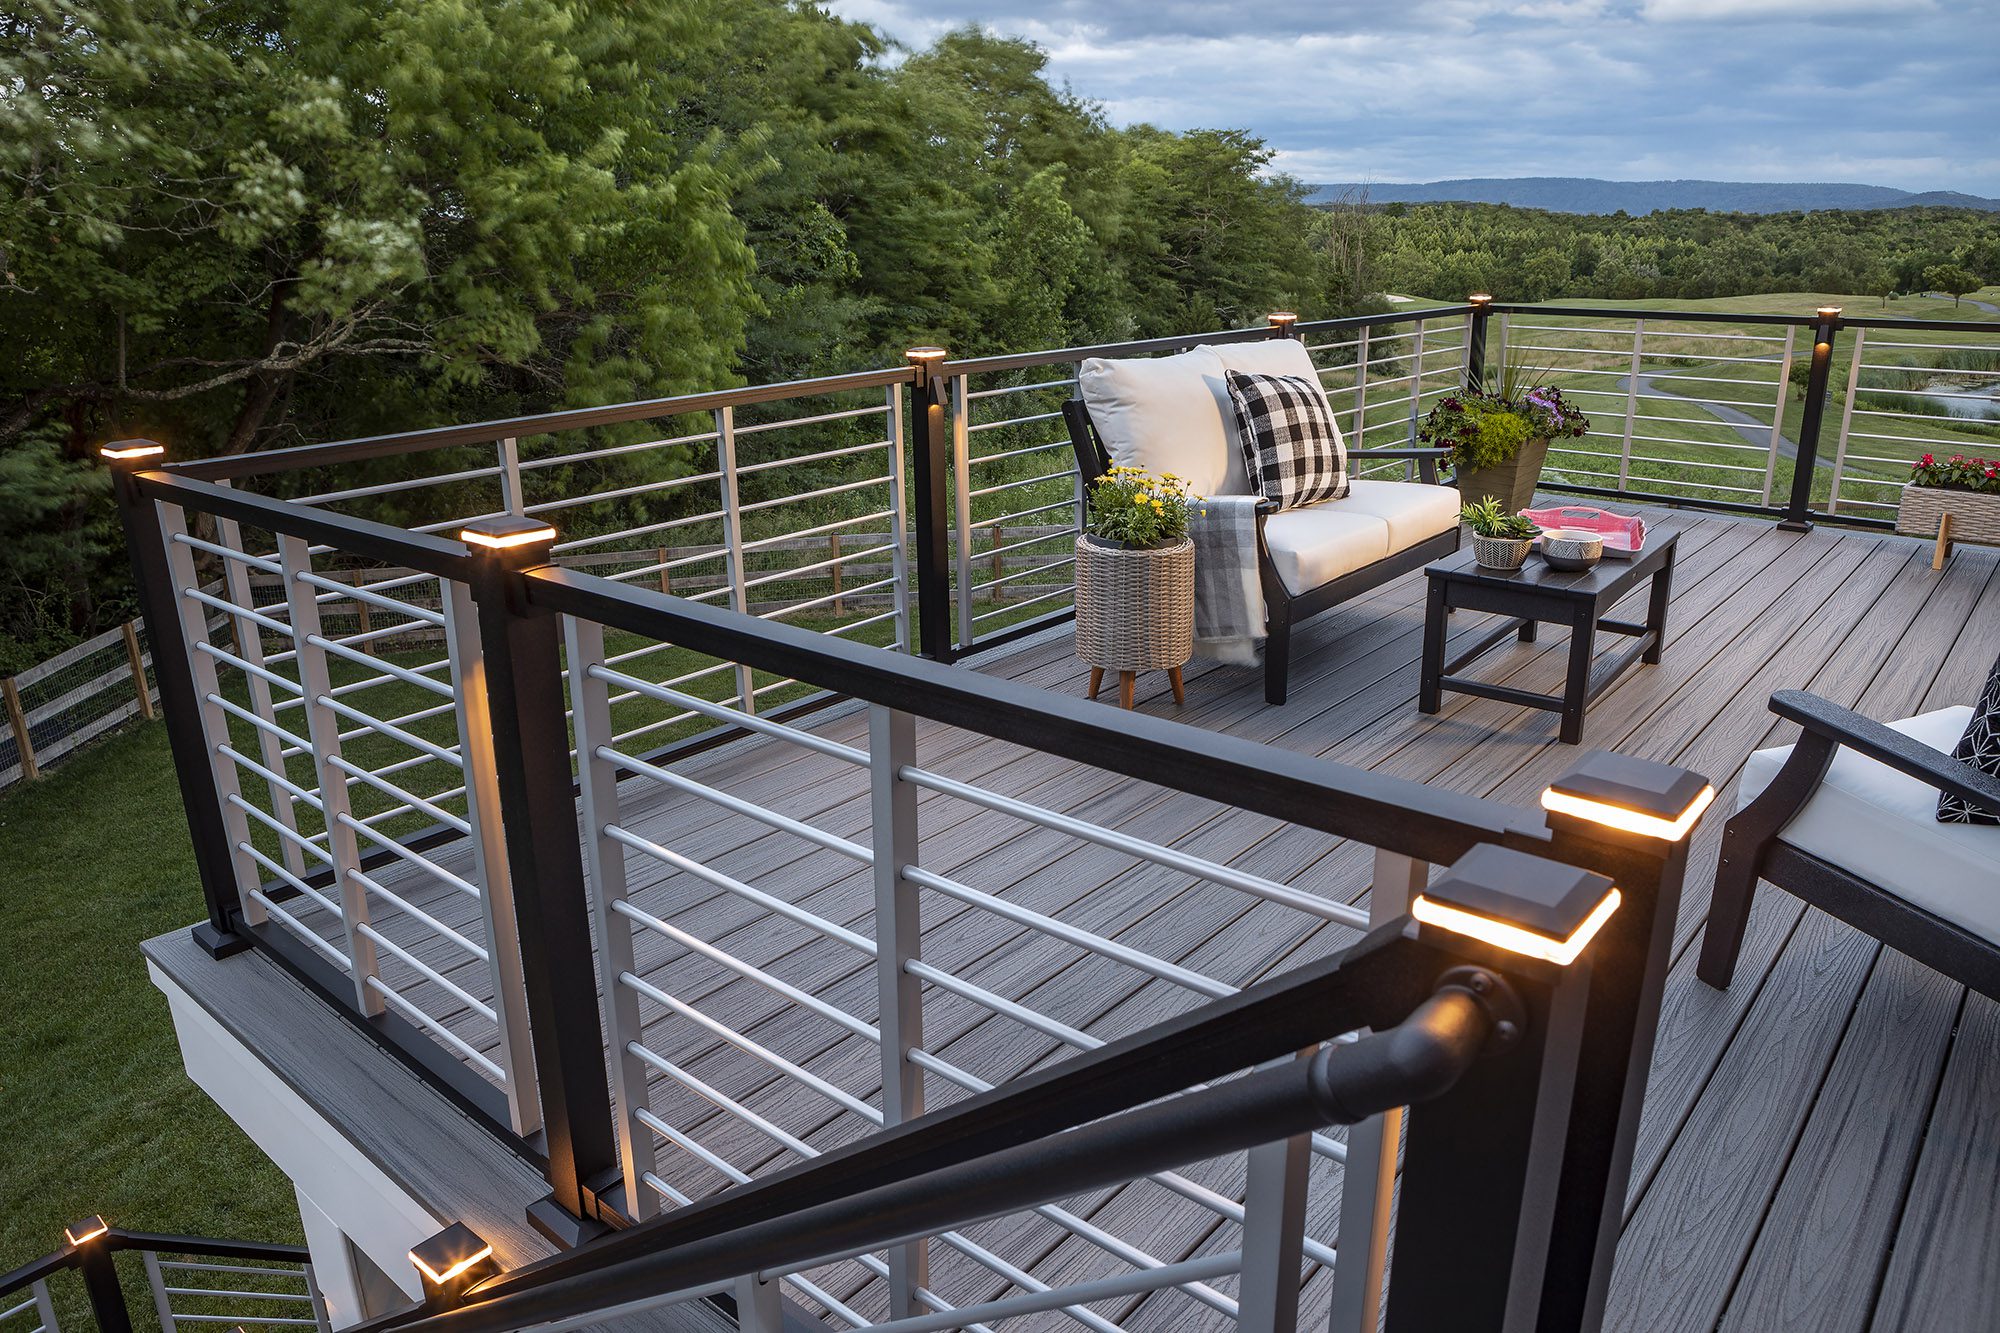
Trex Signature Rod Rail is a popular choice for homeowners and builders who are looking for a modern, durable, and aesthetically pleasing stair railing. With its sleek design and robust construction, it’s no wonder why it’s a favorite. If you’re considering installing this railing system for your stairs, this guide will walk you through the process step by step.
1. Gather Necessary Materials and Tools
Before you begin, ensure you have all the necessary materials and tools on hand. For the Trex Signature Rod Rail system, you’ll need:
- Trex Signature top and bottom rails
- Trex Signature rod rail kits (includes rods and hardware)
- Posts (if not already installed)
- Mounting hardware for posts
- Drill and drill bits
- Measuring tape
- Level
- Saw (if cutting is required)
- Safety gear (gloves, safety glasses, etc.)
2. Measure and Plan
- Measure the length of the stair where you’ll be installing the railing.
- Determine the number of posts you’ll need. Typically, posts are placed at the top, bottom, and at intervals along the stairs.
- Plan the spacing of the rods. Ensure they are evenly spaced and meet local building codes.
3. Install Posts
If you haven’t already, install the posts:
- Mark the locations for the posts.
- Drill holes and secure each post using the provided mounting hardware.
- Ensure that each post is level and at the same height relative to its position on the stairs.
4. Cut and Install Top and Bottom Rails
- Measure and cut the top and bottom rails to fit between the posts.
- Attach the bottom rail first. Ensure it’s level and at the correct height for the rods.
- Attach the top rail, ensuring it’s parallel to the bottom rail.
5. Install Rods
- Start by inserting the rods into the pre-drilled holes in the bottom rail.
- Stretch the rods vertically and insert them into the corresponding holes in the top rail.
- Secure the rods using the provided hardware from the rod rail kit. Ensure each rod is taut and straight.
6. Final Adjustments and Checks
- Once everything is installed, go over each section to ensure it’s secure.
- Check the rods to ensure they are evenly spaced and taut.
- Ensure the entire railing system is stable and doesn’t wobble.
7. Maintenance
Trex Signature Rod Rail is designed to be low maintenance. However, it’s a good idea to periodically check for any loose components and tighten them as necessary. Clean the rails and rods with mild soap and water to keep them looking their best.
Conclusion
Installing Trex Signature Rod Rail as stair railing can elevate the look of your home or commercial space. With its modern design and durable construction, it’s a choice that combines both form and function. By following this step-by-step guide, you can ensure a smooth installation process and enjoy a railing system that will last for years to come.