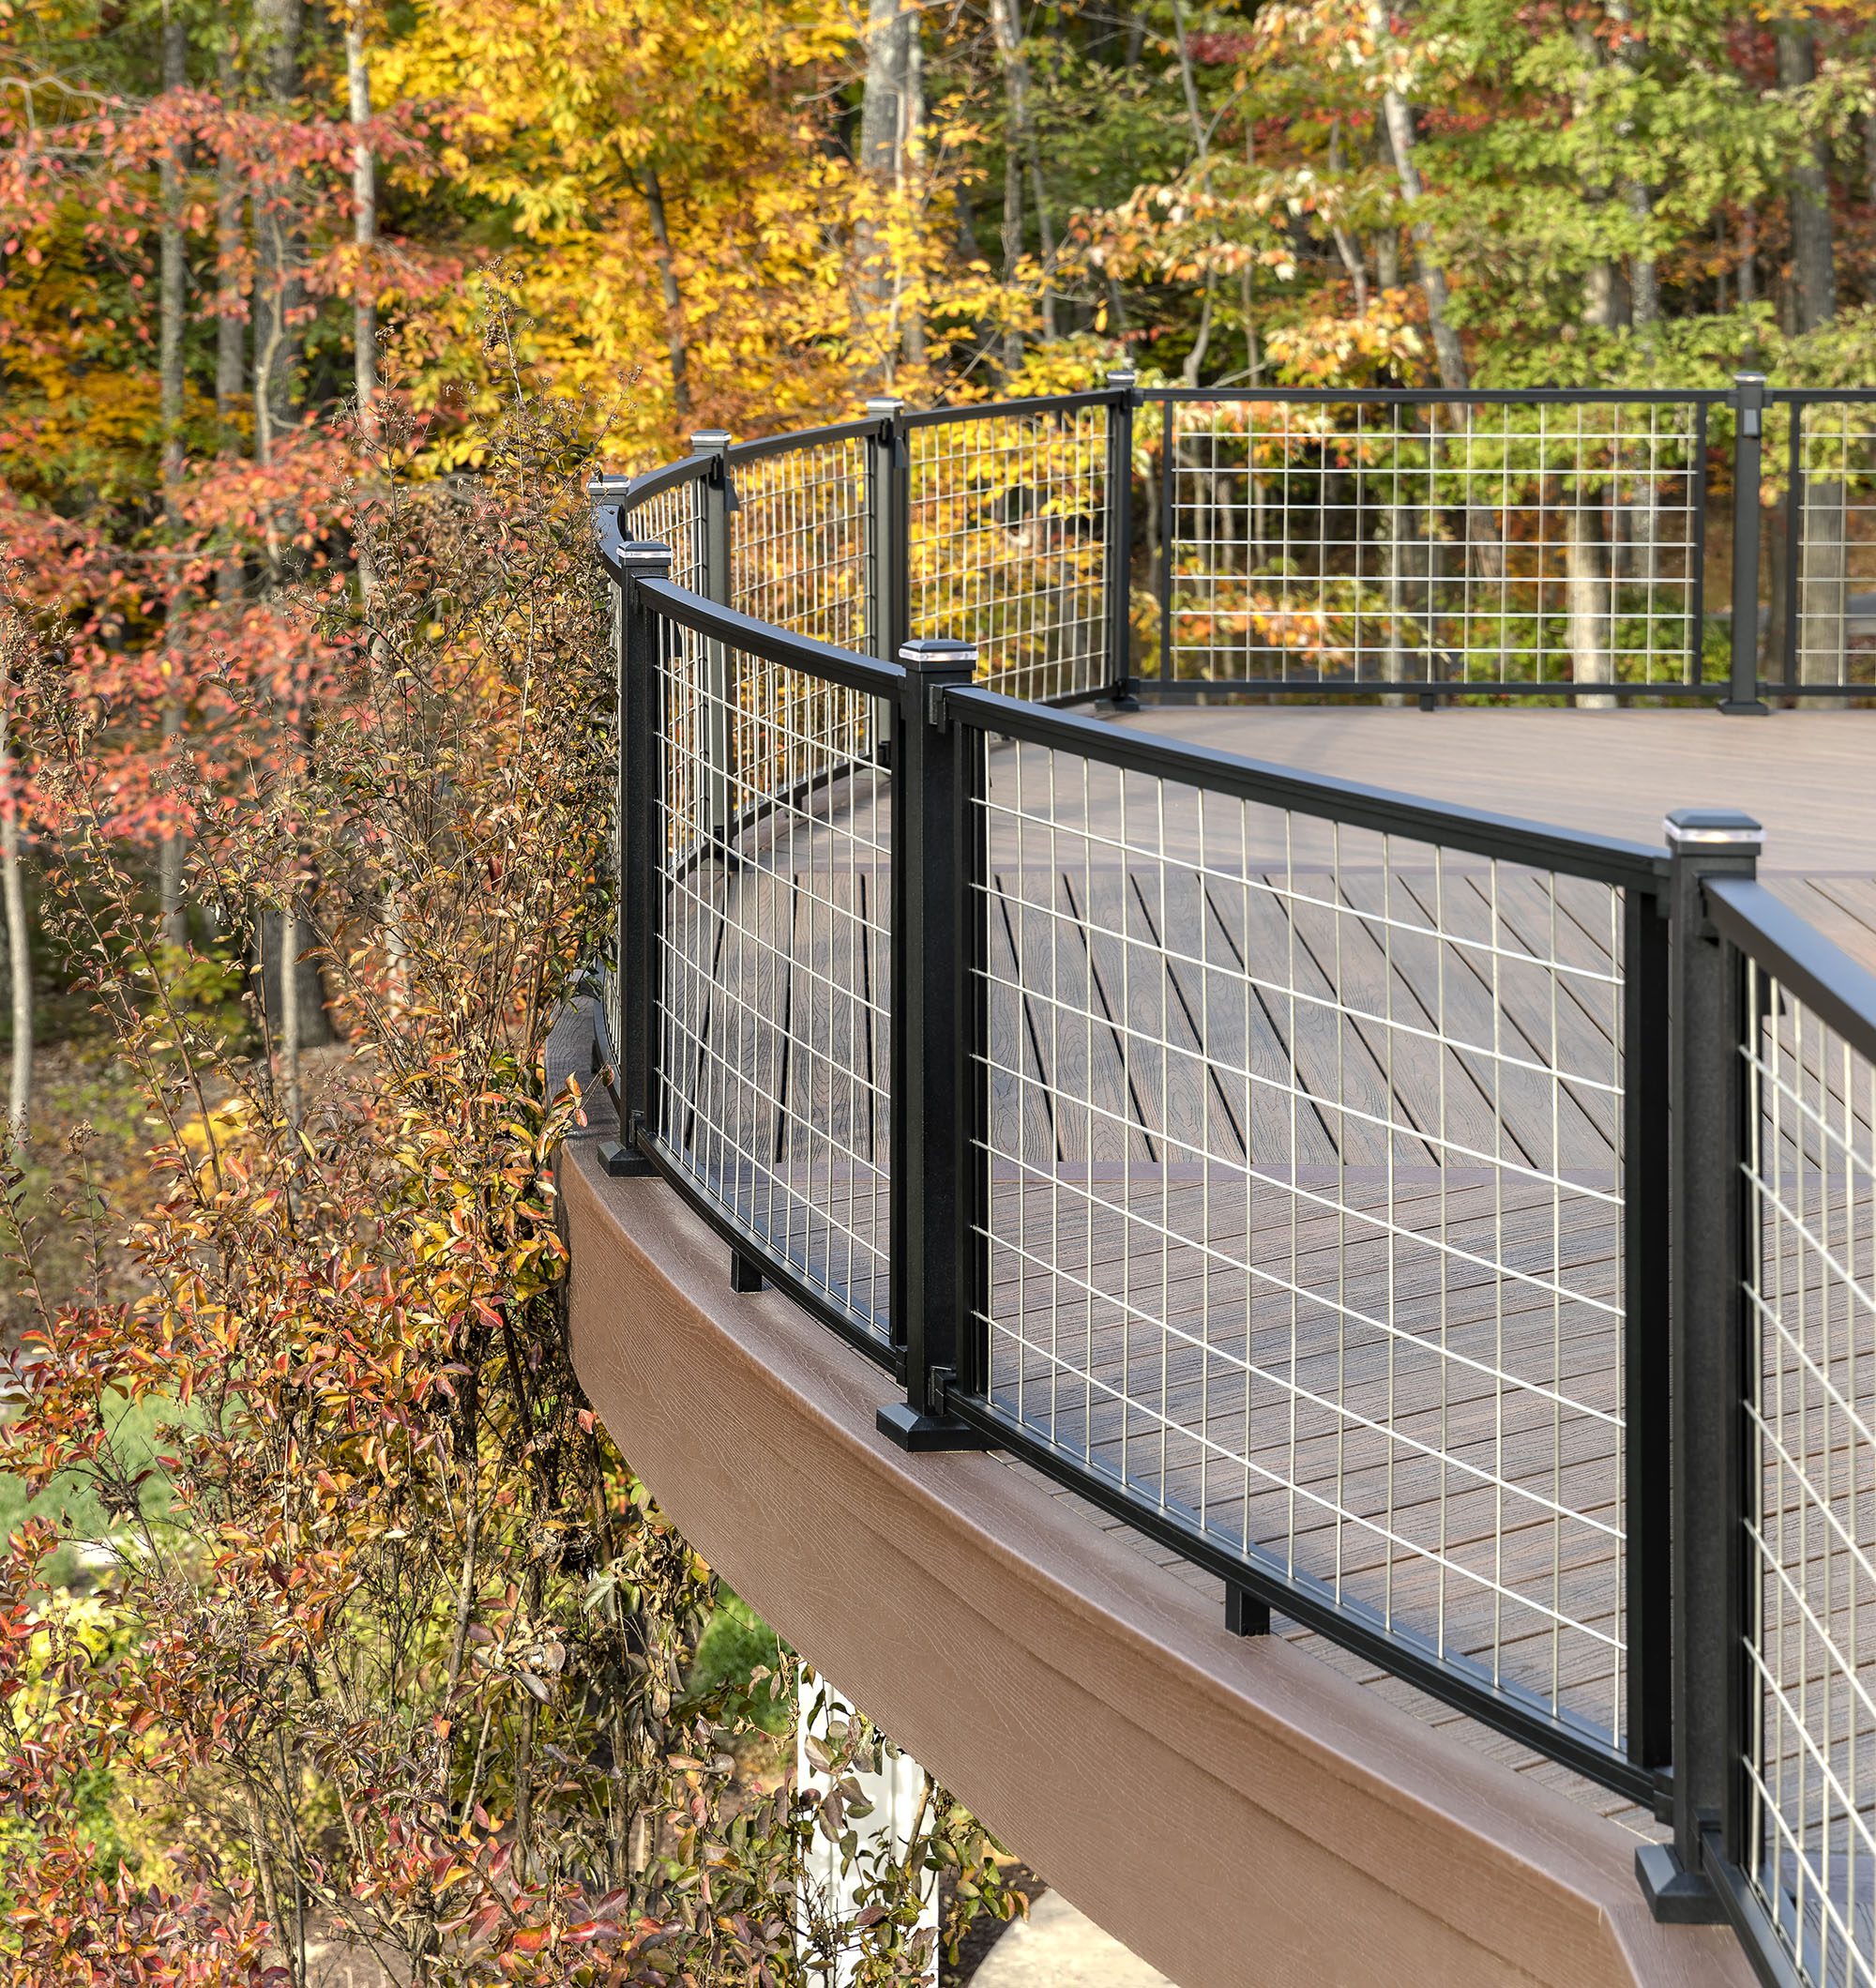
Trex Signature Mesh Railing is a popular choice among homeowners and builders for its sleek design, durability, and ease of installation. If you’re considering this railing system for your deck or balcony, this guide will walk you through the installation process step by step.
Materials and Tools Needed:
- Trex Signature Mesh Railing Kit (includes posts, mesh panels, top and bottom rails)
- Drill and drill bits
- Level
- Tape measure
- Saw with blade to cut aluminum
- Angle grinder with cut-off wheel or heavy duty bolt cutters
- Safety glasses
- Gloves
Step-by-Step Installation:
- Preparation:
- Before starting, ensure that you have all the components from the Trex Signature Mesh Railing Kit.
- Clear the area where you’ll be working and ensure that your deck or balcony is clean and free from debris.
- Install Posts:
- Measure and mark where each post will be placed. Typically, posts should be spaced no more than 6 feet apart.
- Using the provided hardware, secure each post to the deck or balcony. Ensure that they are vertically level.
- Measure and Cut Rails (if necessary):
- Measure the distance between the posts to determine the length of the top and bottom rails.
- If the rails are longer than the distance between the posts, mark the required length and cut them using a saw.
- Install Bottom Rail:
- Slide the mounting brackets onto the ends of the bottom rail.
- Position the bottom rail between the posts, ensuring it’s level.
- Secure the mounting brackets to the posts using the provided screws.
- Install Mesh Panel:
- Slide the mesh panel into the groove of the bottom rail.
- Ensure that the mesh panel is evenly spaced between the posts.
- Install Top Rail:
- Slide the mounting brackets onto the ends of the top rail.
- Position the top rail over the mesh panel, ensuring it fits into the groove.
- Secure the mounting brackets to the posts using the provided screws.
- Final Checks:
- Once everything is installed, give your railing a gentle push to ensure it’s sturdy.
- Check all the screws and tighten any that may be loose.
Maintenance Tips:
- To keep your Trex Signature Mesh Railing looking its best, clean it periodically with mild soap and water.
- Avoid using abrasive cleaners or tools that might scratch the surface.
- Inspect the railing annually for any signs of wear or damage, and replace any damaged parts as needed.
Conclusion:
Installing Trex Signature Mesh Railing is a straightforward process that can be accomplished with basic tools and a bit of patience. By following this guide, you’ll have a beautiful and durable railing system that will enhance the look of your outdoor space for years to come. Whether you’re a DIY enthusiast or a professional installer, Trex offers a reliable and stylish solution for your railing needs.
