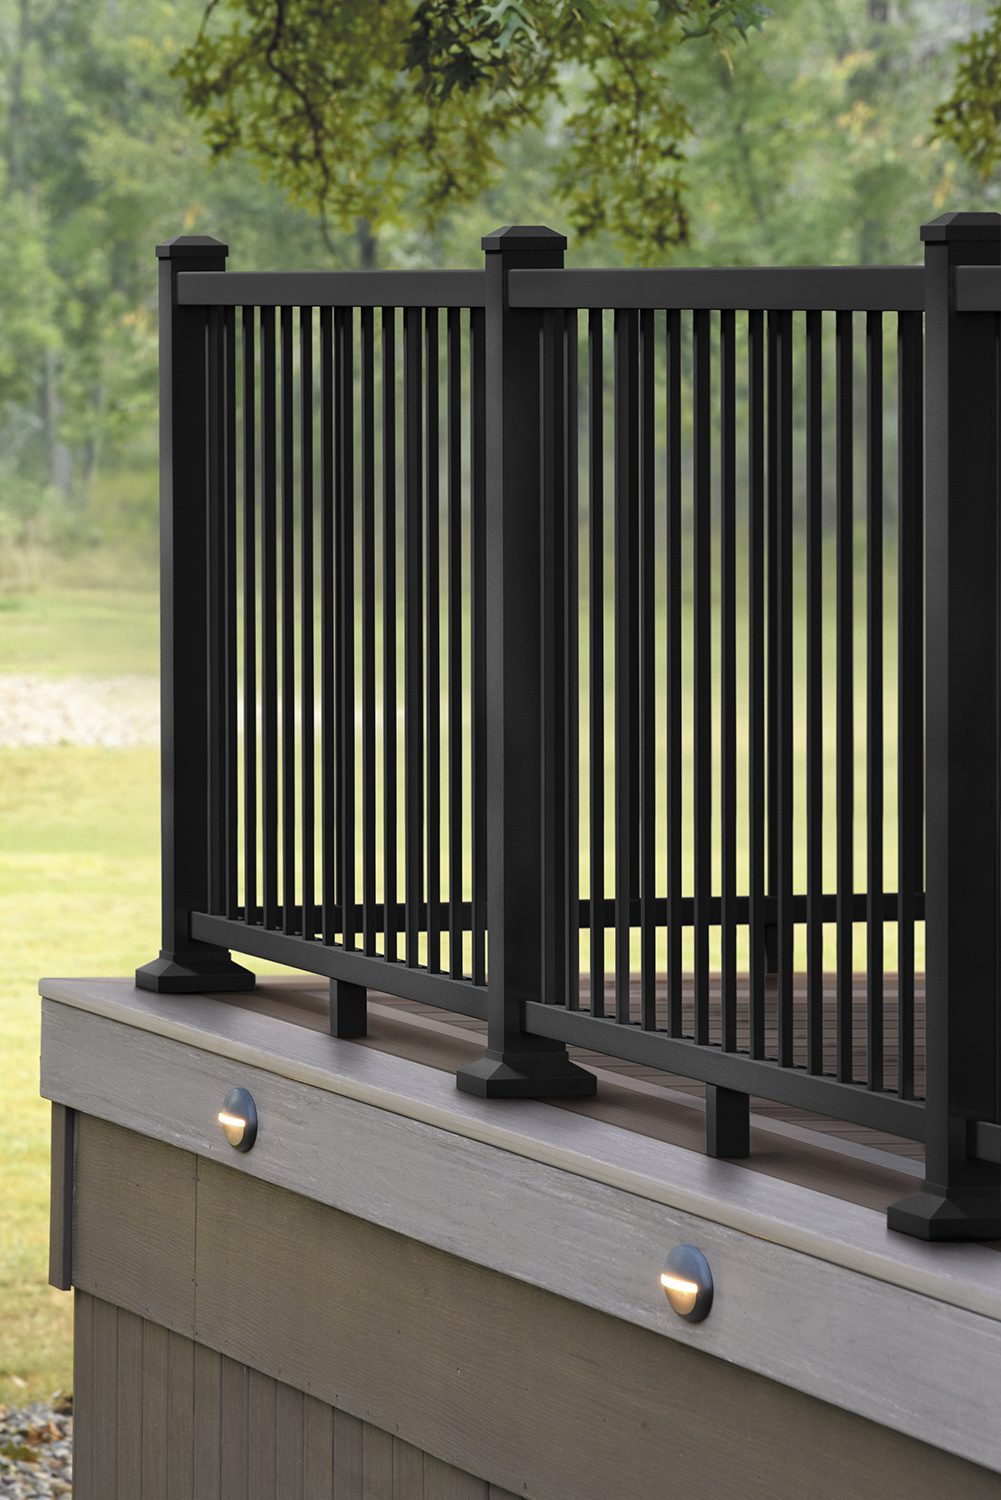
TimberTech’s Impression Rail Express is a popular choice among homeowners and contractors for its sleek design, durability, and ease of installation. If you’re considering this railing system for your deck or patio, this guide will walk you through the installation process step by step.
Materials and Tools Needed:
- TimberTech Impression Rail Express Kits (includes top rail, bottom rail, balusters, and hardware)
- Measuring tape
- Level
- Saw (preferably a miter saw with a non-ferrous blade)
- Drill and bits
- Pencil or marker
- Safety glasses
- Gloves
Step-by-Step Installation:
- Preparation:
- Before starting, ensure that you have all the necessary materials and tools.
- Read the manufacturer’s instructions that come with the kit to familiarize yourself with the components and any specific recommendations.
- Measure and Mark:
- Determine the length of the railing section you’ll be installing.
- Measure and mark the locations for the post sleeves, ensuring they’re spaced according to the manufacturer’s recommendations.
- Install Posts:
- Measure and layout your post locations. Ensure they’re level and secure them according to the manufacturer’s instructions.
- Cut Rails to Length:
- Measure the distance between the posts where the rails will be installed.
- Cut the top and bottom rails to the required length, ensuring the cuts are straight.
- Attach Brackets to Rails:
- Using the provided hardware, attach the mounting brackets to both ends of the top and bottom rails.
- Install Bottom Rail:
- Position the bottom rail between the post sleeves, resting it on the brackets.
- Ensure the rail is level, then secure it to the post sleeves using the provided screws.
- Insert Baluster panels:
- Slide the pre-assembled baluster panels onto the brackets mounted on the posts. Ensure they’re seated properly and evenly spaced.
- Install Top Rail:
- Position the top rail over the balusters, ensuring each baluster fits into the corresponding hole on the top rail.
- Once all balusters are aligned and seated, secure the top rail to the post sleeves using the provided screws.
- Final Touches:
- Check the entire railing section to ensure everything is secure and level.
- If your kit includes rail covers or caps, install them according to the manufacturer’s instructions.
- Safety Check:
- Give the railing a gentle shake to ensure it’s sturdy and secure.
- Ensure there are no sharp edges or protruding screws.
Conclusion:
Installing TimberTech Impression Rail Express is a straightforward process, especially when you have the right tools and follow the manufacturer’s guidelines. With its sleek design and durable construction, this railing system is a great addition to any outdoor space. Always prioritize safety during installation and consult with a professional if you’re unsure about any step.
Note: This guide is a general overview. Always refer to the manufacturer’s official installation guide and consult with a professional if needed.