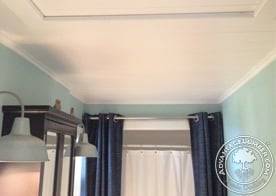
Having a wood plank ceiling is easier than you think. With a few tools and some elbow grease, you’ll have a gorgeous ceiling that will compliment your living space.
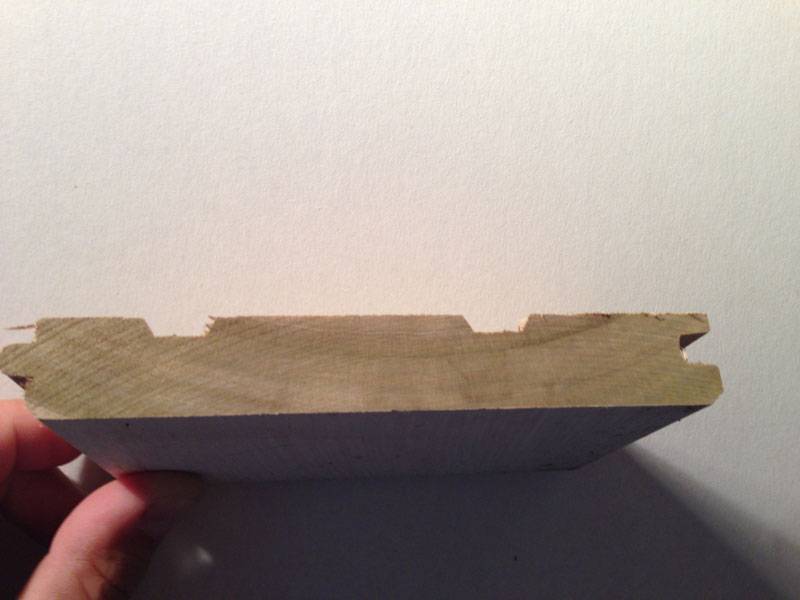
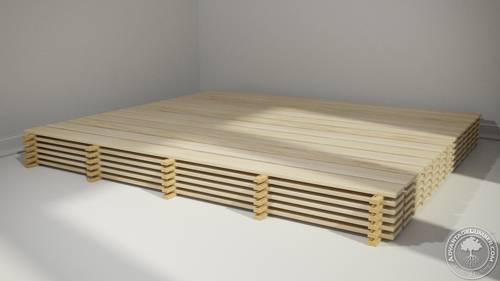
For this project the installer used some ¾”x5” Tongue & Groove Poplar that we custom milled for him. Poplar is a great hardwood because of its light weight even though it’s still classified as a hardwood.
Poplar was chosen by the homeowner because of the many characteristics: holds paint well, doesn’t have knots that affect the finish later, is more stable and won’t warp, twist or shrink like pine does, and it’s considerably less expensive than cherry or mahogany. Installing the ceiling plants was fairly simple thanks to the fact that Poplar can be more forgiving when nailing the end of the boards during installation. The homeowner primed and painted Poplar prior to the installation and finished with another coat of paint and putty to fill the nail holes to give a uniform look.
Now that we know why Poplar is the wood of choice for such a project, here are a few simple steps to create your own Poplar wood plank ceiling.
What you’ll need:
- Poplar wood planks
- Stain/sealer
- 16 gauge trim nail gun
- Saw (if you have to cut out sections for lighting, fans, etc)
- Ladder
- Tape measure
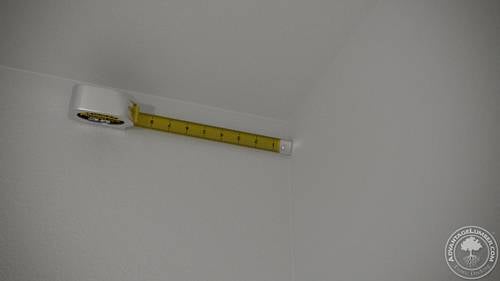
Step 1: Measure the ceiling area so you know exactly how much material you’ll need.
Step 2: Allow the boards to acclimate inside before installation.
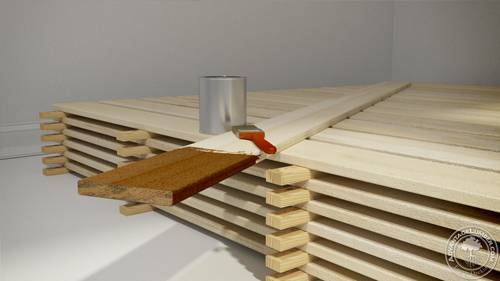
Step 3: Apply a stain/sealer to the boards.

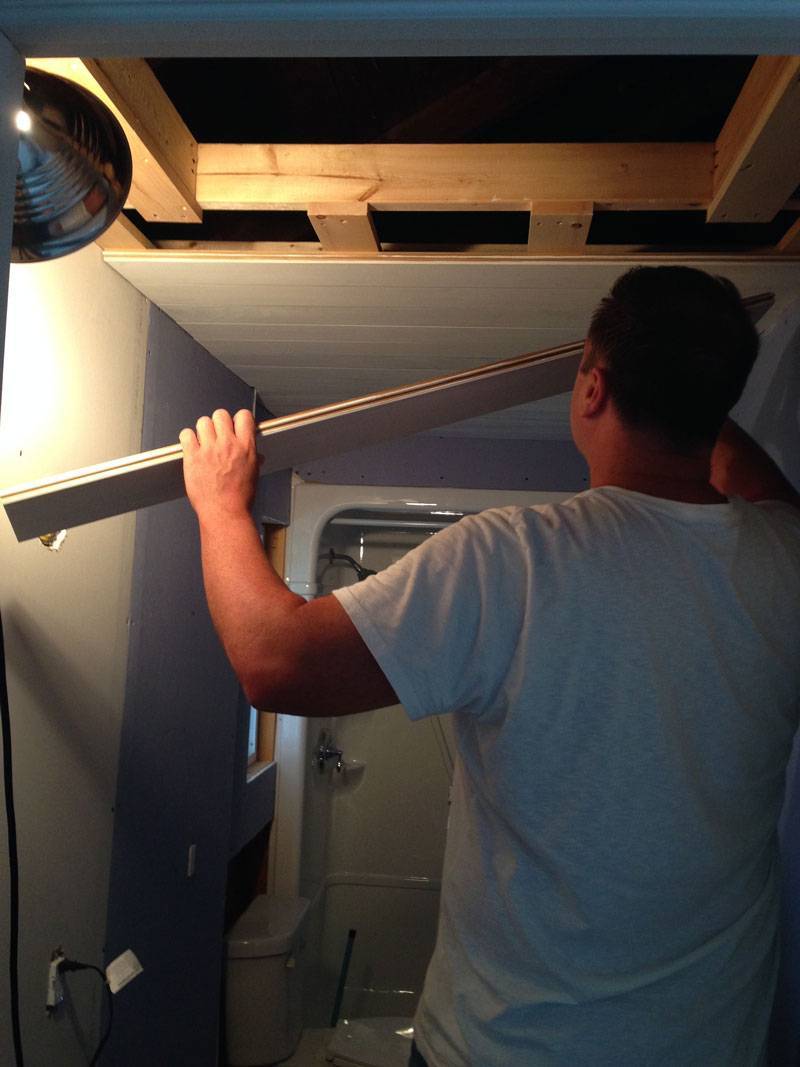
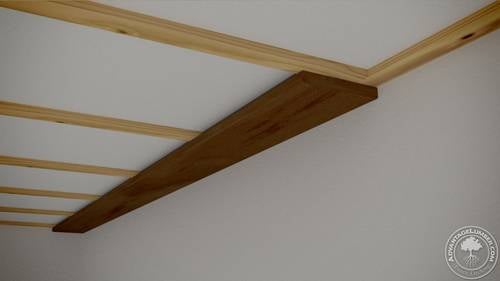
Step 4: Locate the ceiling studs. This is where you’ll attach the furring strips 16” apart on center.
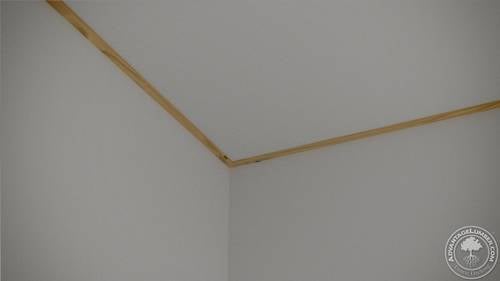
Step 5: Measure and cut the perimeter line of furring strips and attach.
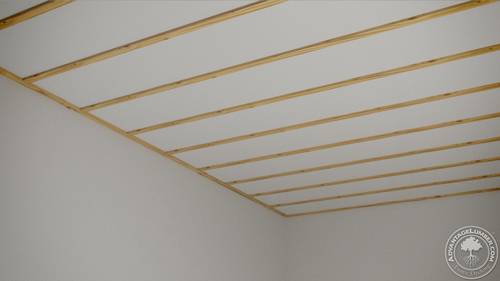
Step 6: Measure, cut and attach the rest of the furring strips. They should run parallel and on top of the ceiling joists. Use your nail gun to attach them.
Step 7: Attach the plank perpendicular to the furring strips.
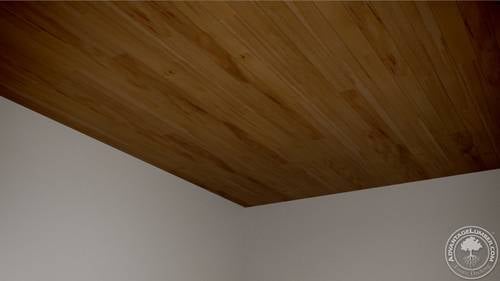
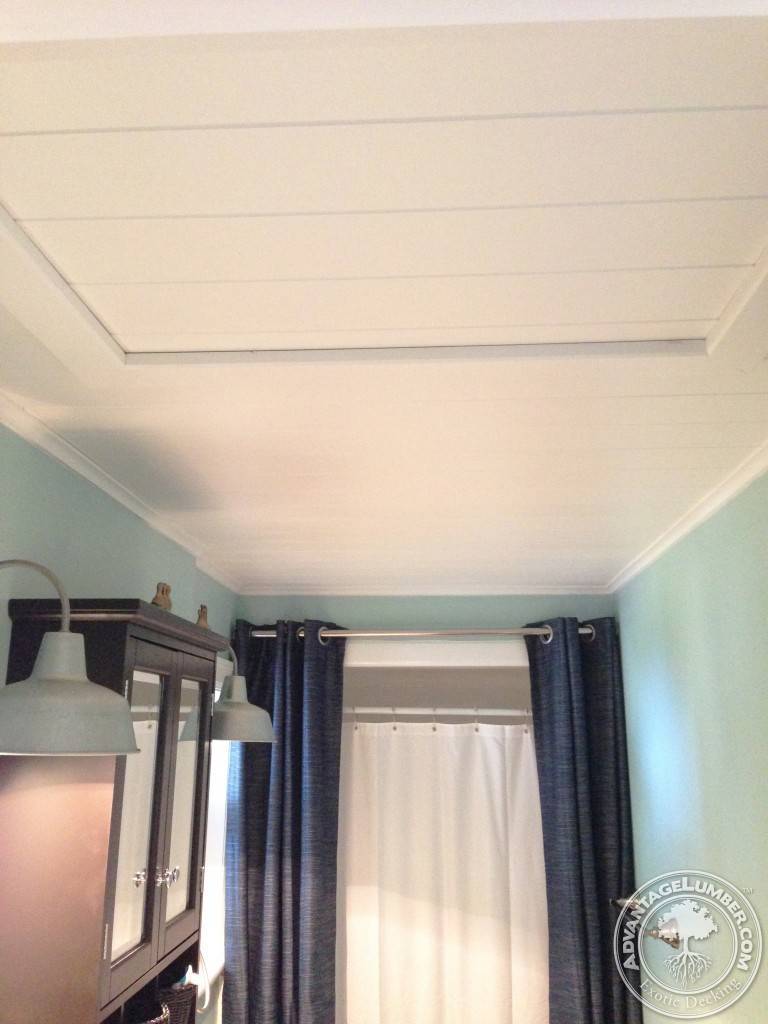
Continue attach the planks until you’re finished! You may find you have to measure out light fixtures and cut the planks accordingly.
When you’re finished you’ll have a classic looking ceiling that will floor your guests the next time they come over.
I am interested in doing a poplar tongue and groove ceiling, but I live in Regina, SK . Do you ship here, and what is the cost of the material and the cost of the shipping.
Thanks
Barb
Hi Barbara,
We do ship all over Canada! However, in order to get a good idea we would need an approximate amount you need and a zip code. I’ll forward your email and questions to one of our reps who will get in contact with you to get further details and get you a quote.
Thank you.
Do you ship to WV? What would be the cost of approximately 500 square feet of the poplar tongue and groove for a ceiling? Thanks!
Hi Chrissy,
We do ship to WV and nationwide! I’ll give you your email to one of our sales person’s and they’ll email you an estimate for the square footage you’re looking for.
Thank you Chrissy
I am looking for 1100 sq ft of poplar tongue and groove to install on the ceilings of a house i am buying in Rogers City, Michigan and was wondering what the cost would be to buy and ship to the house
Hi Aric,
I’ll have a sales person contact you right away with your request!
Can you have a sales person call or email me
I have need for approx. 500 sq. ft of T & G Poplar for a ceiling project.
I live in Palm Harbor Fl 34683
Hi. I need 30 pieces of 1x6x12 poplar tongue and grove for a ceiling, can you give me a quote to zip code 17961. Thank you,