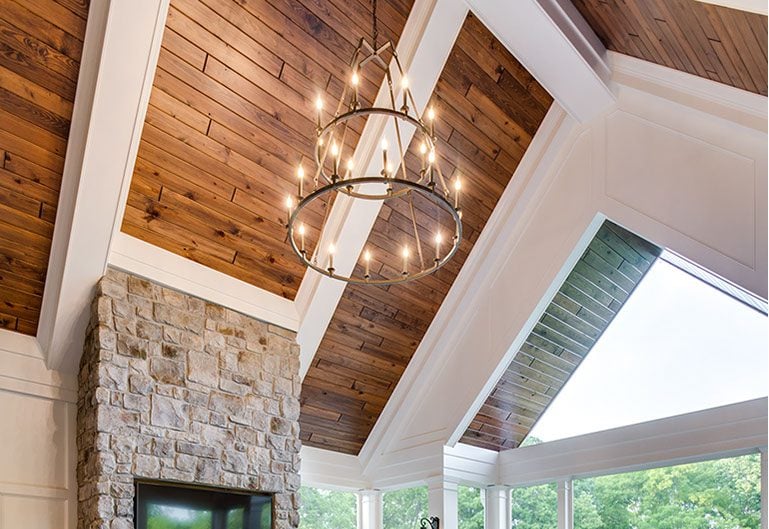
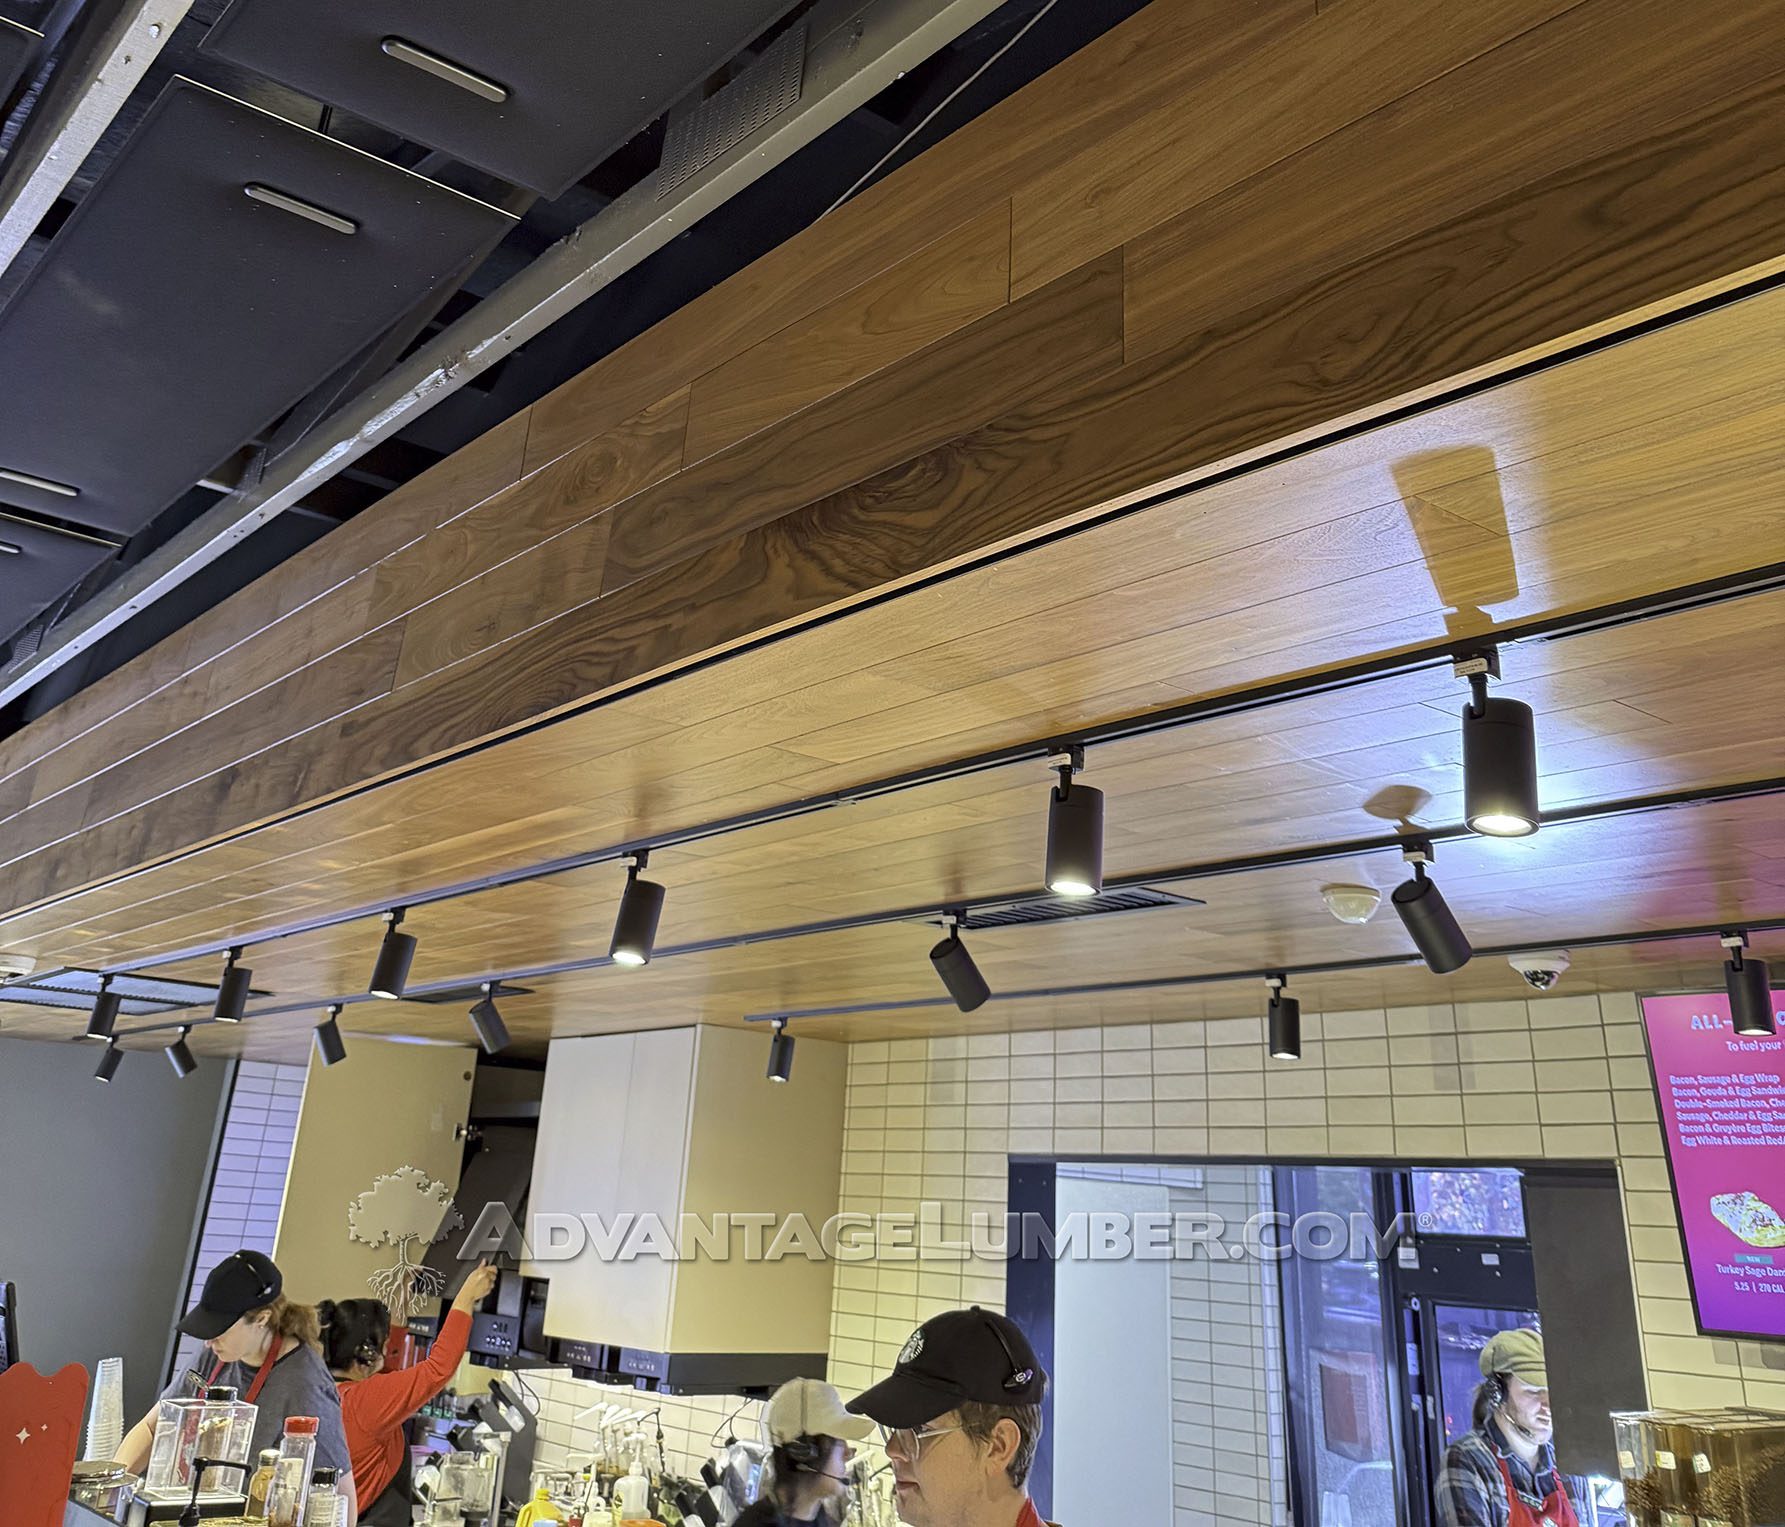
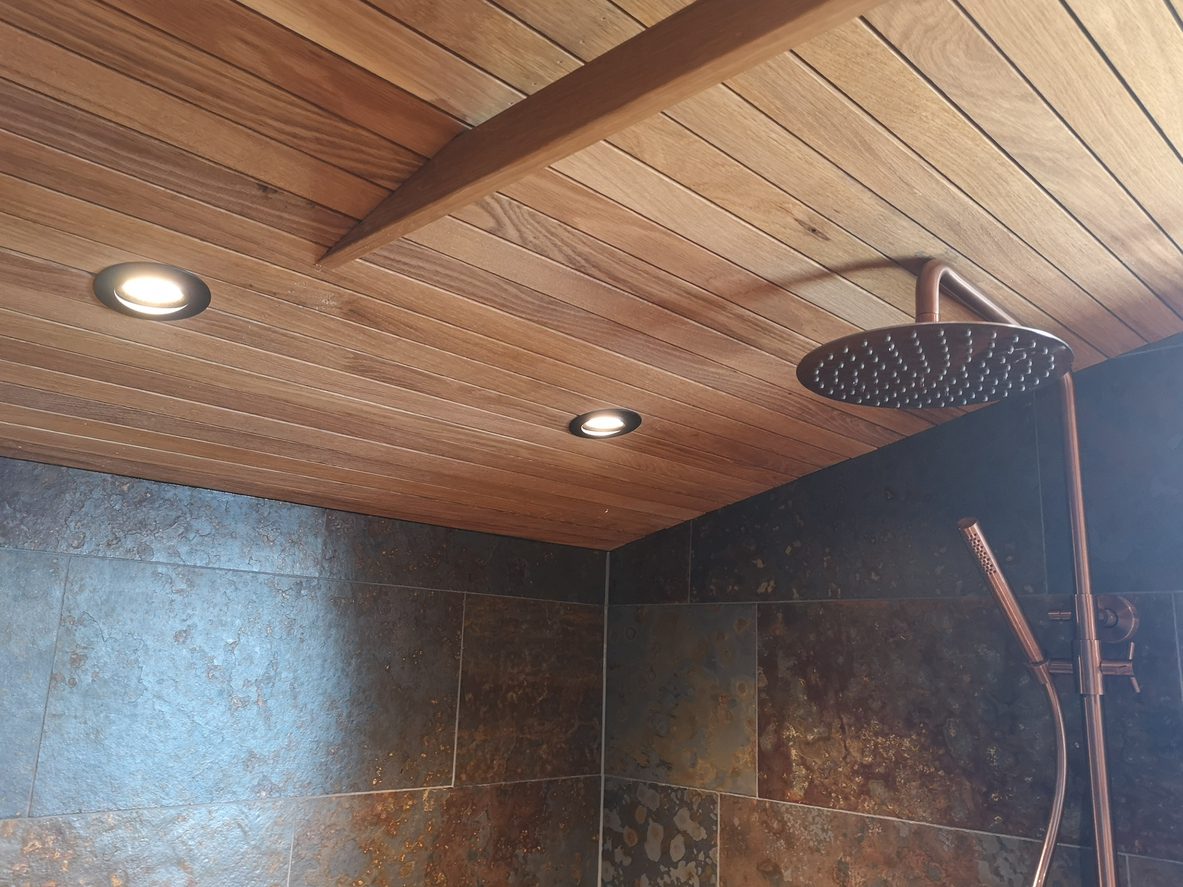
One of our great customers Pro Quality Carpentry completed this job and had to share how beautiful it turned out.
The previous ceiling of this screened in lanai was old stucco that was looking dingy and had cracks. The home owner hired Pro Quality Carpentry to renovate their outdoor space and make it look more appealing.
Pro Quality recommended our Tigerwood in a nickel gap tongue and groove profile that we custom milled for them. Tigerwood is an exotic hardwood that’s incredibly durable as well as exceptionally beautiful.
Tigerwood is naturally resistant to rot and decay and offers a 30+ year lifespan without chemical treatment.
The Install Process Was Simple
First Pro Quality Carpentry started by installing wood furring strips to the existing stucco ceiling and made sure to attach the furring strips to the wood support trusses underneath the stucco.
Next they installed our Tigerwood nickel gap tongue and groove and fastened to the furring strips with stainless steel screws through the tongue to leave the ceiling free of faster holes.
Having a wood plank ceiling is easier than you think. With a few tools and some elbow grease, you’ll have a gorgeous ceiling that will compliment your living space.
For this project the installer used some ¾”x5” Tongue & Groove Poplar that we custom milled for him. Poplar is a great hardwood because of its light weight even though it’s still classified as a hardwood.
Poplar was chosen by the homeowner because of the many characteristics: holds paint well, doesn’t have knots that affect the finish later, is more stable and won’t warp, twist or shrink like pine does, and it’s considerably less expensive than cherry or mahogany. Installing the ceiling plants was fairly simple thanks to the fact that Poplar can be more forgiving when nailing the end of the boards during installation. The homeowner primed and painted Poplar prior to the installation and finished with another coat of paint and putty to fill the nail holes to give a uniform look.
V-groove T&G PoplarFurring strips were attached onto the roof for installationThe finished product is an amazing ceiling, perfect for this bathroom style.
Now that we know why Poplar is the wood of choice for such a project, here are a few simple steps to create your own Poplar wood plank ceiling.
What you’ll need:
Poplar wood planks
Stain/sealer
16 gauge trim nail gun
Saw (if you have to cut out sections for lighting, fans, etc)
Ladder
Tape measure
Step 1: Measure the ceiling area so you know exactly how much material you’ll need.
Step 2: Allow the boards to acclimate inside before installation.
Step 3: Apply a stain/sealer to the boards.
Step 4: Locate the ceiling studs. This is where you’ll attach the furring strips 16” apart on center.
Step 5: Measure and cut the perimeter line of furring strips and attach.
Step 6: Measure, cut and attach the rest of the furring strips. They should run parallel and on top of the ceiling joists. Use your nail gun to attach them.
Step 7: Attach the plank perpendicular to the furring strips.
Continue attach the planks until you’re finished! You may find you have to measure out light fixtures and cut the planks accordingly.
When you’re finished you’ll have a classic looking ceiling that will floor your guests the next time they come over.