Attaching railing posts securely to an existing deck is essential for safety and stability. Here are step-by-step instructions for two methods to achieve this, catering to different preferences and skill levels:
Method 1: Recessing Posts Through the Deck
This method involves cutting through the deck boards and fastening the posts directly to the joists beneath. Make sure how you fasten the post to the joist adheres to the International Residential Code guidelines for deck railings. There is additional block the needs to be installed in between the deck joists an your post and required hardware and fasteners for this method.
Materials Needed:
- Railing posts (treated for outdoor use)
- Pressure treated blocking
- Circular saw or jigsaw
- Drill with screw bits
- Carriage bolts, washers, and nuts
- Clamps
- Tape measure
- Level
- Chalk line or marker
Steps:
- Planning and Measurement:
- Determine the spacing of the posts according to code requirements, generally 6 feet or less between the centers of the posts.
- Use a tape measure and chalk line to mark where each post will go, aligning with the underlying joists.
- Cutting Deck Boards:
- Drill a pilot hole and use a jigsaw to cut a hole the size of your post precisely where each post will be placed. The hole should be slightly larger than the post width to allow for adjustments.
- Positioning the Posts:
- Insert each post through the hole down to the joist level. Ensure that each post is plumb and level using a level.
- Securing the Posts:
- Use a clamp to hold your post in place.
- Drill holes through the post and into the joist below.
- Secure each post to the joist using carriage bolts, washers, and nuts. Tighten firmly to ensure stability.
- Finishing:
- Check all posts for stability and make any necessary adjustments.
- Once all posts are secured, proceed with the installation of the railing top and bottom rails, balusters, and any additional decorative elements.
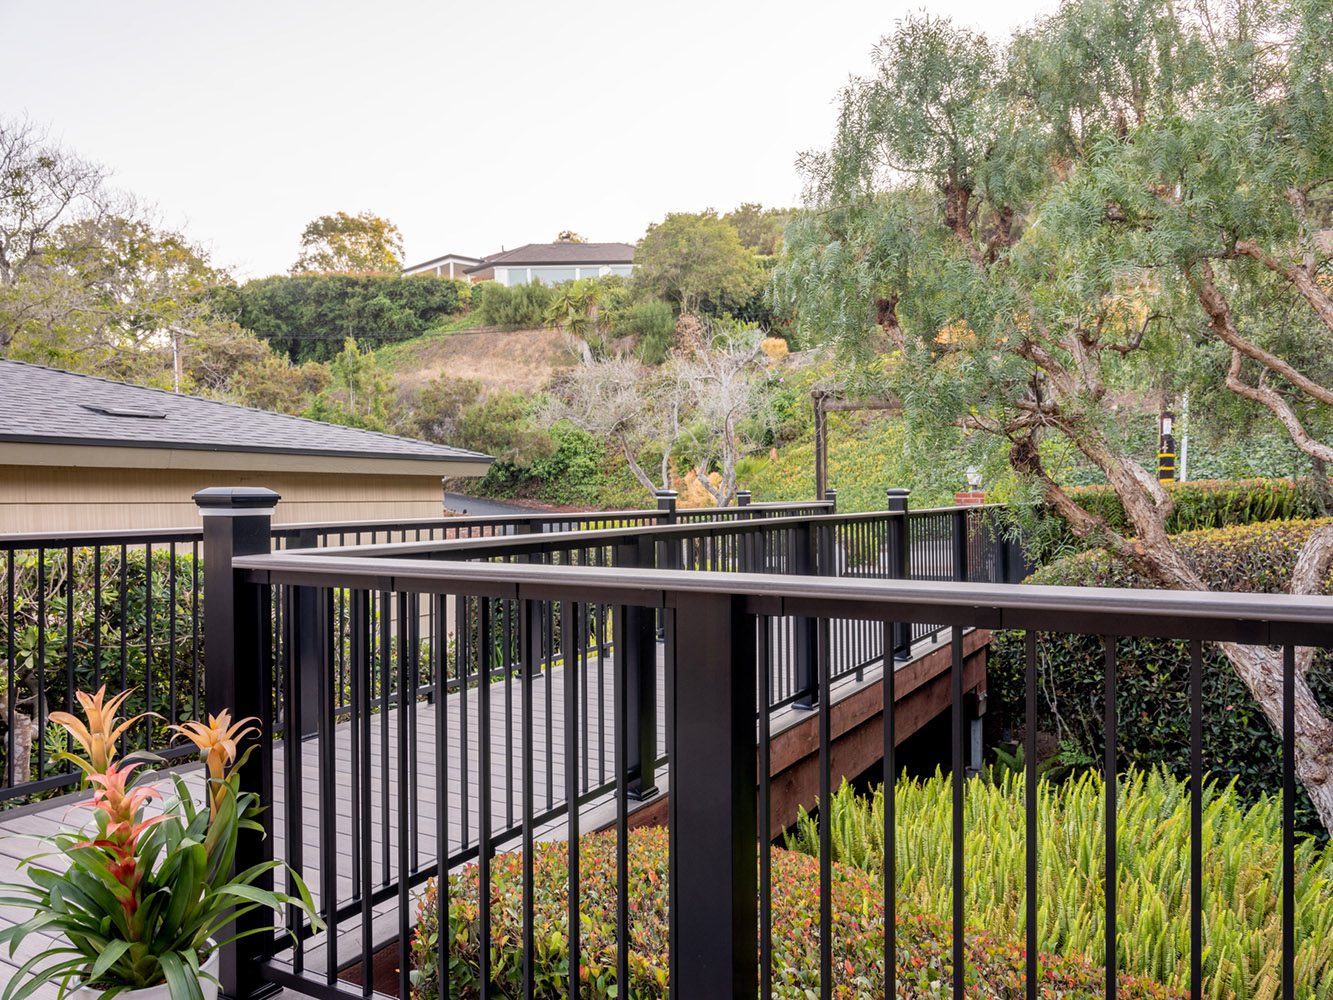
Method 2: Use Deck Railing Kits (e.g., TimberTech, Trex)
This method is generally easier, as it involves less cutting and uses prefabricated components with hardware and step by step instructions for mounting the railing to an existing deck.
Materials Needed:
- Deck railing kit (TimberTech, Trex, or another brand)
- Drill with screw bits
- Tape measure
- Level
Steps:
- Unpack and Prepare:
- Unpack your railing kit and ensure all parts are present according to the kit’s instructions.
- Read through the manufacturer’s installation guidelines.
- Measurement and Placement:
- Measure your deck to determine the placement of each post. Use a tape measure and chalk line or marker to indicate where each post will be installed.
- Ensure the spacing follows the guidelines provided in the kit and adheres to local code requirements.
- Installing the Posts:
- Position each post according to your marks. Most kits include a mounting system, such as a base plate and screws.
- Secure each post’s base plate to the deck surface using the provided screws and your drill. Ensure each post is perfectly vertical using a level.
- Assembling the Railing:
- Attach the rails to the posts according to the manufacturer’s instructions. This usually involves fastening brackets to the posts and then attaching the rails to these brackets.
- Install balusters or infill panels as required by the kit.
- Final Inspection:
- Once assembled, inspect the installation for any loose components and ensure everything is secure and stable.
- Check the entire railing for alignment and stability.
You can shop for TimberTech Railing and Trex Railing kits directly on our online store:
Both methods provide robust solutions for adding railings to an existing deck, but the choice between them depends on your preference for customization versus ease of installation.