Adding a railing to your deck is not only a safety measure but also an opportunity to enhance the aesthetic appeal of your outdoor space. Composite deck boards are a popular choice for railings due to their durability, low maintenance, and variety of design options.
In this blog post, we’ll guide you through the process of making a deck railing with composite deck boards, featuring TimberTech® Classic Composite Drink Rail for a stylish and functional finish.
Why Choose Composite Deck Boards for Railings?
Composite deck boards are made from a blend of wood fibers and plastic, offering several advantages over traditional wood railings:
- Durability: Composite materials are resistant to rot, decay, and insect damage, ensuring a longer lifespan for your railing.
- Low Maintenance: Unlike wood, composite boards require minimal upkeep, with no need for regular staining or painting.
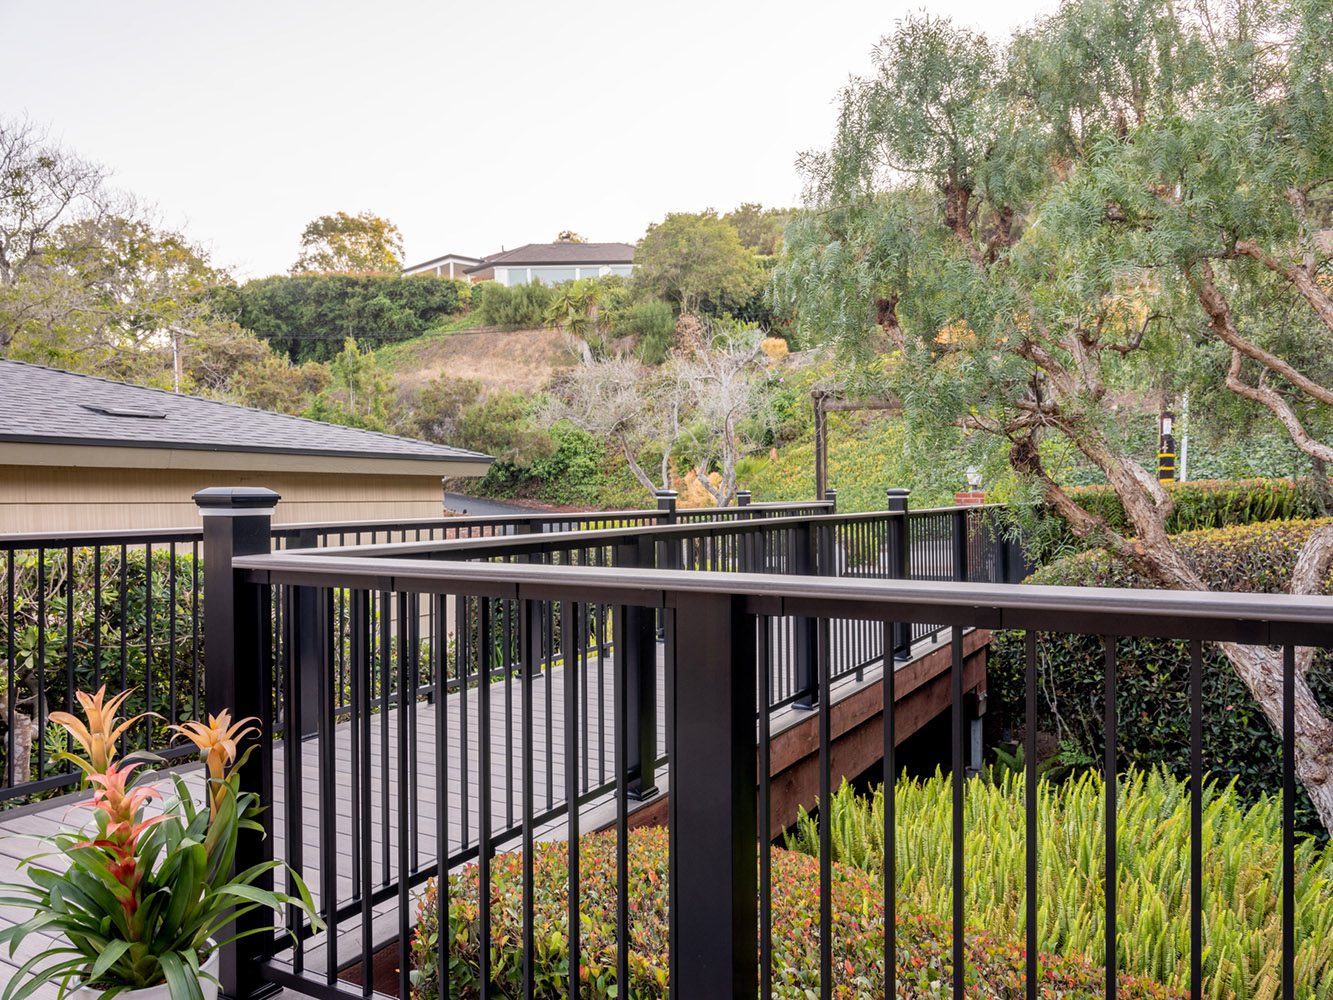
- Aesthetics: Available in a range of colors and textures, composite boards can mimic the look of natural wood or provide a sleek, modern appearance.
- Eco-Friendly: Many composite deck boards are made from recycled materials, making them an environmentally friendly choice.
Step-by-Step Guide to Building a Composite Deck Railing
Materials and Tools Needed:
- TimberTech® Classic Composite Deck Boards
- TimberTech® Drink Rail
- Post sleeves and caps
- Balusters (spindles)
- Railing hardware and brackets
- Screws and fasteners
- Measuring tape
- Saw (miter saw or circular saw)
- Drill
- Level
Step 1: Plan Your Railing Design
Before starting, determine the height and length of your railing, as well as the spacing between posts and balusters. Check local building codes for any specific requirements.
Step 2: Install Posts and Post Sleeves
Secure the posts to the deck frame at the desired intervals. Slide post sleeves over the posts to provide a finished look and additional protection.
Step 3: Attach the Top and Bottom Rails
Cut the top and bottom rails to the required length. Use brackets to attach the bottom rail between the posts, ensuring it is level. Repeat the process for the top rail.
Step 4: Install Balusters
Attach balusters to the bottom rail, maintaining even spacing between them. Secure the top ends of the balusters to the underside of the top rail.
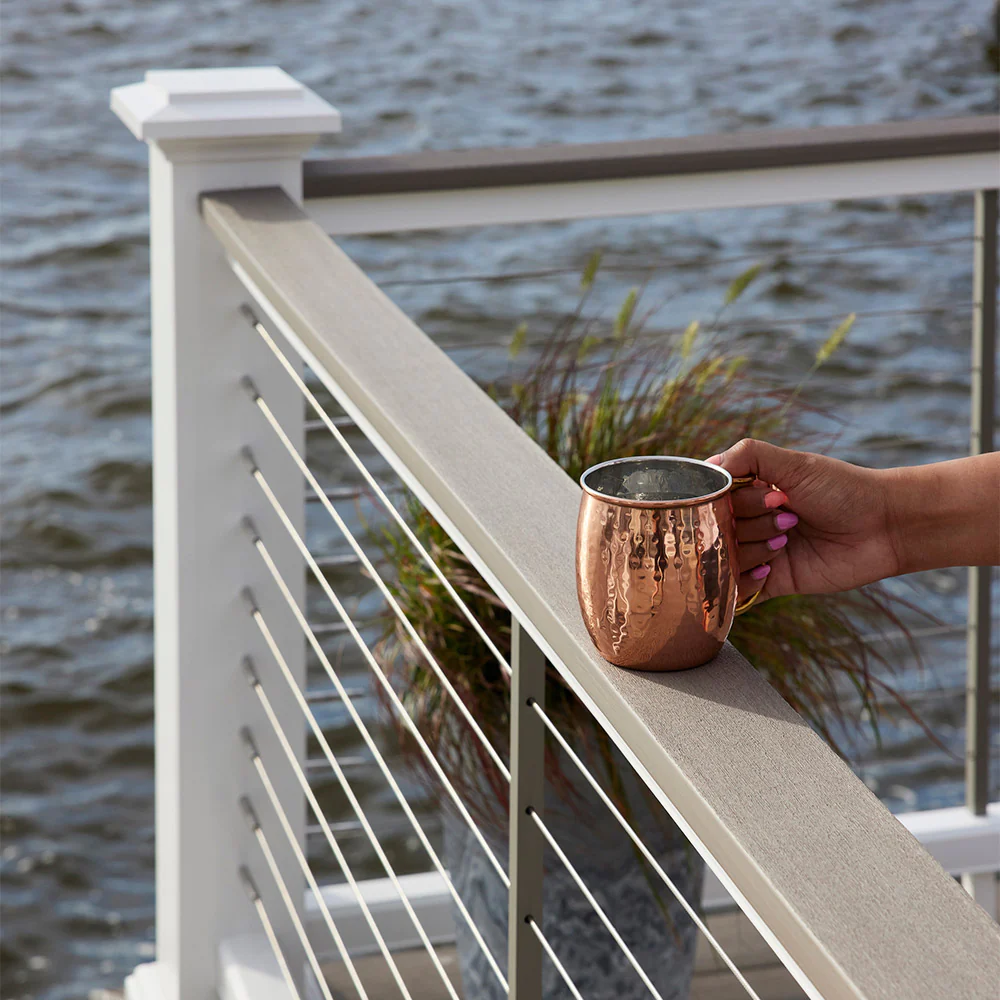
Step 5: Add the TimberTech® Classic Composite Drink Rail
For a convenient and stylish touch, install the TimberTech® Classic Composite Drink Rail on top of the top rail. This flat surface is perfect for resting drinks and adds a modern twist to your railing design. This allows you to attach a standard composite deck board to the top rail.
Step 6: Finish with Post Caps
Complete the look by adding post caps to the top of each post sleeve. These not only enhance the appearance but also protect the posts from weather damage.
Maintenance and Care
Composite deck railings require minimal maintenance. Regular cleaning with soap and water is usually sufficient to keep them looking fresh. Avoid using abrasive cleaners or tools that could scratch the surface.
Conclusion
Building a deck railing with composite deck boards is a straightforward process that can significantly enhance the safety and aesthetics of your outdoor space. By choosing TimberTech® Classic Composite Drink Rail, you can enjoy the benefits of a durable, low-maintenance railing with the added convenience of a built-in drink ledge. Follow these steps to create a beautiful and functional railing for your deck.
How do you connect the drink rail to a 2×4 wood deck railing?
You can drill a counter sink hole from the top of the deck board and drive screws in from the top and then drive a plug into the countersunk hold to hide your screw. There are countersinks and plugs available for both composite and hardwood decking.