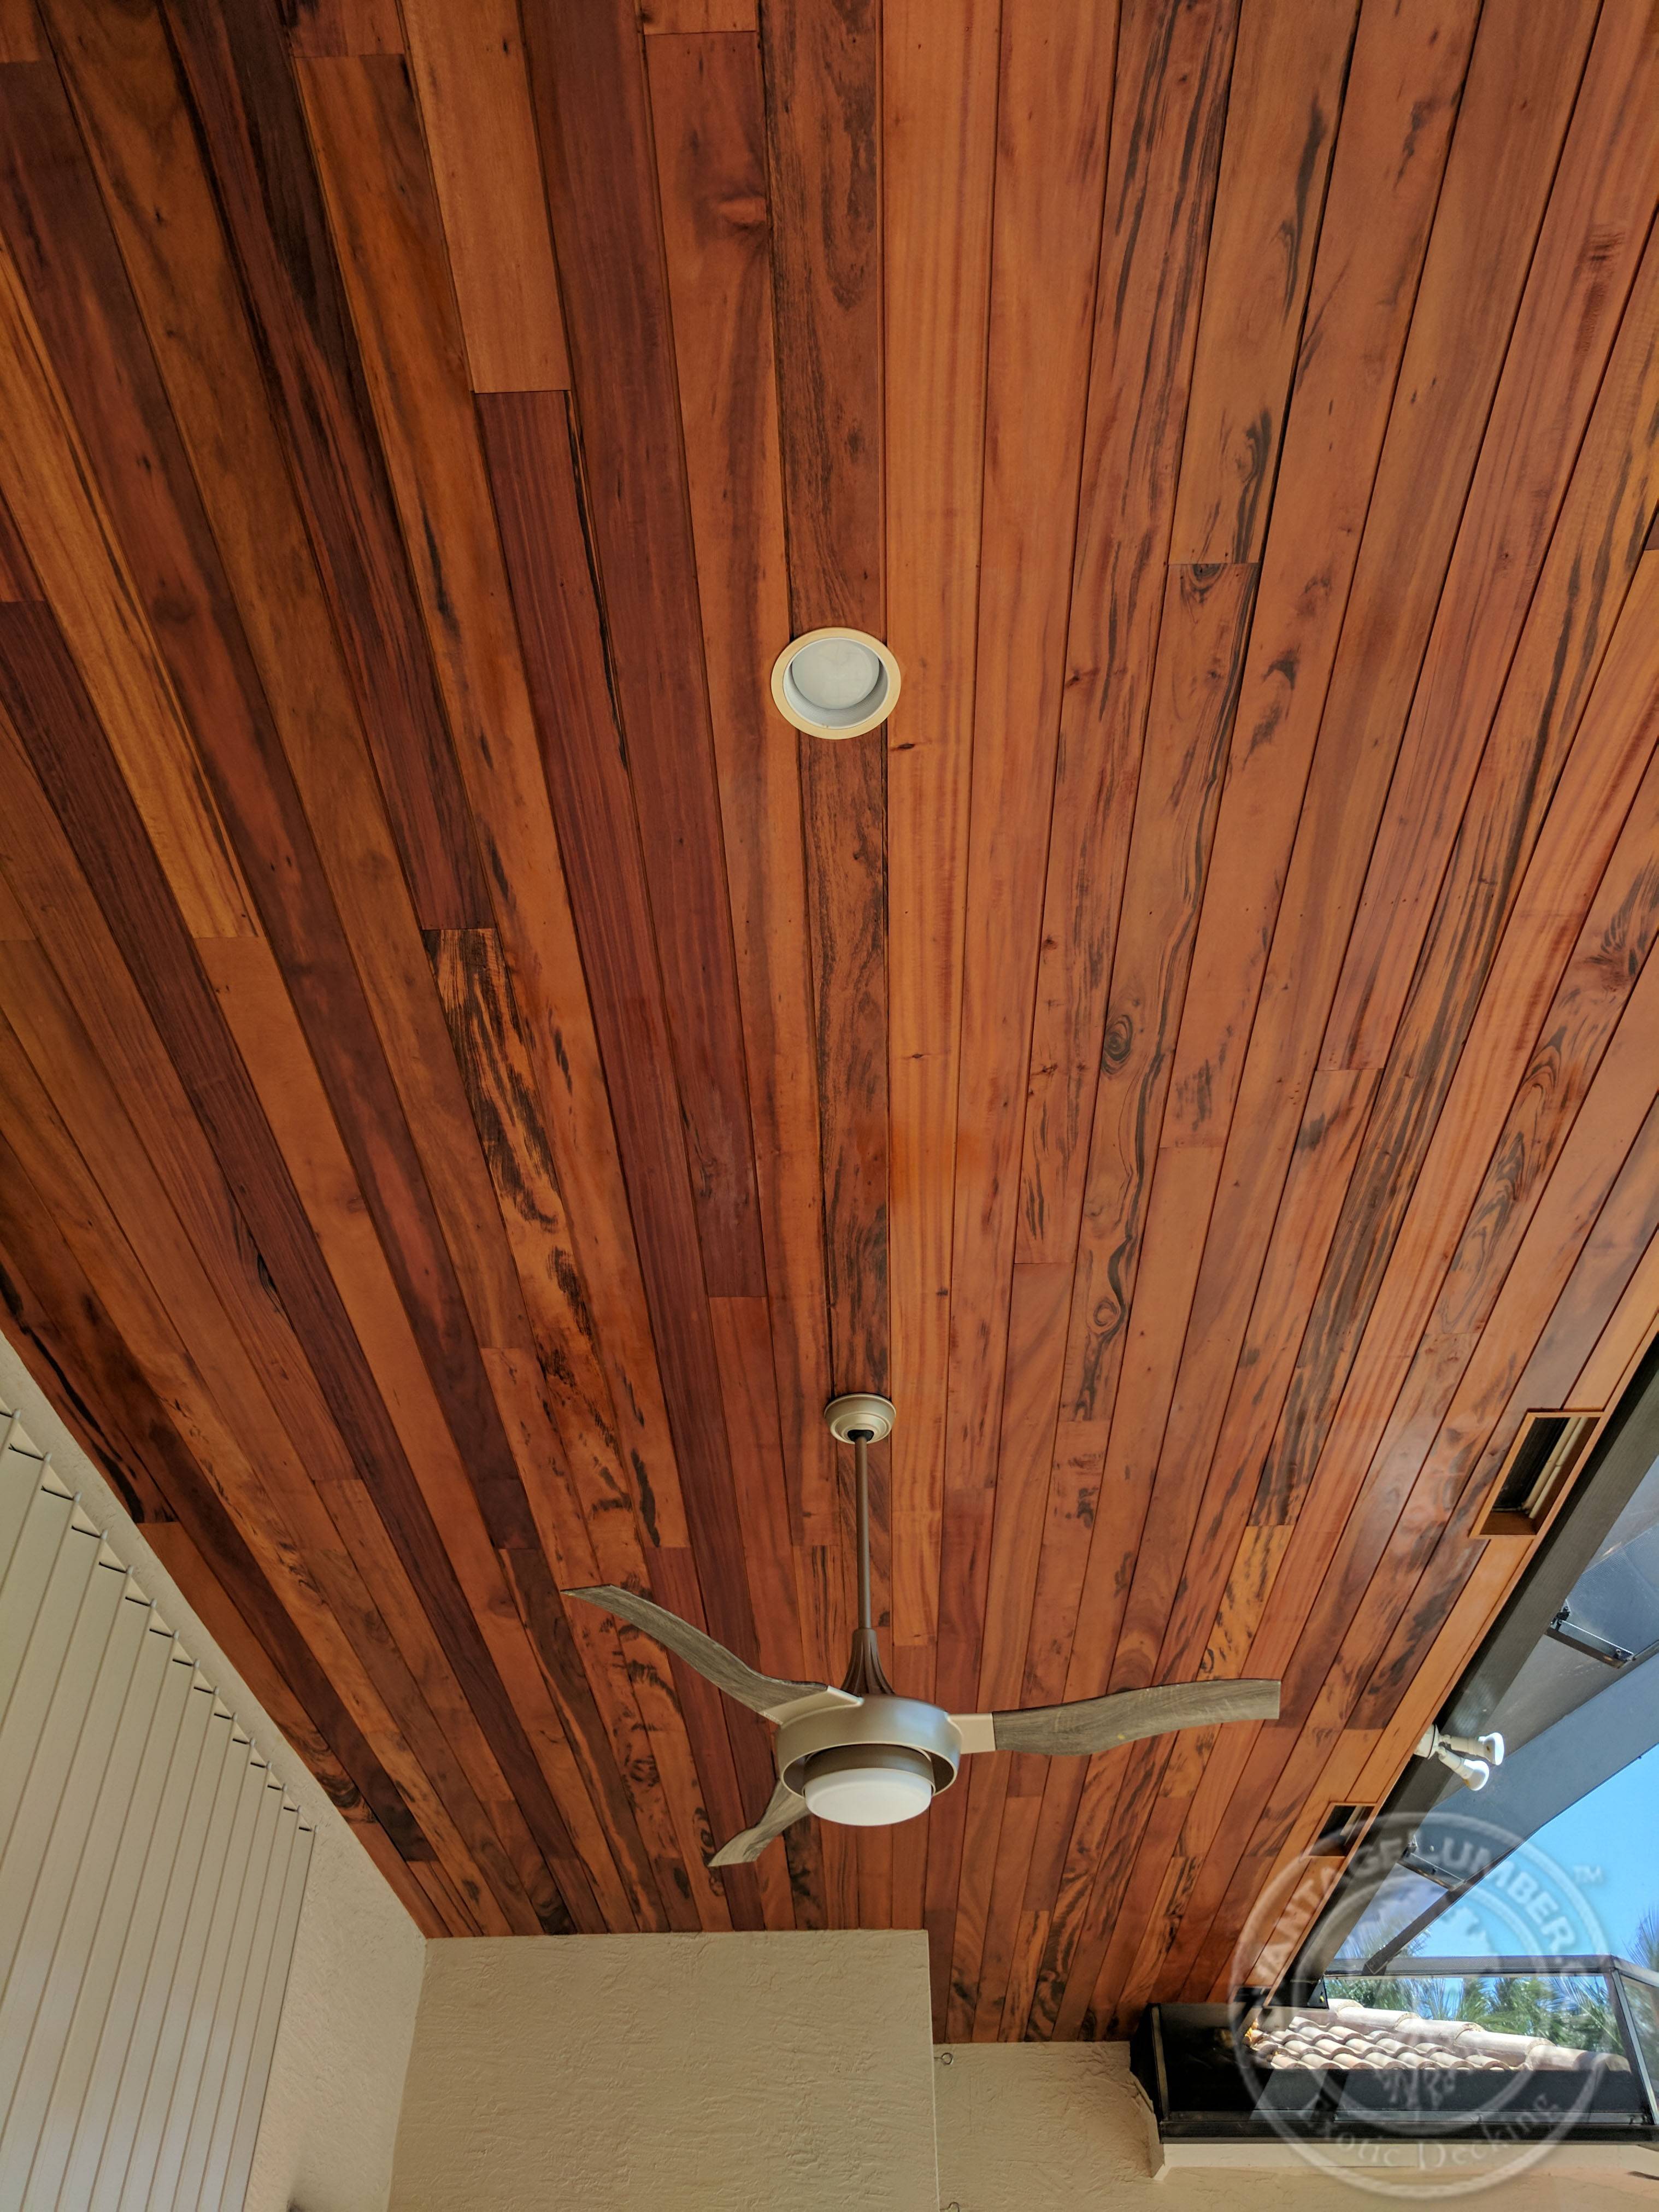
Staggering tongue and groove ceiling planks is a key step in ensuring a visually appealing and structurally sound installation. Here are detailed instructions on how to do it properly:
- Materials and Tools Required:
- Tongue and groove ceiling planks
- Saw (circular saw or miter saw)
- Measuring tape
- Pencil or chalk line
- Nail gun or hammer and nails
- Ladder or scaffolding
- Safety gear (gloves, goggles, ear protection)
- Preparation:
- Measure the ceiling area to determine the amount of material needed.
- Acclimate the planks to the room’s humidity and temperature by storing them in the room for 7-14 days before installation.
- Planning the Layout:
- Decide on the direction of the planks. Typically, they run perpendicular to the ceiling joists.
- Plan the stagger pattern. Avoid having the joints line up in a straight line across multiple rows, as this can weaken the installation and look less aesthetically pleasing.
- First Row Installation:
- Start from one corner of the room.
- Cut the first board to the desired length if you want to start with a shorter piece.
- Ensure that the board is aligned straight and flush with the wall.
- Secure the board to the ceiling joists using a nail gun or hammer and nails. Nail through the “tongue” side of the board so the next board will hide the nail.
- Staggering the Planks:
- For the second row, start with a different length of the board to create the staggered effect. The joint should be at least two joists away from the joint in the first row.
- Measure and cut the board to fit.
- Slide the “groove” of the new board onto the “tongue” of the installed board and nail it into place.
- Continue this pattern, ensuring that the joints between planks don’t line up directly with the joints in the previous or next row.
- Cutting Around Fixtures:
- If you encounter a light fixture or vent, measure and mark the area that needs to be cut out on the board.
- Use a jigsaw or handsaw to cut out the marked area before installing the board.
- Final Row:
- The last row might need a trimmed board to fit. Measure the remaining gap and cut the board to width.
- Install the final row, nailing through the “tongue” if possible, or face-nail if the tongue side is too narrow.
- Finishing Touches:
- Fill any nail holes with wood filler and sand them smooth if necessary.
- Apply the desired finish to the wood if it wasn’t pre-finished.
- Cleanup:
- Clean up all sawdust and debris.
- Inspect the ceiling for any missed nails or rough edges.
Remember to always follow safety guidelines while using power tools and working at heights. It’s also a good practice to double-check measurements before cutting to minimize waste and ensure a precise fit.