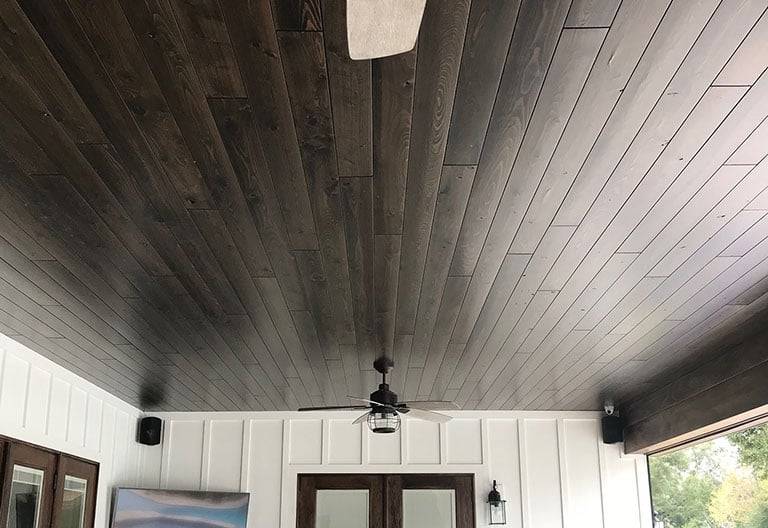
End-matched flooring, ceiling or wall planks are designed to provide a quicker, more secure installation. The term “end-matched” refers to the presence of a tongue and groove mechanism on the ends of the planks or boards.
The tongue and groove feature consists of a protruding “tongue” on one end of the plank and a corresponding groove on the opposite end. When two planks are fitted together, the tongue of one plank slides into the groove of the adjacent plank, creating a tight and interlocking connection. This design allows for a precise fit which enhances the overall aesthetic appeal of the installation.
The main advantage of end-matched flooring is the increased stability and durability it provides. The tongue and groove mechanism ensures that the planks remain firmly locked together, reducing the risk of movement or separation over time. This secure installation prevents issues such as warping, buckling, or gaps, which can sometimes occur with boards that are not end-matched.
End-matched tongue and groove or v-groove T&G ceiling planks offer several advantages when it comes to ease of installation, time savings, cost savings, and eco-friendliness. Let’s explore these benefits in detail, along with the wood species offered and the installation process for both ceilings and walls.
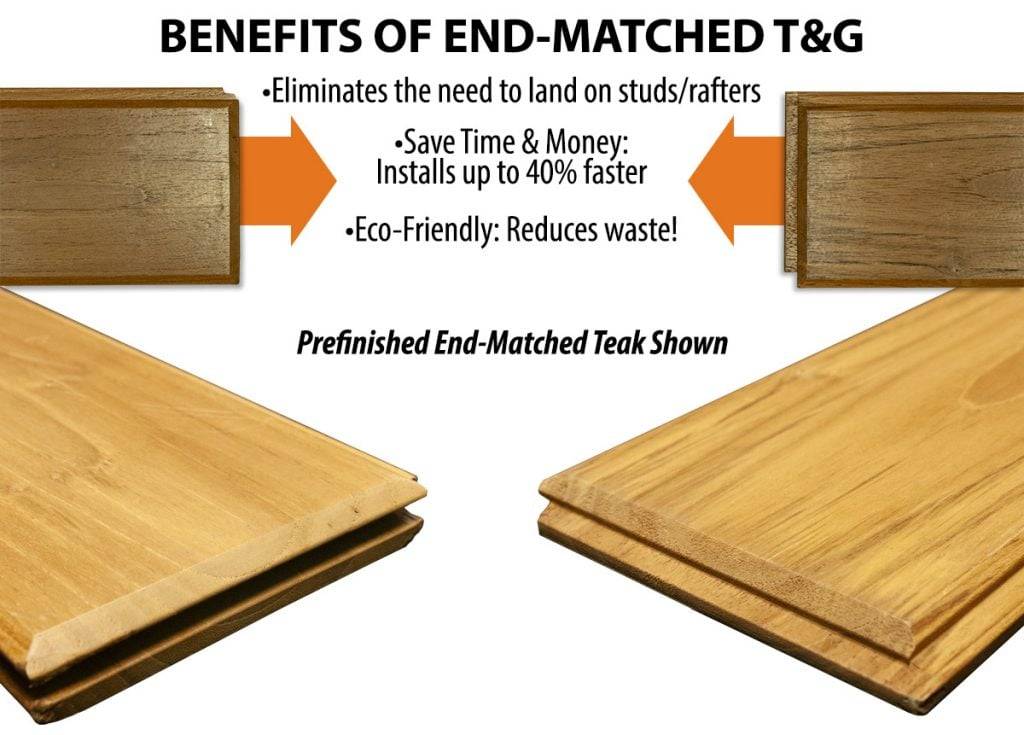
Benefits of End-Matching
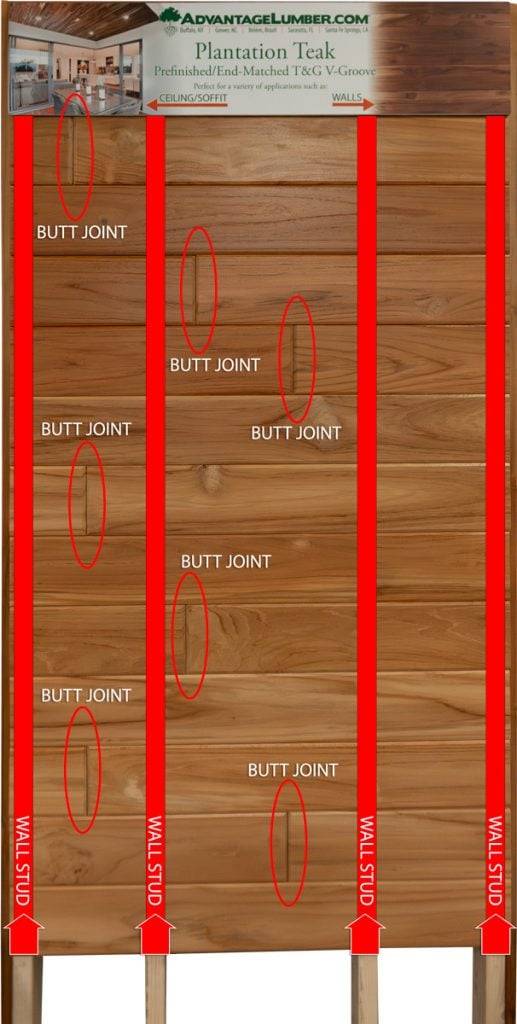
- Easy Installation: End-matched tongue and groove ceiling planks have a unique design that allows the ends of each plank to interlock, creating a seamless connection. This eliminates the need for precise cutting and fitting of individual planks to land on wall studs or ceiling rafters. As a result, installation becomes much easier and faster, even for those with limited carpentry experience.
- Time Savings: The end-matching feature saves significant time during the installation process. The planks easily slide into place, requiring less effort to align and secure them. This streamlined installation method reduces the overall time required to complete the ceiling, making it an efficient choice for both DIY enthusiasts and professional contractors.
- Cost Savings: By eliminating the need to land on wall studs or ceiling rafters, end-matched tongue and groove ceiling planks help reduce material wastage. Traditional installation methods often involve cutting and trimming planks to fit around obstacles, resulting in excess waste. With end-matched planks, you can maximize material utilization, which can lead to cost savings by minimizing the amount of material required.
- Eco-Friendly: The reduced material waste resulting from end-matched installations contributes to the eco-friendliness of these ceiling planks. By optimizing the use of wood, you can minimize the environmental impact associated with unnecessary waste generation. Additionally, we offer sustainable wood species, such as Plantation Teak, which is grown on a plantation in rows like broccoli which further enhances the eco-friendly aspect of the product.
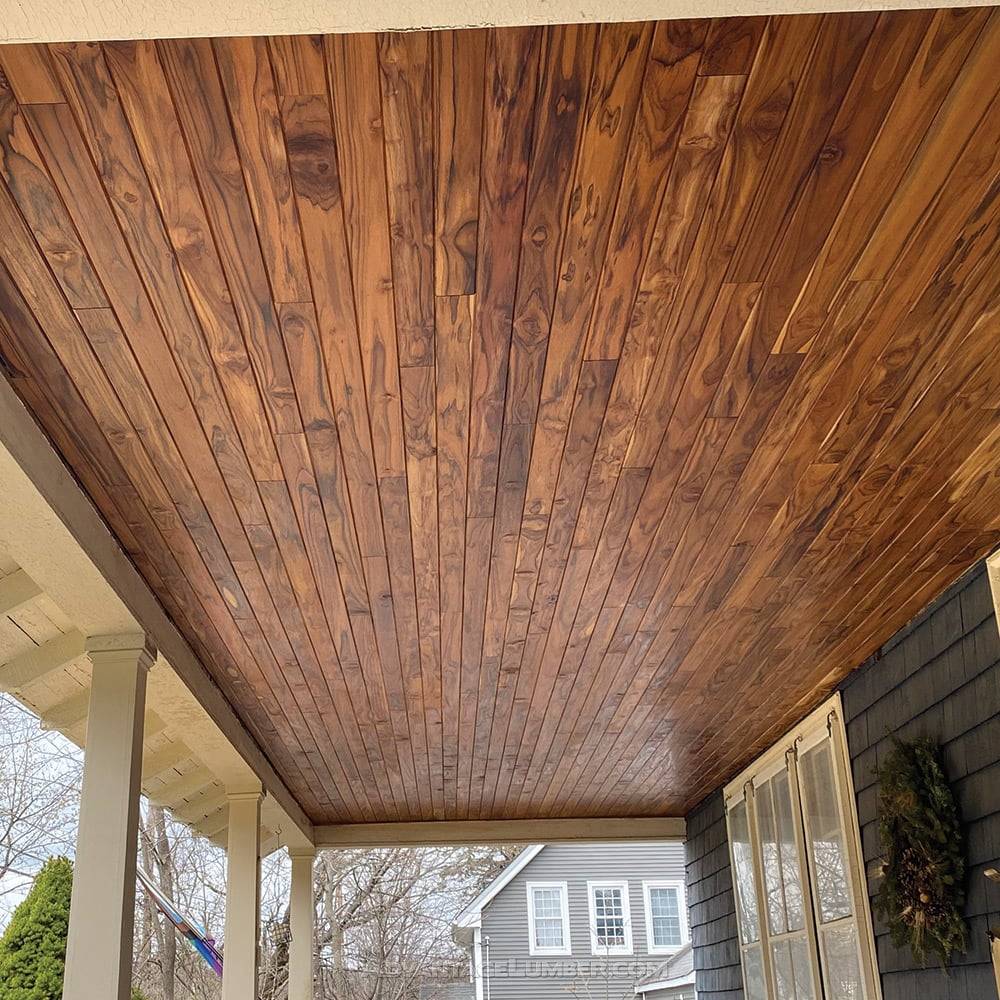
Wood Species Offered: Teak, Pecky Bolivian Walnut, and Synergy Wood® Ceiling Products are popular wood species offered for end-matched tongue and groove ceiling/wall planks. Teak is known for its durability, water resistance, and rich color variations. Pecky Bolivian Walnut features unique, natural holes or voids, giving it a distinctive and visually appealing character. Synergy Wood® Ceiling Products provide a range of wood species options, including Southern Pine and Red Grandis.
Step-by-Step Installation on a Ceiling
- Prepare the ceiling: Ensure the ceiling surface is clean, dry, and structurally sound. Remove any existing fixtures or obstructions.
- Measure and plan: Measure the ceiling area to determine the quantity of planks required. Consider the desired orientation and pattern of the planks.
- Start with the first row: Begin at one corner of the ceiling. Align the first row with the starting edge of the ceiling. Nail or staple the plank into place.
- Connect the remaining planks: Start with the next plank and insert it into the end-matching groove of the installed plank. Continue this process, connecting the planks until the first row is complete. Use a nail gun or stapler to secure each plank.
- Continue with subsequent rows: For the second row and beyond, line up the plank and insert it into the previous row’s end-matching tongue. Stagger the seams for a more visually appealing result. With end-matched planks there is no need to end on rafters/wall studs! Secure each plank with nails or staples.
- Trim as needed: Measure and trim planks to fit around corners, edges, or fixtures using a saw or appropriate cutting tool.
- Complete the installation: Repeat the process until the entire ceiling is covered with the end-matched tongue and groove planks. Ensure all planks are securely fastened.
End-Matched Planks for Walls: End-matched tongue and groove planks can also be installed on walls using a similar process. The steps involve measuring, planning, applying adhesive, and connecting the planks, following the desired pattern. The main difference is that the planks are mounted vertically on the wall surface instead of horizontally on the ceiling.
In summary, end-matched tongue and groove ceiling planks offer time savings, cost savings, and eco-friendliness due to their easy installation process, reduced material waste, and optimal utilization of wood. They come in various wood species like Teak, Pecky Bolivian Walnut, and options from Synergy Wood Ceiling Products. The same installation process can be applied to walls for a visually appealing result.
End-Matched Synergy Wood® Ceilings
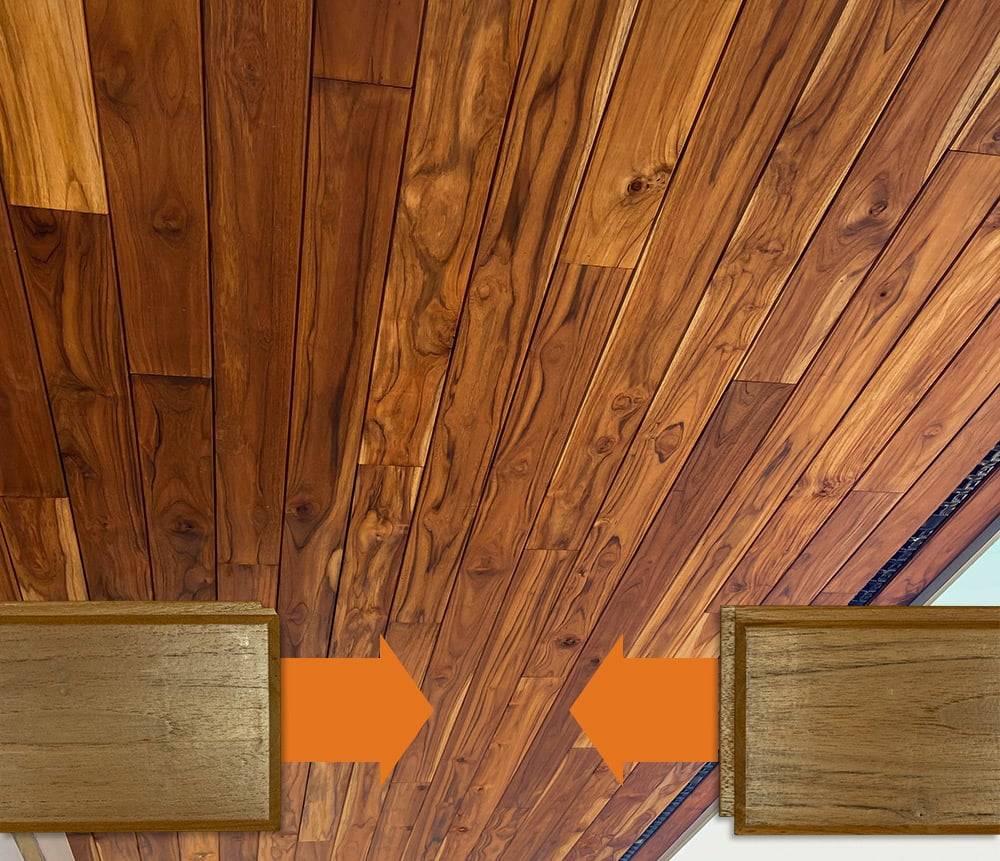
WHAT IS END-MATCHING? WHY IS IT BENEFICIAL?
End matching is the process of double end-trimming each plank using boards milled with a tongue and groove on the plank ends. This provides a male and female end, allowing the boards to be interlocked during installation and creating a mechanical bond. When boards are interlocked through end-matching, cupping potential is eliminated and wood expansion and contraction are tolerated.