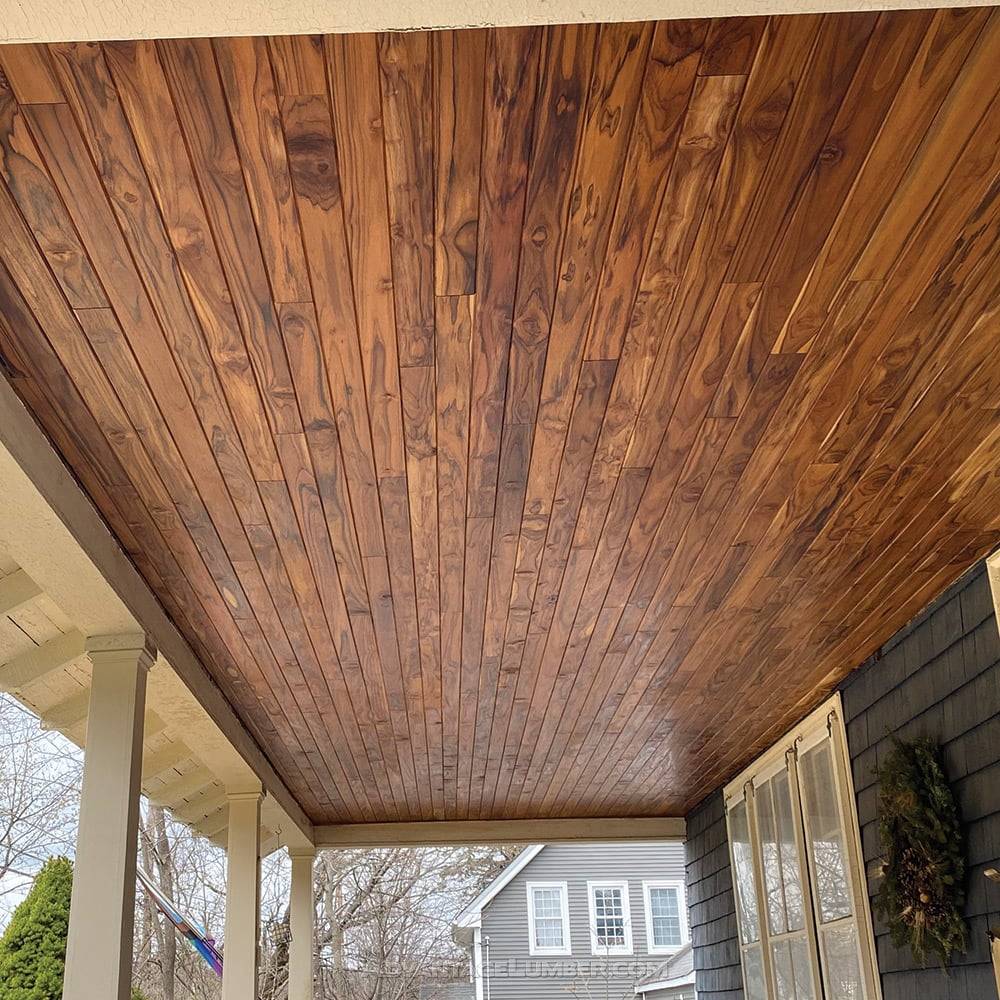
Installing a tongue and groove wood ceiling is a process that can significantly enhance the aesthetic of a room. Here’s a detailed guide on how to do it:
Tools and Materials Needed
- Tongue and Groove Planks: Choose the type of wood according to your preference.
- Finishing Nails or Brad Nailer
- Hammer (if using finishing nails) or Brad Nailer
- Tape Measure
- Chalk Line
- Stud Finder
- Ladder or Scaffolding
- Circular Saw or Miter Saw
- Jigsaw (for cutting around fixtures)
- Safety Glasses and Gloves
- Wood Putty (for filling nail holes)
- Sandpaper
- Level
- Pry Bar (if needed for adjustments)
Preparation
- Acclimate the Wood: Store the wood in the room where it will be installed for 7-14 days to let it adjust to the room’s temperature and humidity.
- Prepare the Room: Remove furniture and cover floors with drop cloths. Remove any existing ceiling fixtures and cover electrical boxes.
Installation Steps
- Find Ceiling Joists: Use a stud finder to locate and mark the ceiling joists.
- Snap Chalk Lines: Snap chalk lines across the ceiling to mark the joist locations. This will guide you where to nail the planks.
- Measure and Cut the First Plank: Measure the length of the ceiling and cut the first plank to fit. If your room is longer than your planks, you’ll need to stagger the seams.
- Install the First Plank: Align the first plank with the edge of the ceiling. Nail it into the joists through the tongue part of the plank. Use a level to ensure it’s straight.
- Continue Installing Planks: Fit the groove of the next plank into the tongue of the first plank. Nail into the joists through the tongue. Continue this process, ensuring each plank is snug against the previous one.
- Stagger the Seams: If you need to join two planks end-to-end, stagger the seams for a more natural look and structural stability.
- Cut Planks for Fixtures: When you reach a light fixture or vent, measure and cut the plank to fit around it using a jigsaw.
- Install the Final Plank: The last plank may need to be trimmed in width to fit. Use a table saw or circular saw for a straight cut.
- Fill Nail Holes: Fill any visible nail holes with wood putty, then sand smooth once dry.
Finishing Touches
- Sanding: Lightly sand the entire ceiling if necessary.
- Stain or Paint: If desired, apply a stain or paint to the wood. This is easier to do before installation, but can be done afterward with care.
Tips
- Always wear safety glasses when cutting wood.
- Keep a level handy to check that each plank is straight as you progress.
- Be patient and precise with measurements and cuts for a professional-looking finish.
Post-Installation
- Reinstall any ceiling fixtures.
- Clean up the room, removing all tools and materials.
This guide provides a thorough overview of installing a tongue and groove wood ceiling. Remember to take your time and measure twice before cutting, to ensure the best possible result.

What type of wood is this in the ceiling photo?
That is our character grade teak: https://buy.advantagelumber.com/products/1×4-plantation-teak-end-matched-v-groove-prefinished-character-grade