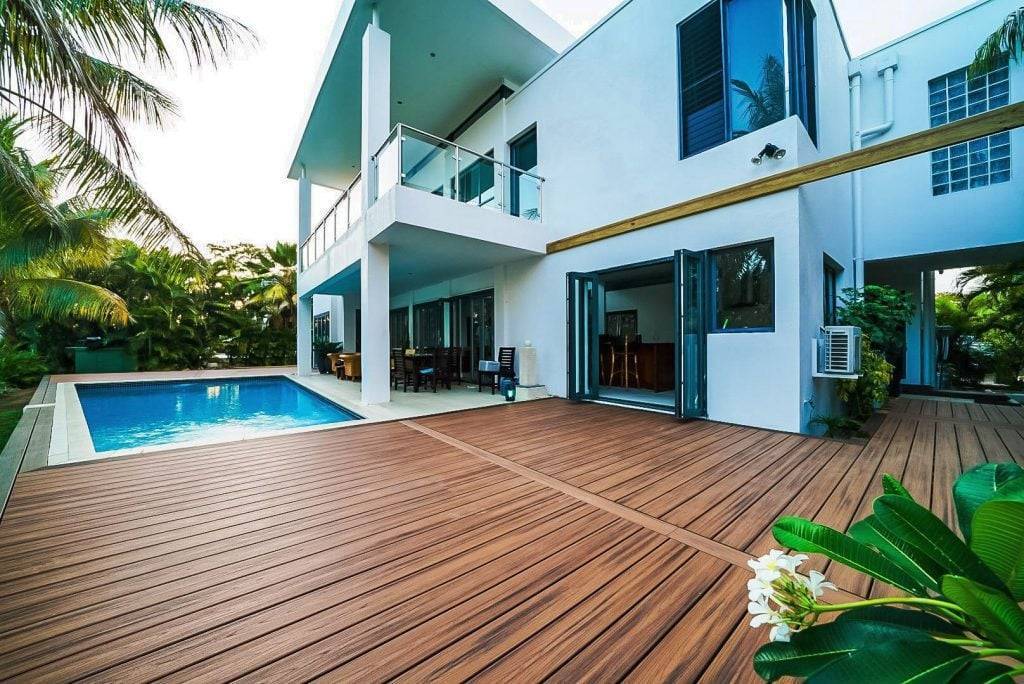
Trex decking is a popular brand of composite decking made from a blend of wood fibers and recycled plastic. Installing Trex decking can be done in several ways, depending on your preferences, skills, and available tools. Here are some common methods for installing Trex decking:
Traditional Wood Framing
You can install Trex decking on a traditional wood frame, similar to how you would install wood decking. In fact most Trex deck boards are installed on a pressure treated wood frame.
Make sure the joists are spaced no more than 16 inches apart for residential applications, and follow the manufacturer’s recommendations for fastening and gaping. Many professional Trex decking installers will space their deck joists 12 inches on center.
This can be required by the manufacturer when you start doing more complex installations where your deck boards are at 45 degree angle. Additionally since Trex is a composite decking product it is much more flexible than wood.
By installing 12 inches on center you are less likely to see your deck boards sag in between the joists.
Pro Tip:
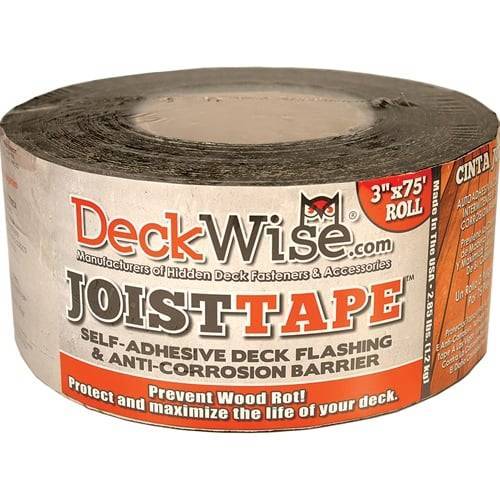
Use DeckWise Joist tape on top of your joists before installing your Trex deck boards. A common place for rotted joists is the top of the joist because water get trapped in between the deck board and deck joist.
When building a deck with Trex deck boards that are warrantied for 25, 35 and 50 year warranties against issues like rot. This step should not be skipped as it will help prolong the life of your deck joists.
You can purchase DeckWise deck joist tape from our online store: Buy DeckWise Joist Tape
Hidden Fasteners
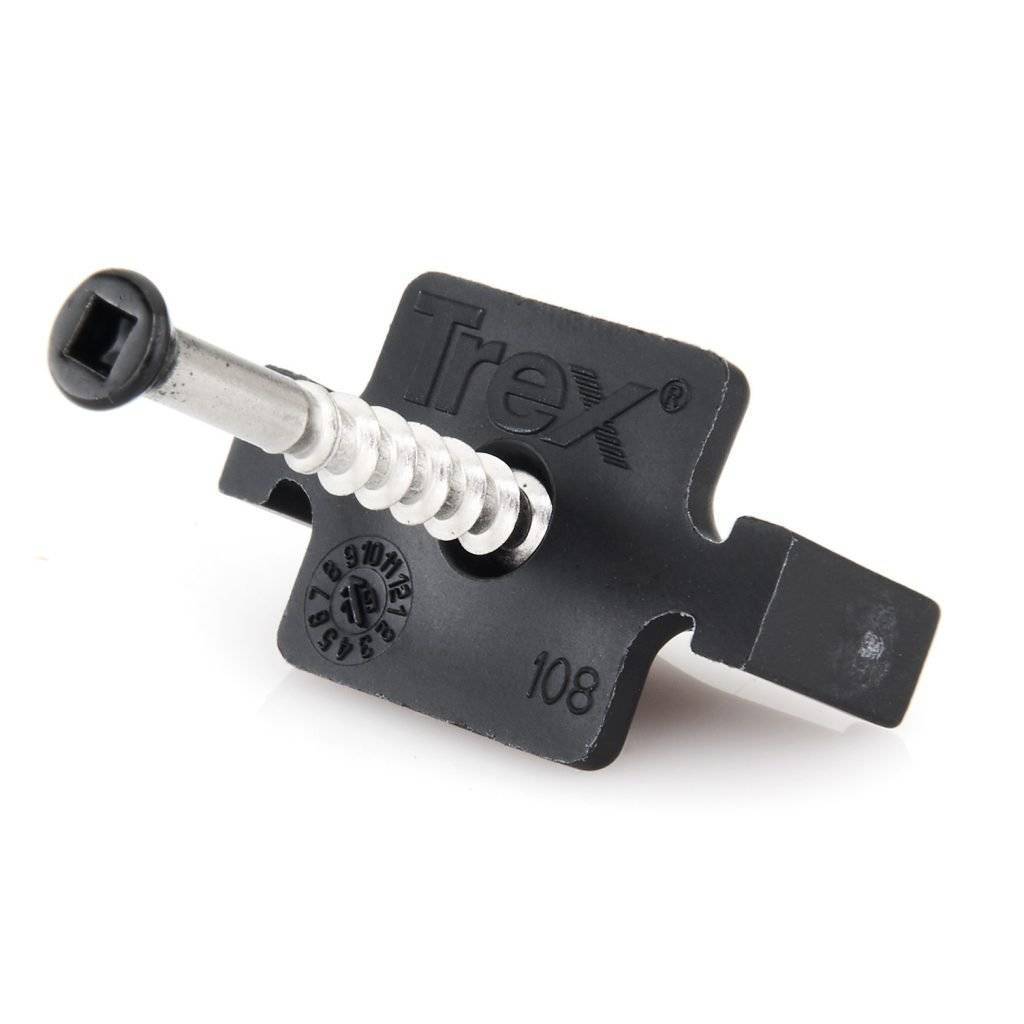
Trex offers a hidden fastening system called Trex Hideaway, which allows for a smooth, fastener-free deck surface. This system uses clips that attach to the grooved edges of the decking boards, securing them to the joists while leaving no visible screws.
Here’s the link to buy the Trex Hideaway® Universal Hidden Fasteners from our online store.
Surface Screws
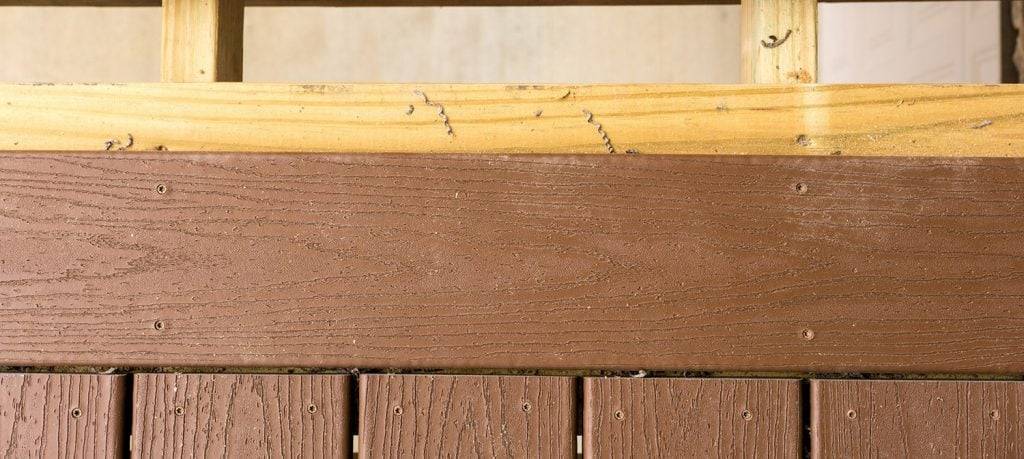
If you don’t want to use a hidden fastening system, you can use color-matched composite deck screws that are designed to blend with the decking material. Pre-drill and countersink the screws to prevent splitting and mushrooming.
You still may experience slight mushrooming around the screw holes as shown in the picture below. This is why most people prefer the hidden fastening system.
We’ve covered a lot of options to consider for mechanical fastening and prolonging your deck joists. Now lets discuss a few aesthetic options you should consider when installing you Trex decking.
Picture Frame Method
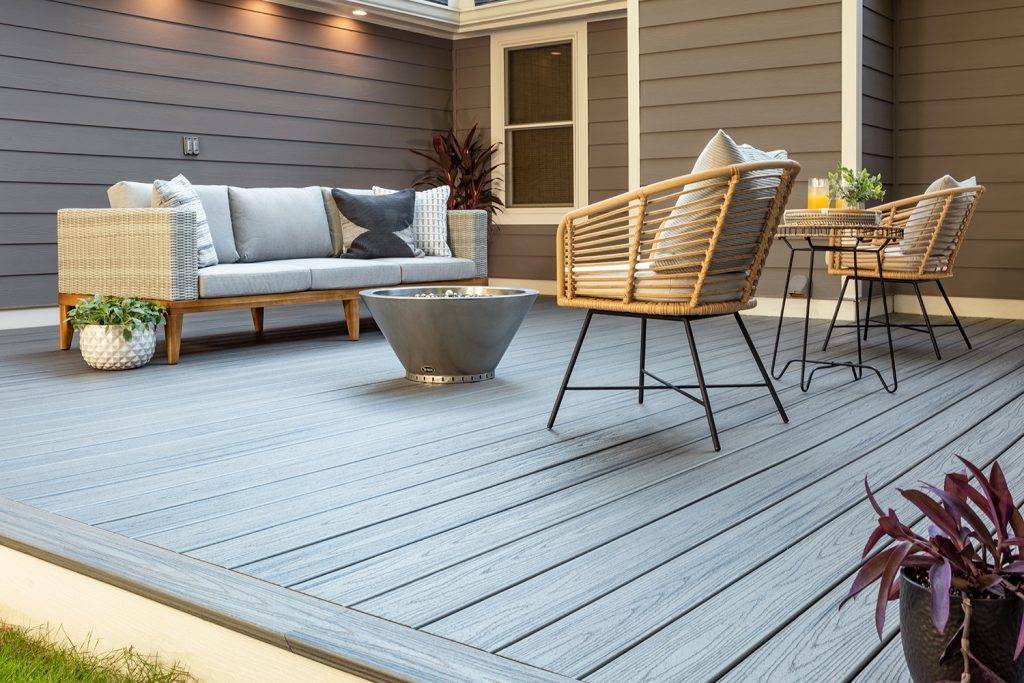
This technique involves installing a border or “picture frame” around the perimeter of the deck, using either grooved or non-grooved Trex boards. The main deck boards can then be installed using hidden fasteners or surface screws, while the border boards are attached with surface screws or finish nails.
We advise against using the grooved boards for the picture frame method since you don’t want to see the groove on the outer edge of the deck.
As you can see in the picture above installing a picture frame border on your Trex deck will give you a much cleaner more professional looking install. This is much better then running the deck boards the full length with all the ends exposed.
Fascia Boards
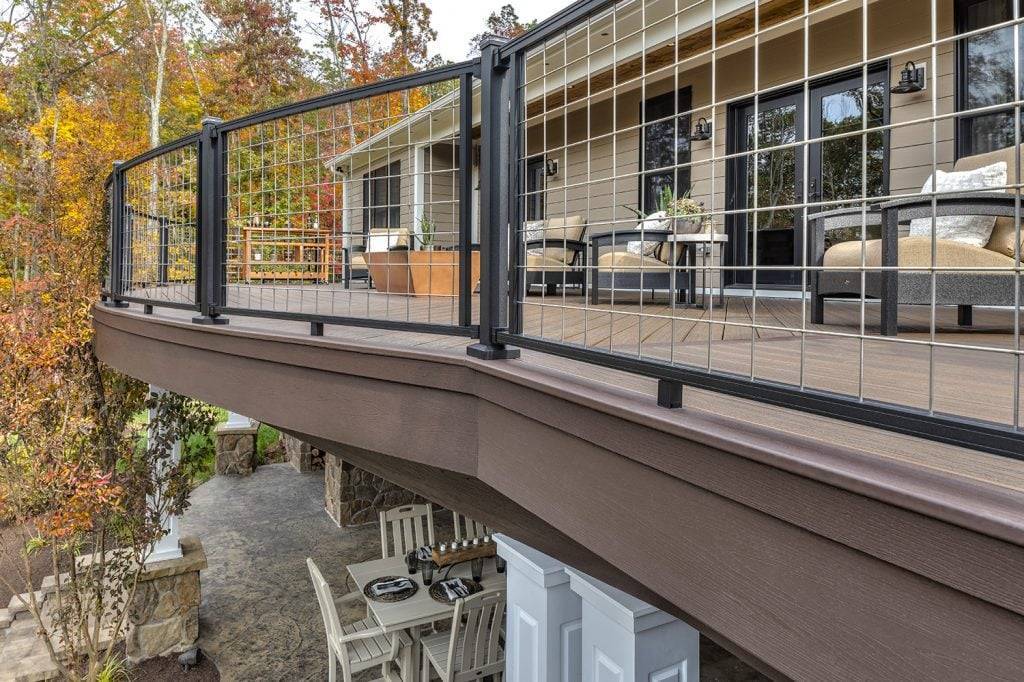
To give your Trex deck a polished look, you can install fascia boards around the perimeter. These boards are designed to cover the outer edge of the rim joists and provide a clean, finished appearance.
As shown in the picture above this deck features a stepped fascia which gives the deck a very high end designer look. Install your fascia first to make sure your picture frame deck board over hangs the fascia.
This provides a much nicer look than running the picture frame flush with the fascia. The fascia boards are relatively cheap since your usually just covering the outer rim joists. Don’t skimp on the fascia when planning and installing your Trex deck.
We sell Trex Fascia on our online store and ship direct to you home or job site. To shop all of our Trex decking products online: Click here