Ipe is not an abbreviation. Rather, it’s the common name of Tabebuia serratifolia, a tropical hardwood lumber specie. The correct pronunciation is “EE-pay”. Other common names for ipe include Brazilian walnut and ironwood.
The ipe tree is native to South America. However, it also grows throughout Mexico, the Caribbean, southern Florida, and other tropical regions.
Ipe wood is extremely dense, making it one of the most durable woods in the world. It’s also a beautiful wood, boasting a rich, dark brown color. As a result, ipe is highly sought after for high-end exterior woodworking projects. It’s a popular material for decks, siding, fences, and outdoor furniture.
AdvantageLumber.com carries the largest inventory of ipe lumber in North America. We mill ipe into decking, siding, interior flooring, live-edge slabs, and cabinet-grade lumber.
Can you paint ipe wood? It’s a common question, and the experts will always tell you the same two things:
No
Why would you want to?
Those can be frustrating answers. Maybe you want to use ipe for its strength, but you aren’t fond of its color. Or maybe you inherited a finished project from a previous homeowner whose tastes didn’t match yours. So what can you do?
These ipe posts could look striking if painted white. But is ipe wood paintable?
Why Ipe Is Not Paintable
First, let’s look at the source of the problem. We paint wood all the time; why is ipe different?
Exotic hardwoods (including ipe and its friends: cumaru, tigerwood, etc.) are not like most woods. Paint won’t stick to them! For one, they’re just too dense. The tight grain squeezes other substances out, and creates a relatively non-porous surface (compared to softer woods) that leaves the paint with nothing to cling to.
Another reason paint won’t stick to ipe and its ilk is that these woods are saturated with natural oils. These oils repel the paint, much like how the oil on a duck’s feathers repels water.
It just so happens that these two characteristics, density and oils, are what make ipe such a good choice for exterior projects in the first place. The dense grain gives it an impervious structure, and the oils fight off mold and decay. It’s too bad that they also have the unfortunate side effect of making the wood difficult to paint.
And it’s not just paint. Most wood stains and film-forming top coats will struggle to maintain any lasting hold on ipe. That’s why companies developed specialized products like Ipe Oil® and Messmers for dealing with exotic hardwoods. These oil-based finishes were specifically formulated to penetrate deeply into ipe’s dense grain structure and enrich the wood’s natural characteristics.
Can Anything Be Done?
Some woodworkers have claimed mild success in painting ipe by taking a few preliminary steps. First, sand the ipe with coarse-grit sandpaper to rough up the surface a bit. This will give the paint something to cling to. Then, apply several layers of oil-based primer. Finally, you can paint the ipe, but use an oil-based paint instead of the usual latex stuff.
Having said that, these steps will not guarantee a perfect, long-lasting finish; and as a rule, AdvantageLumber.com does not recommend painting ipe.
Alternatives to Painting Ipe
Painting ipe may not be a good idea, but you do have some other options.
Use a Different Wood
If you’re starting a brand-new project, this is the best way to go. A wood like cedar may not have the strength and longevity of ipe, but you can paint it to your heart’s content. The paint will also help protect the wood, giving back some of the durability you sacrificed by using a softer wood specie.
Cover the Ipe in a Paintable Material
Sometimes you just don’t have a choice. Either ipe is required for its structural properties, or someone else installed the wood without asking you first!
In cases like this, when you absolutely must use ipe, you should first consider if you really want to cover up that beautiful, natural hardwood. If your answer is still “yes”, then your best option is to clad the ipe in a paintable material. Build a sheath or covering out of another wood, such as cedar or even pressure treated pine, and paint that instead. You’ll get the strong foundation provided by ipe as well as full control over the final appearance.
Ipe isn’t just for decking anymore. This versatile wood is perfect for a variety of outdoor projects because of its durability. Its strength and dimensional stability can make it a little harder to work with than other woods, but with a lifespan of 75 years, it’ll be worth it to put the little extra elbow grease into your project.
Today we’re going to show you how to build a fence out of Ipe. Not only will this give you added privacy, but it will look fantastic in your yard!
Picking the straightest boards will make the installation run smoothly.
Step 1: pick out the straightest boards you can find from your shipment. This will make the fence building process easier.
End sealing protects the board from warping and cracking over time.
Step 2: End seal your boards. This is going to keep the wood from cracking, splitting and warping over time.
Be sure to get accurate measurements to ensure easy installation.
Step 3: Measure where the board will overlap on the post. Mark the center of the overlapping part. This is where the board will be attached to the post. Make note of this measurement.
Predrilling is important so you don’t crack the board.
Step 4: Use a 1/8” drill bit and 3/8” countersink bit to predrill a hole for the screw.
Construction adhesive will give the deck board extra holding power.
Step 5: Apply some construction adhesive on the post. Allow the adhesive to dry before attaching the deck boards.
Attach the first board to the post.
Step 6: Attach one end of the board to the post. Use a level and attach the board to the post.
Be sure to obtain accurate measurements before you cut a groove into the board.
Step 7: Next, take a biscuit joiner, set it to the correct depth for the clip that you’re using. Practice on some scraps first so you don’t risk ruining an entire board.
Insert the Ipe clips into the groove.
Step 8: Place the Ipe clip into the groove.
Don’t forget to predrill!
Step 9: Use the drill bit from the Ipe clip complete kit and predrill at a 45° angle. Attach the screws.
Be sure to get accurate measurements to ensure easy installation.
Step 10: Take your measurements from the first board and mark the next board.
Repeat steps 4-9 until your fence is complete.
Insert wood glue into the hole before placing the plug in it.
Step 11: Insert wood glue into the hole and use a hammer to tap the plug to fit securely.
Cutting the ends of the plugs will yield a smoother surface
Step 12: Using a Flush Cut Saw, remove the extra piece of the plug so that it becomes flush with the board.
Sand down the plugs for a smooth surface.
Step 13: Sand down the top of the plug with a 120 grit orbital sander for a smooth surface.
Here’s the finished Ipe fence.
From here you have the option to oil the wood with Ipe Oil, or you can leave it untreated and allow it to weather to a natural gray.
***Pro Tip: Using an orbital sander leaves a smoother finish. Typical pad sanders will end up leaving scratches that become prominent as time
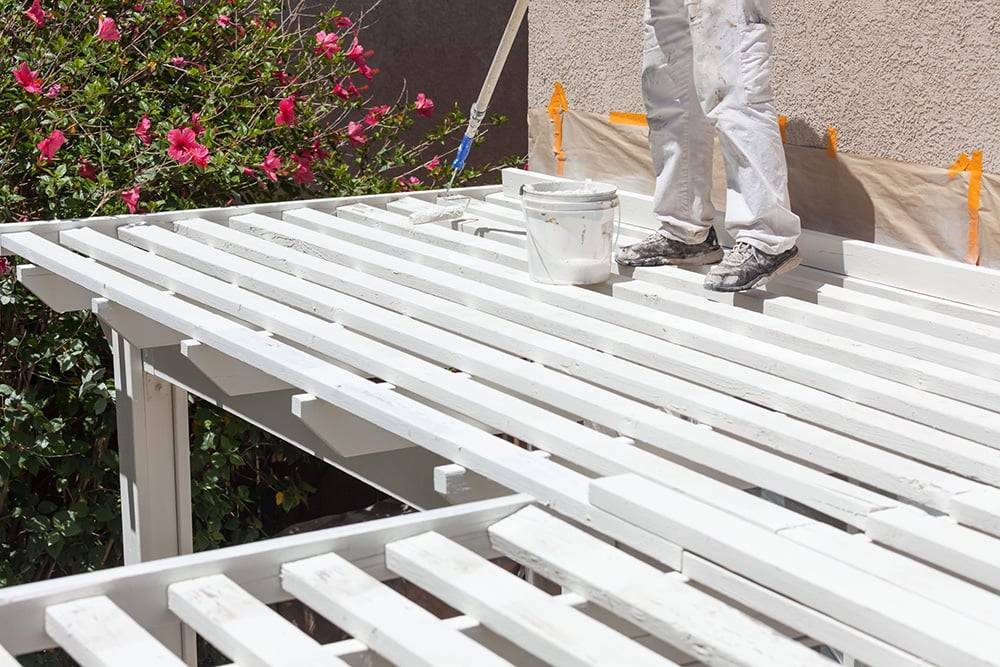
It’s not enough to say that you’re product is eco-friendly. People want, and deserve, proof. However, it is getting harder for all of us to cut through the marketing hype to see products for what they really are, not what you are told they are. So….with that said, what does that have to do with decking?
We received a phone call the other day from someone who was fed lies. They were told by someone trying to sell them thousands of dollars in composite decking that “anyone who buys hardwood decking from countries like Brazil are helping kill off the rain forest. ” This person was shopping around and asked us point blank, “How can I be sure that the hardwood you sell is really eco-friendly?”
At Advantage, we LOVE getting questions like this. Here’s our response: Continue reading →