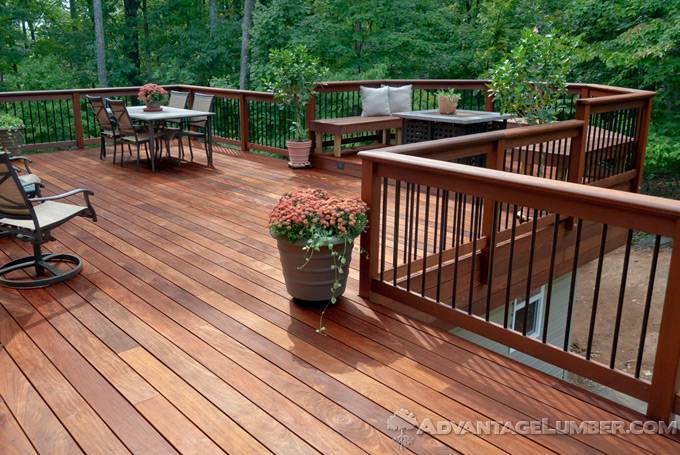
Staggering deck boards is essential to ensure the strength and aesthetics of your deck. By doing so, you’re not only enhancing the deck’s appearance but also preventing the boards from warping or separating over time. Here’s a simple guide on how to stagger your deck boards effectively.
Materials & Tools:
- Deck boards
- Circular saw
- Measuring tape
- Chalk or pencil
- Deck screws
- Drill
Deck Board Lengths:
- Use varying lengths of deck boards. Having a mix of 8ft, 10ft, and 12ft boards will make staggering simpler.
Begin with a Full Board:
- Start your first row with a full-length board.
Second Row Start:
- Cut your first board of the second row in half, creating two equal-length pieces. Begin the second row with one of these half-pieces.
Alternate Stagger:
- As you proceed with more rows, you can vary the stagger. For example, you can use ¾ of a board for the third row, ¼ of a board for the fourth, and so forth.
H-Joint Avoidance:
- Try to avoid having the joints (ends of boards) meet in an ‘H’ pattern, as this can compromise the structural integrity. Always ensure there’s at least a 3-stud gap between vertical joints from row to row.
Randomize Patterns:
- While you can have a consistent stagger, a randomized pattern can look more natural. This does require a bit more planning, but the result can be visually appealing. This will give your deck a look similar to a hardwood floor.
Securing the Boards:
- Ensure that all board ends meet on a joist. Secure with nails or deck screws, ensuring they are of the proper length to hold the board securely without protruding out the other side.
Use Off Cuts:
- Save the off cuts (the portions of boards you’ve cut off). They can be handy for filling in smaller spaces as you progress with your decking.
Last Board:
- For the final row, you might need to rip-cut a board lengthwise to fit the remaining space.
Conclusion:
Staggering your deck boards not only improves the visual appeal of your deck but also its structural integrity. Ensure your board ends meet on a joist and use varying lengths to make the staggering process smoother. With some careful planning and attention to detail, your staggered deck will be both beautiful and durable!
