Decking is a popular way to enhance the outdoor space of a home, providing a comfortable area for relaxation, dining, and entertainment. One of the key aspects of building a deck is the arrangement of the deck boards.
Staggering deck boards not only adds to the aesthetic appeal but also ensures the structural integrity of the deck. In this guide, we’ll walk you through the process of staggering deck boards for a professional finish.
Why Stagger Deck Boards?
- Structural Integrity: Staggering the joints where two boards meet ensures that they don’t align across multiple joists, which could create a weak point in the deck.
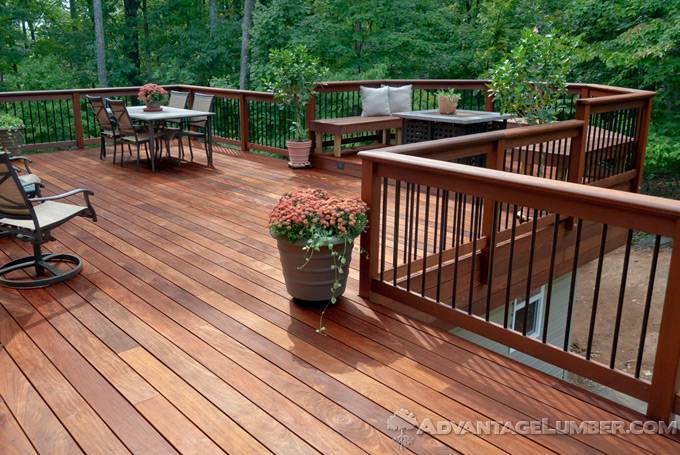
- Aesthetic Appeal: A staggered pattern can be more visually appealing than having all the joints line up in a row.
- Material Efficiency: Staggering can help in utilizing off-cuts and reduce wastage.
Steps to Stagger Deck Boards:
- Plan Ahead: Before you start, decide on the pattern you want. The most common staggering pattern is a simple offset where each joint is positioned halfway between the joints on adjacent rows. However, you can get creative with more intricate designs.
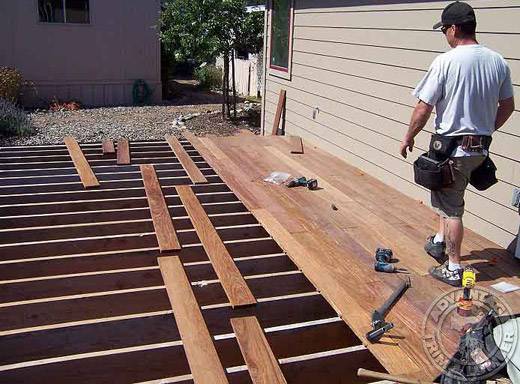
- Start with a Full Board: Lay your first board along the edge of the deck. This will be your starting point.
- Cut the First Board of the Second Row: If you’re going for the common offset pattern, cut the first board of the second row in half. This will ensure that the joint in the second row is positioned halfway between two joints in the first row.
- Continue Laying Boards: For the third row, you can use a full board again. For the fourth row, revert to the half board. Continue this pattern throughout the deck.
- Use Off-cuts: As you cut boards to fit, save the off-cuts. These can be used to start or finish rows, helping to reduce waste.
- Random Staggering: If you want a less uniform look, you can stagger the boards randomly. However, ensure that the joints don’t line up across three consecutive rows, as this could compromise the structural integrity.
- Secure the Boards: As you lay each board, secure it to the joists using appropriate decking screws or hidden fasteners. Ensure each board is fastened at every joist.
- Double Joists for Longer Decks: If your deck is quite long, you might have joints that would naturally land on the same joist. In this case, you can use a double joist where two boards meet, ensuring each board has a solid attachment point.
Tips for a Successful Stagger:
- Board Variation: Wood can have variations in color and grain. Mix and match boards from different bundles to ensure a more uniform appearance.
- Expansion and Contraction: Remember that wood expands and contracts with changes in moisture and temperature. Leave appropriate gaps between boards to allow for this movement.
- Safety First: Always use safety gear, including safety glasses and gloves, when cutting and installing deck boards.
Conclusion
Staggering deck boards is both an art and a science. While the technical aspects ensure the deck’s durability and strength, the pattern and design add to its beauty. With careful planning and attention to detail, you can create a deck that’s not only structurally sound but also a visual delight. Happy decking!