Composite decking has become a popular choice for outdoor spaces due to its durability, low maintenance requirements, and eco-friendliness. When it comes to adding railing to a composite deck, installing composite railing posts is a great option. We’ll explore the steps involved in installing composite railing posts on a composite deck.
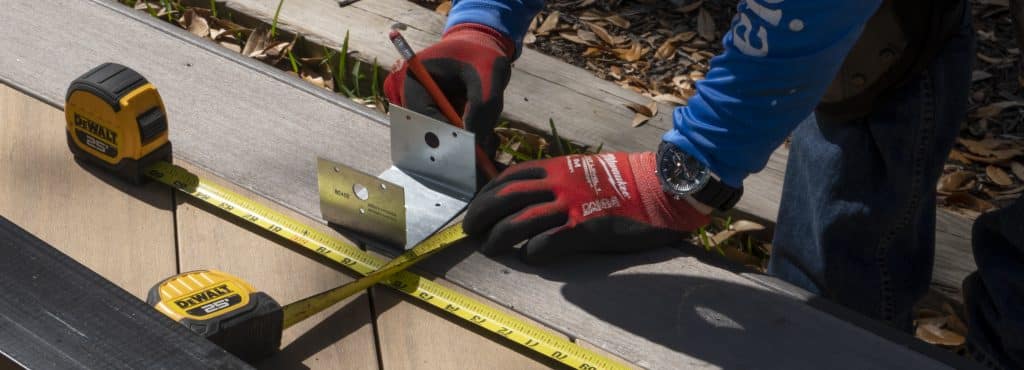
Measure and Mark
Before you start installing your composite railing posts, you should measure the distance between each post and mark the location of each post. Typically, posts are placed no more than six feet apart to ensure stability and safety.
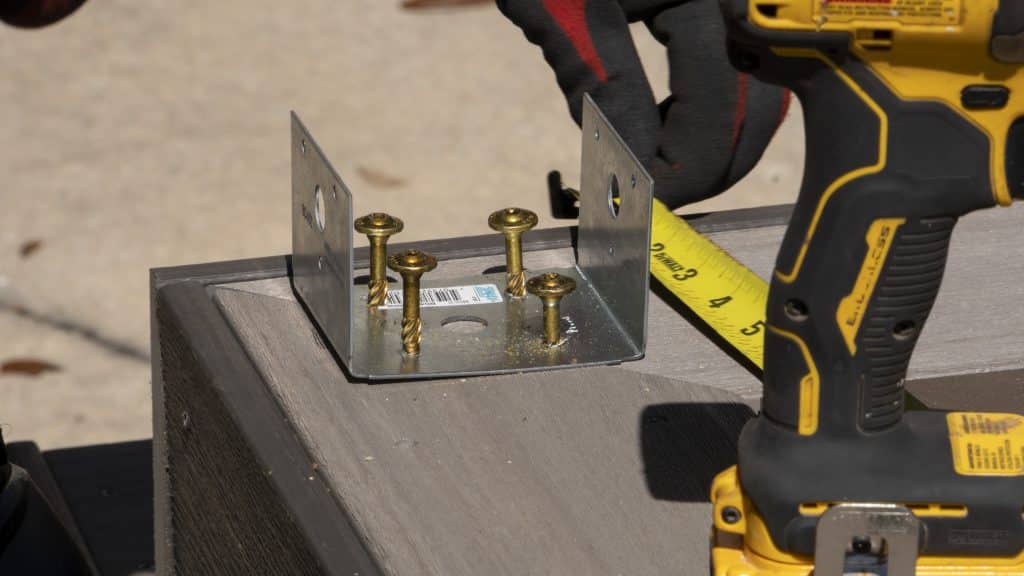
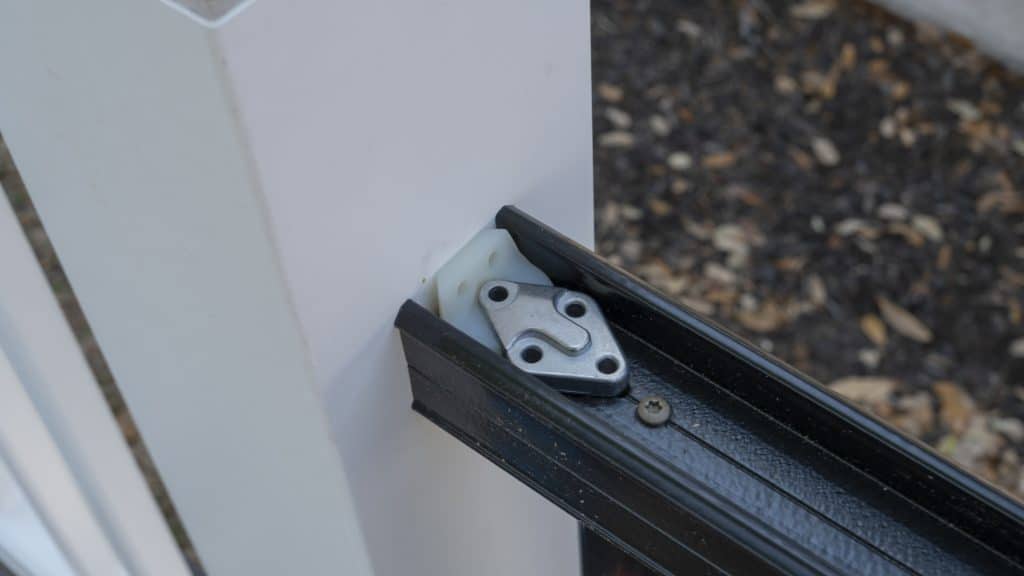
Attach The Railing Brackets
Make sure to use screws that are designed for use with composite materials to prevent damage to the posts. The brackets should be attached securely to the posts and spaced evenly.
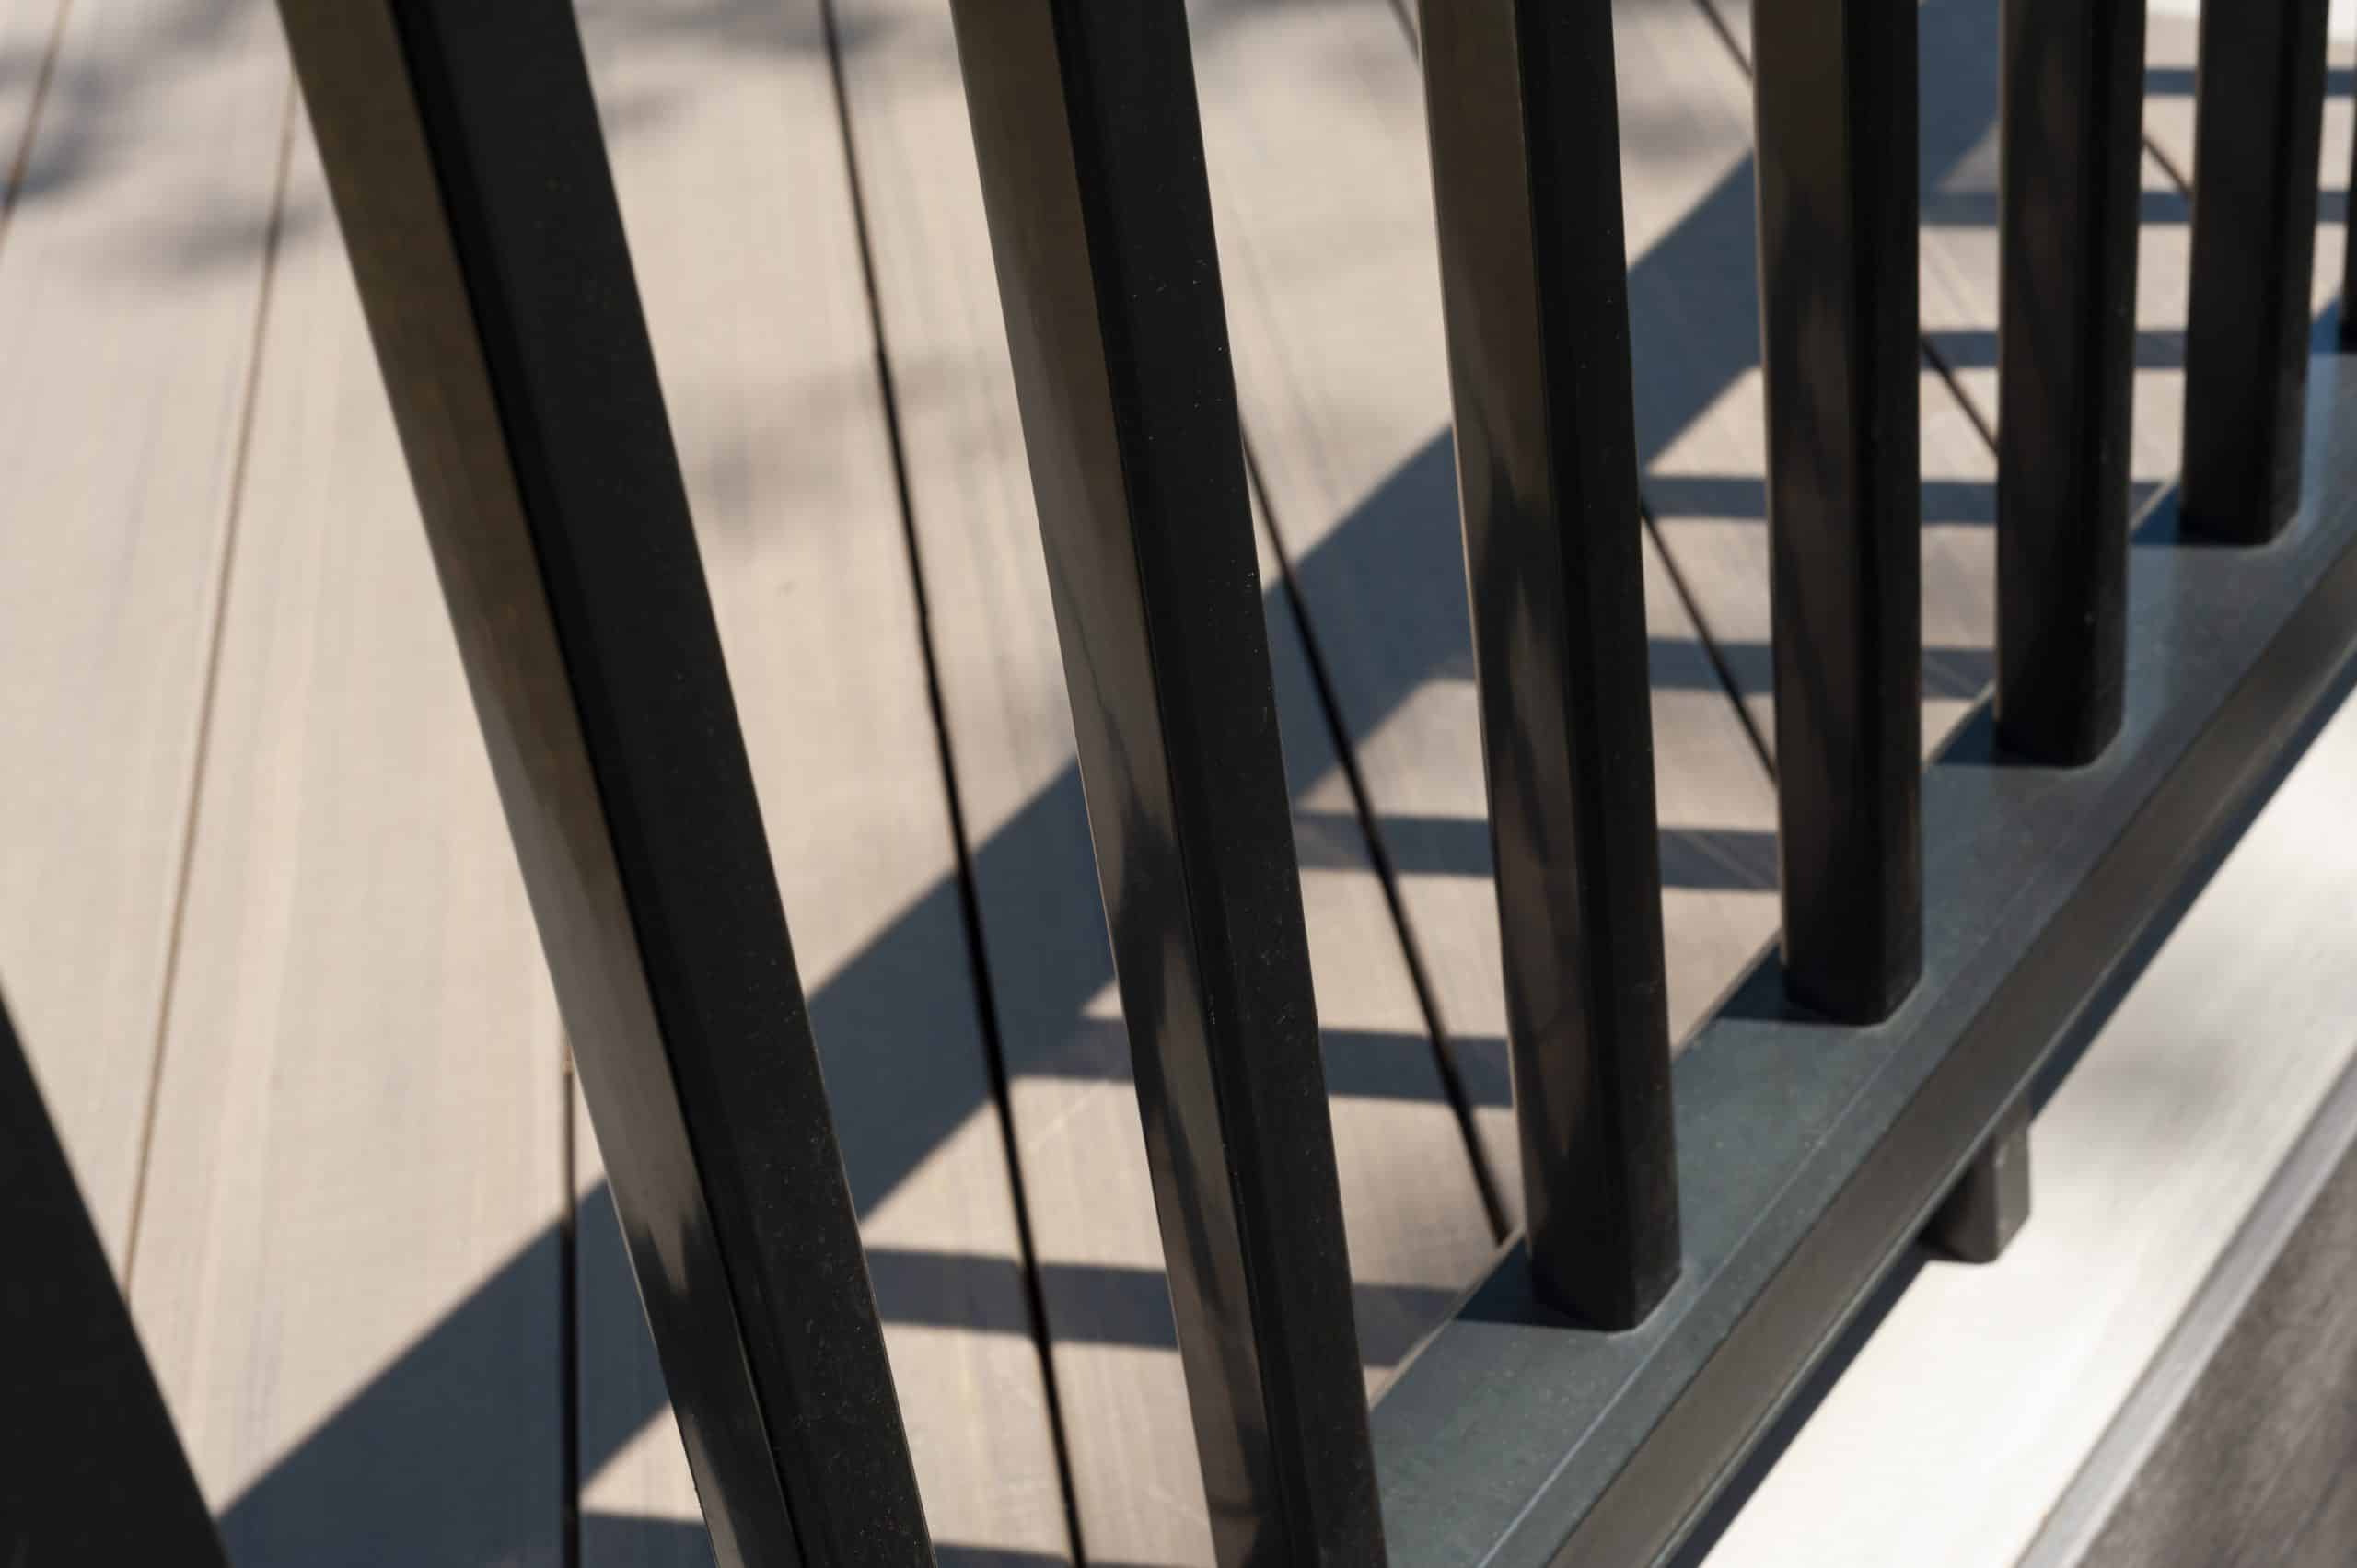
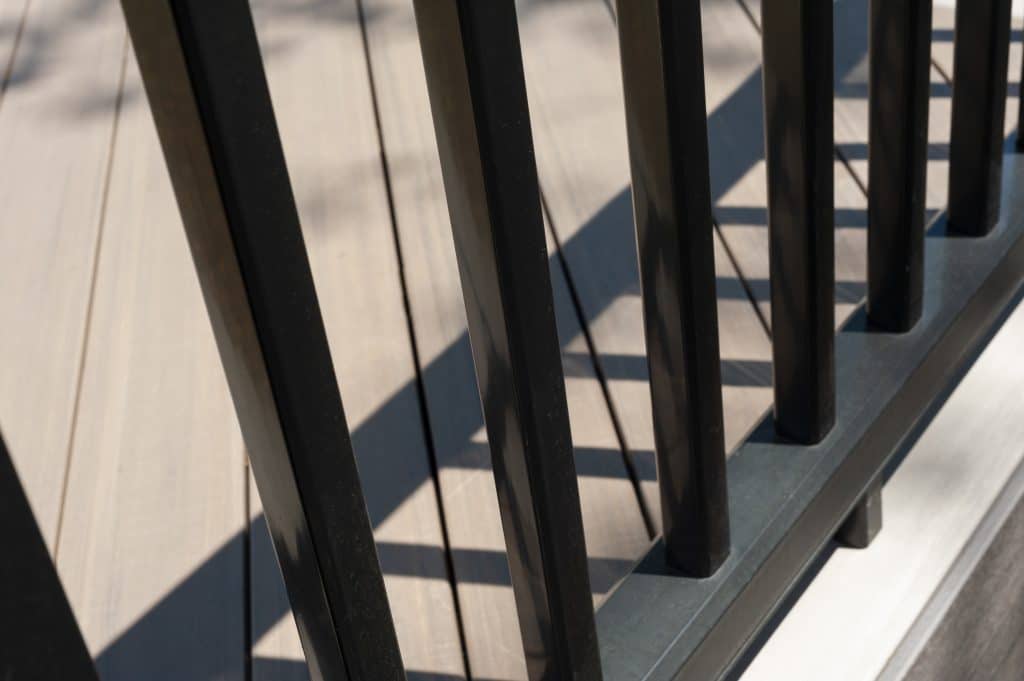
Installing The Railing
Once the brackets are attached, it’s time to install the railing. Begin by inserting the bottom rail into the brackets, followed by the top rail. Make sure the railing is level and secure. Use screws to attach the railing to the brackets.
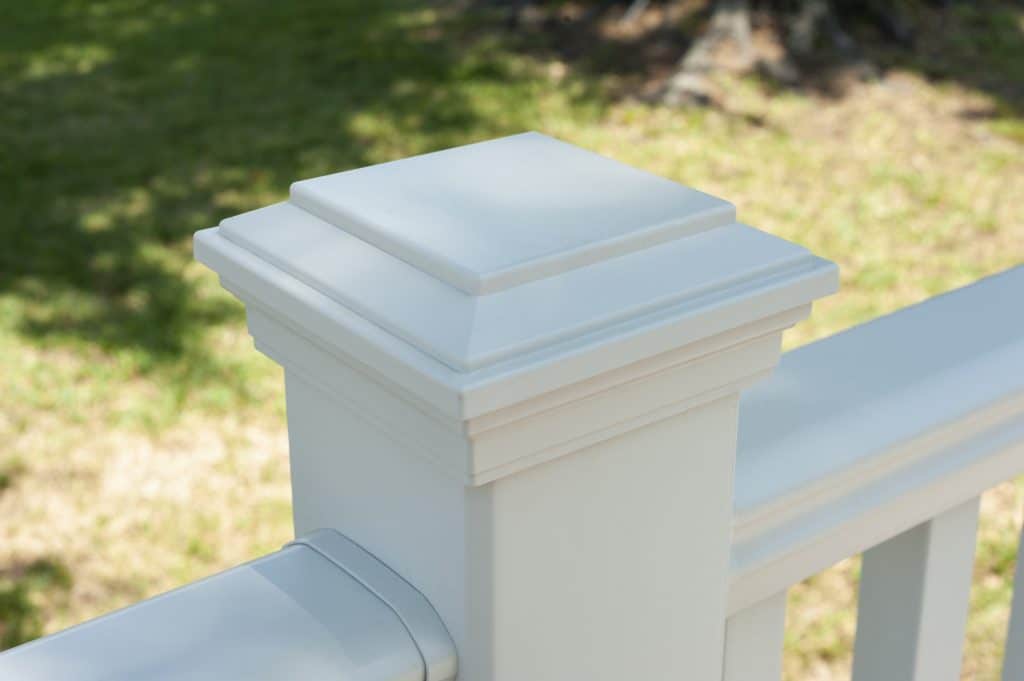
Top It Off
Once the railing is installed, you can add finishing touches to complete the project. This may include adding post caps or decorative elements to the posts to enhance the overall look of your composite deck.
Installing composite railing posts on a composite deck is a relatively straightforward process that can be completed with the right tools and techniques. By following these steps, you can ensure that your composite railing posts are installed safely and securely, providing added stability and safety to your outdoor living space.