Here’s Why You Shouldn’t—And What to Do Instead
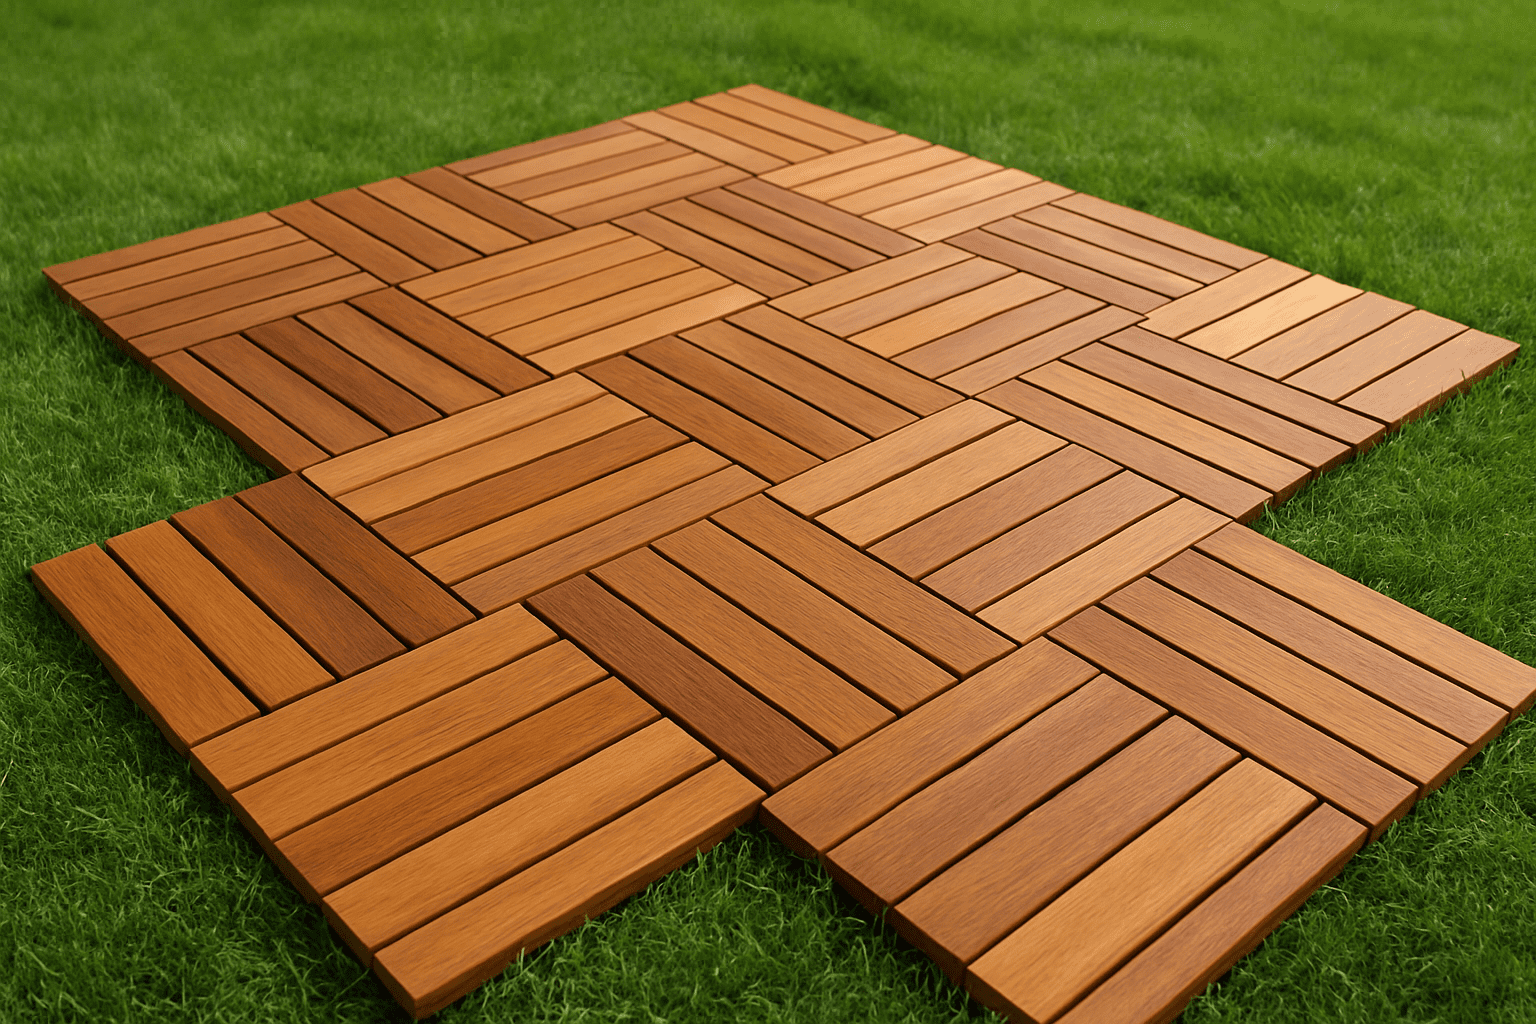
Deck tiles offer a fast and attractive solution for outdoor flooring, but placing them directly on top of grass is a bad idea. While it might seem like a quick weekend DIY project, skipping the right foundation can lead to safety hazards, durability issues, and disappointing results.
Why You Shouldn’t Install Deck Tiles on Grass
1. Grass Is Not a Stable Sub-Base
Deck tiles require a rigid and level surface to lock together and distribute weight evenly. Grass is soft and uneven, which leads to:
- Movement and rocking: The tiles will shift when walked on, making the surface unstable.
- Tripping hazards: The lack of firmness and movement underfoot creates a serious risk of trips and falls.
2. Grass Will Grow Through the Tiles
Deck tiles often feature slats or gaps for drainage and airflow. If laid over grass, those gaps become perfect escape routes for unwanted vegetation, resulting in a patchy, overgrown deck surface that’s difficult to maintain.
Recommended Installation Over Grass
If your chosen location currently has grass, follow these professional installation steps to create a safe, long-lasting deck tile surface.
Method 1: Crushed Stone Base
- Dig Out the Grass Area
Remove all sod and dig down enough to accommodate the sub-base—typically 3 to 4 inches deep depending on your local soil and drainage. - Apply Landscape Fabric
This helps prevent weed growth and separates the soil from your base material. - Add Fine Crushed Stone With Limestone
Use crushed stone mixed with limestone fines. This material compacts well and provides a strong, stable base. Spread it evenly. - Tamp Down the Base
Use a hand tamper or plate compactor to compress the stone until it’s level and firm. - Install Deck Tiles
Now you can confidently lay your deck tiles knowing the base is properly prepared.
Method 2: Poly Paver Panels (e.g., Brock Paver Base)
This modern system is lighter and easier for DIYers to install than crushed stone alone.
- Dig Out the Sod and Enough Material
Follow the Brock Paver Base installation guide for depth requirements (typically 3 inches total: 2″ for excavation + ½” sand + ½” panel). - Apply Landscape Fabric
Prevents weeds and ensures separation between soil and base layers. - Add ½” of Leveling Sand and Place Panels
Spread coarse sand, level it, then lay Brock Paver Base panels tightly together. - Install Deck Tiles
With the solid base in place, lay your deck tiles as directed—no rocking or vegetation to worry about.
What are the Best Deck Tiles for Ground Installations

When installing deck tiles very close to the ground, it is crucial to choose the right type of tile to ensure long-term durability and performance. Ground-level installations are especially prone to moisture accumulation, as the area beneath the deck receives limited airflow and tends to remain damp.
Using the wrong type of deck tile—particularly softwoods or low-quality composites—can lead to rapid rot, mold growth, and material failure. This is another reason why both recommended sub-base installation methods (crushed stone or poly paver panels) are essential: they not only stabilize the surface but also promote proper drainage to keep moisture away from the underside of the tiles.
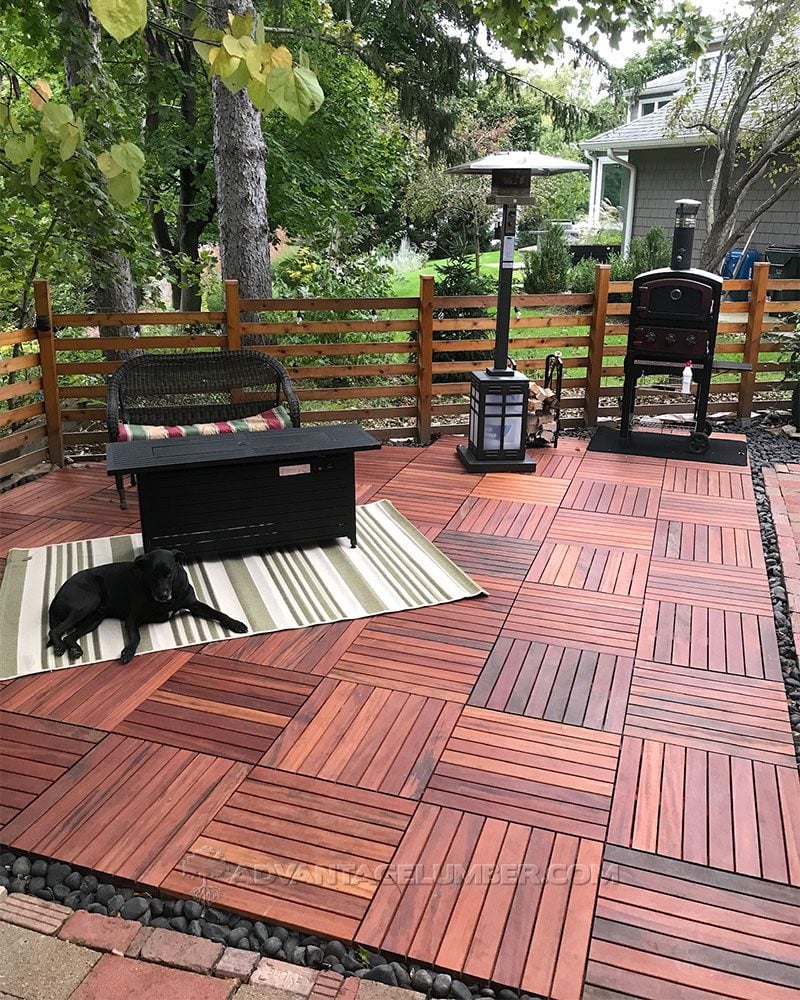
AdvantageLumber.com recommends hardwood deck tiles made from Ipe, Cumaru, Tigerwood, Teak, Brazilian Redwood, and Iroko for these demanding applications. These species are naturally resistant to rot, decay, insects, and moisture.
Ipe is extremely dense and lasts over 50 years in outdoor environments. Cumaru is nearly as durable and slightly more cost-effective. Tigerwood offers a stunning striped grain and natural resistance to the elements. Teak is renowned for its water resistance and dimensional stability. Brazilian Redwood provides a rich color and long-lasting strength, while Iroko, sometimes called African Teak, offers excellent weather resistance with a golden-brown hue. All are ideal choices for low-clearance deck installations where moisture and durability are top concerns.
Final Thoughts
Installing deck tiles directly on grass might be tempting, but it compromises safety, aesthetics, and longevity. Instead, invest a bit of time in preparing a proper base—whether using crushed stone or lightweight paver panels. The result is a flat, stable surface that will look beautiful and perform well for years.
If you’re unsure which option is best for your space, AdvantageLumber.com can help you plan your project from start to finish.
