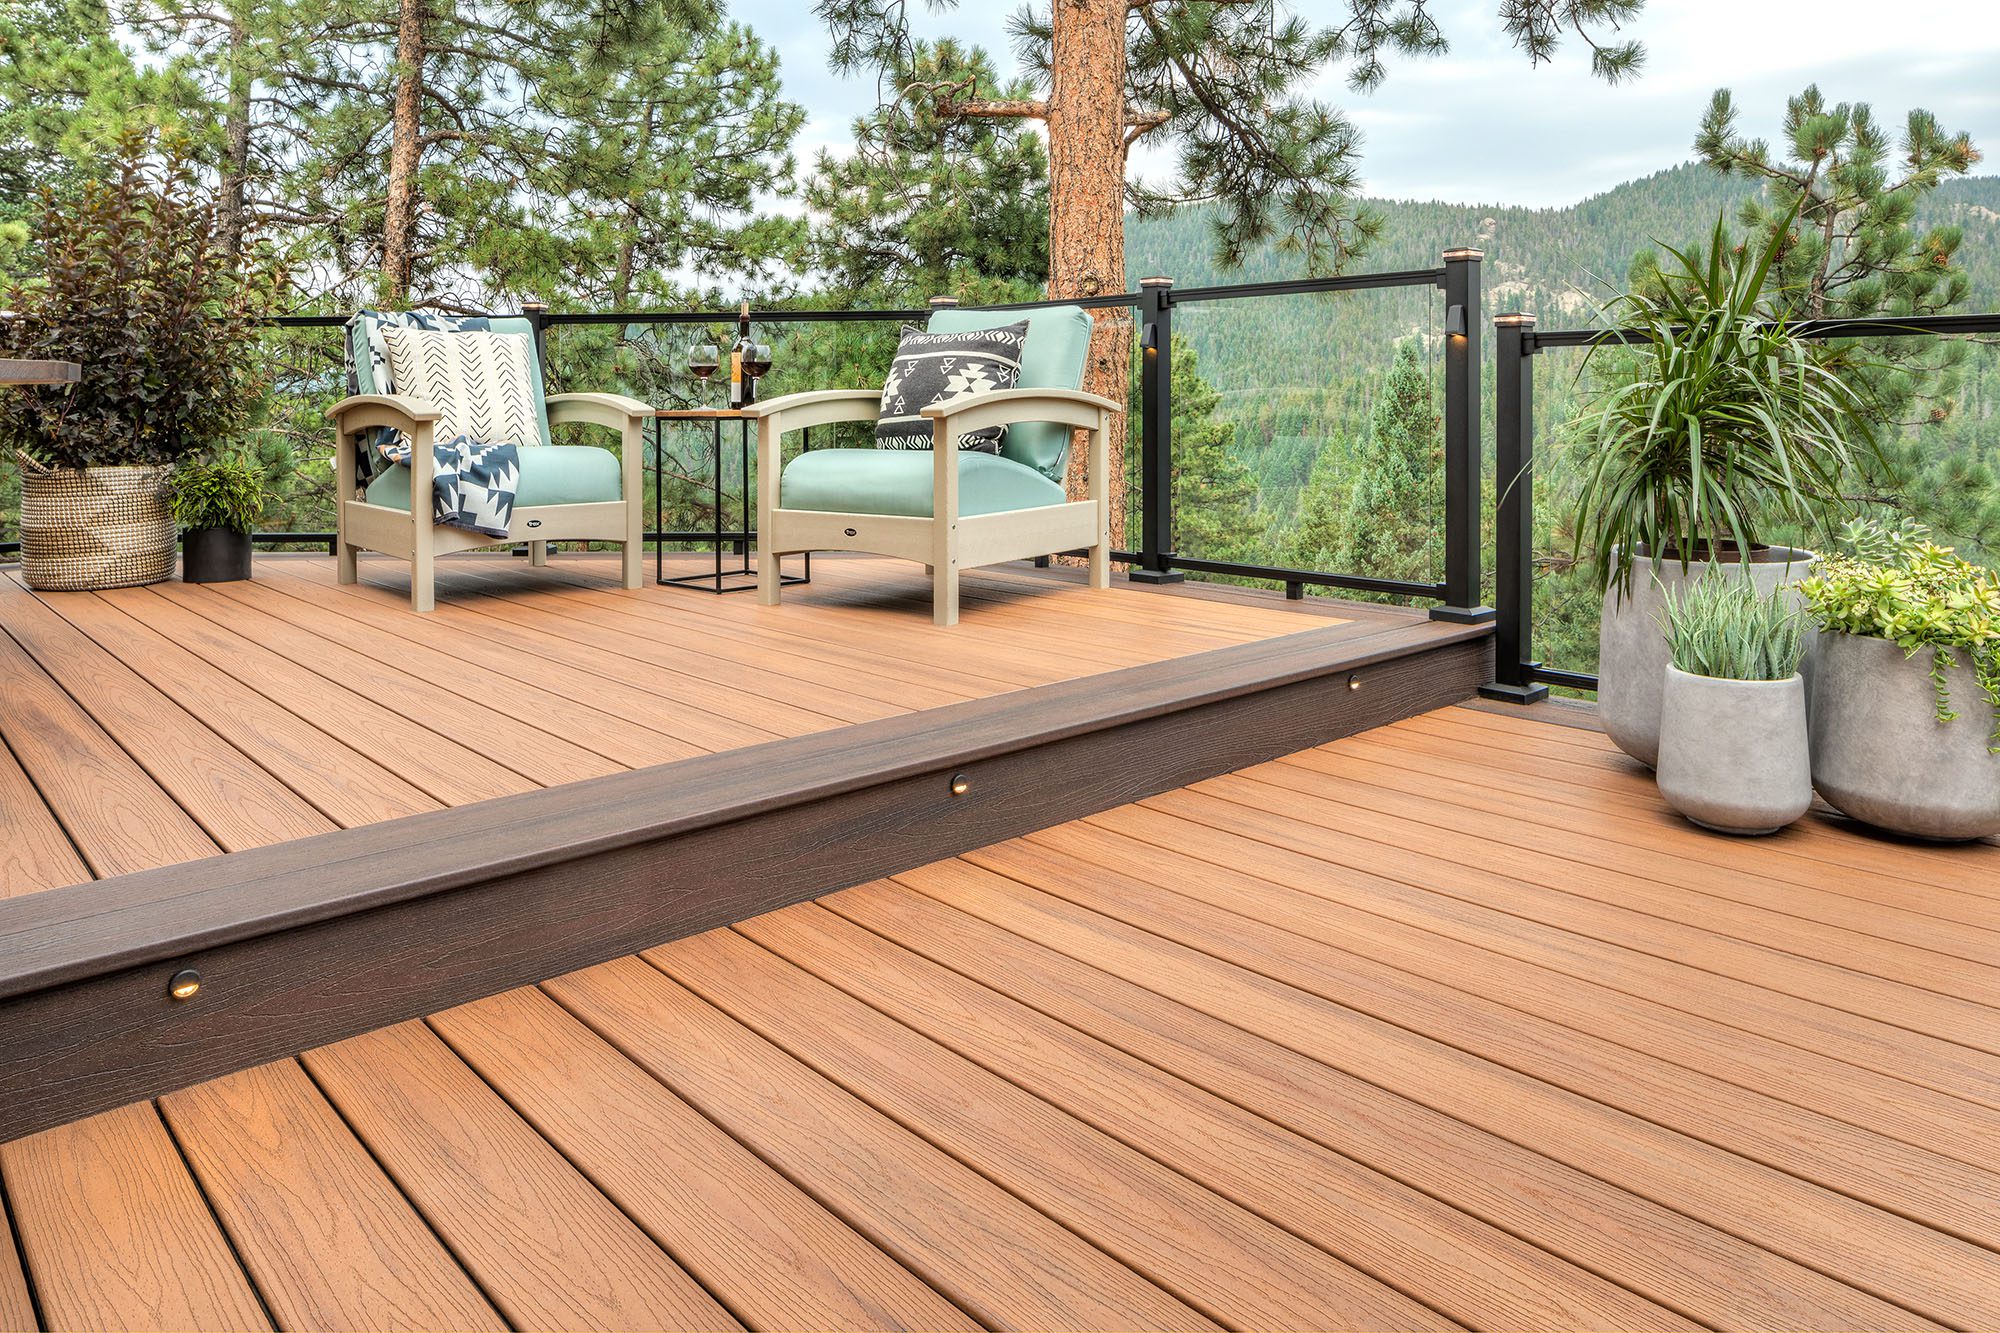
Welcome to the world of seamless decking, where every plank sits perfectly in place, uninterrupted by visible screws or nails. This is the realm of Trex Hidden Fasteners, a game-changer in the decking industry that offers a sleek, screw-free surface for your outdoor space.
What are Trex Hidden Fasteners?
Trex Hidden Fasteners are innovative deck fastening systems designed specifically for Trex decking. These fasteners are ingeniously crafted to securely attach deck boards to the joists beneath them without being visible from the deck’s surface. The result is a clean, smooth look that enhances the beauty of your Trex decking.

Why Use Trex Hidden Fasteners?
The advantages of using Trex Hidden Fasteners go beyond mere aesthetics. Here’s why they are a top choice for homeowners and professionals alike:
1. Enhanced Aesthetics
With no visible screws or nails, your deck surface is unblemished, offering a sophisticated and refined finish.
2. Increased Durability
Trex Hidden Fasteners provide uniform spacing between deck boards, which allows for proper drainage and ventilation. This reduces the likelihood of moisture-related issues like rot and warping.
3. Safety First
A deck free of protruding screws and nails is safer for bare feet and reduces the risk of snags or injuries.
4. Compatibility and Uniformity
These fasteners are designed to work perfectly with Trex decking materials, ensuring consistent spacing and alignment for a flawless look.
5. Easy Maintenance
The absence of surface screws makes cleaning your deck a breeze.
How to Install Trex Hidden Fasteners
Tools and Materials
Before you begin, ensure you have the following:
- Trex decking and compatible Trex Hidden Fasteners
- A power drill
- A screw gun or cordless driver
- A saw (for cutting deck boards to size)
- A tape measure
- Safety goggles
Installation Steps
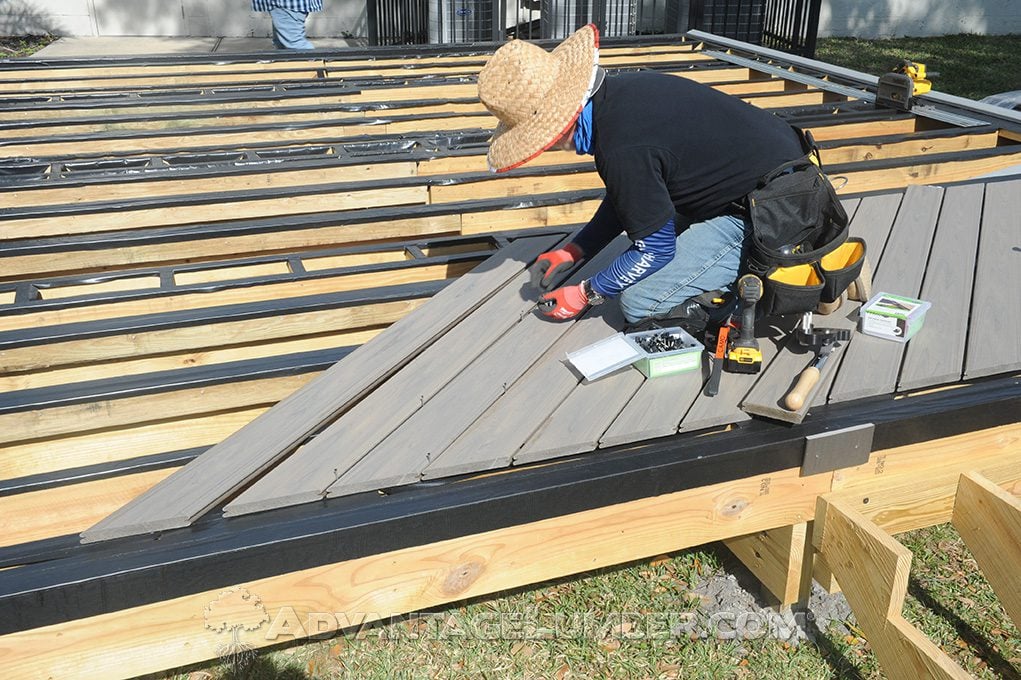
1. Prepare the Framework
Ensure your deck’s joists are level and properly spaced according to Trex’s recommendations.
2. Start with the First Board
Attach the first deck board to the joists. This board will started using either the Trex starter clips or CAMO starter clips as shown below. This clip will typically be installed against the house and screwed into the joist. The grooves on the deck board slide on the clip and lock it down.
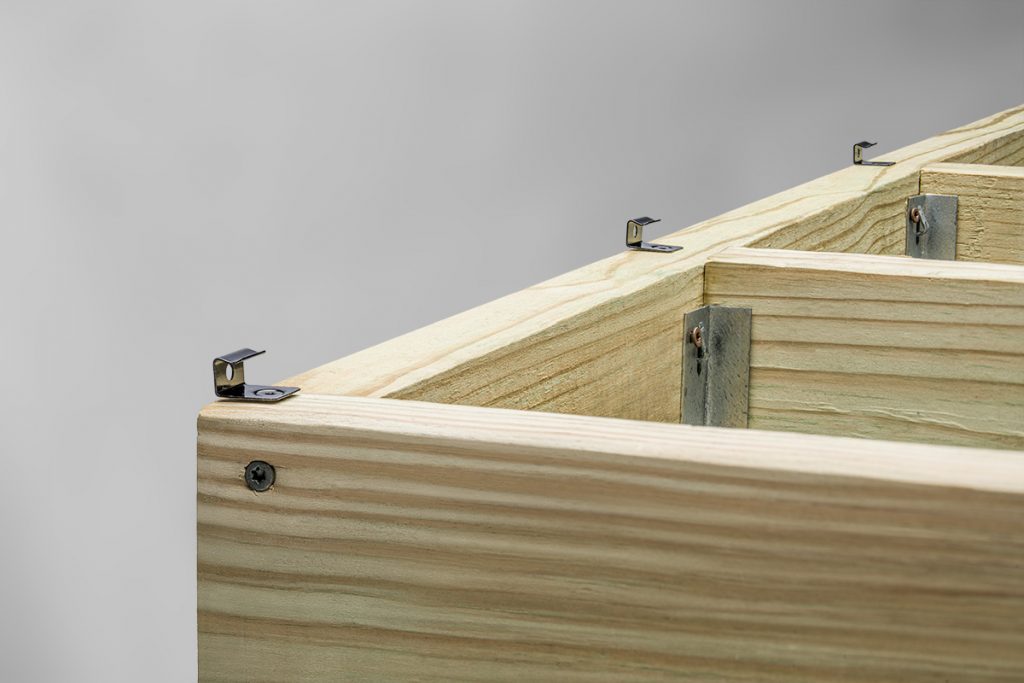
3. Attach the Hidden Fasteners
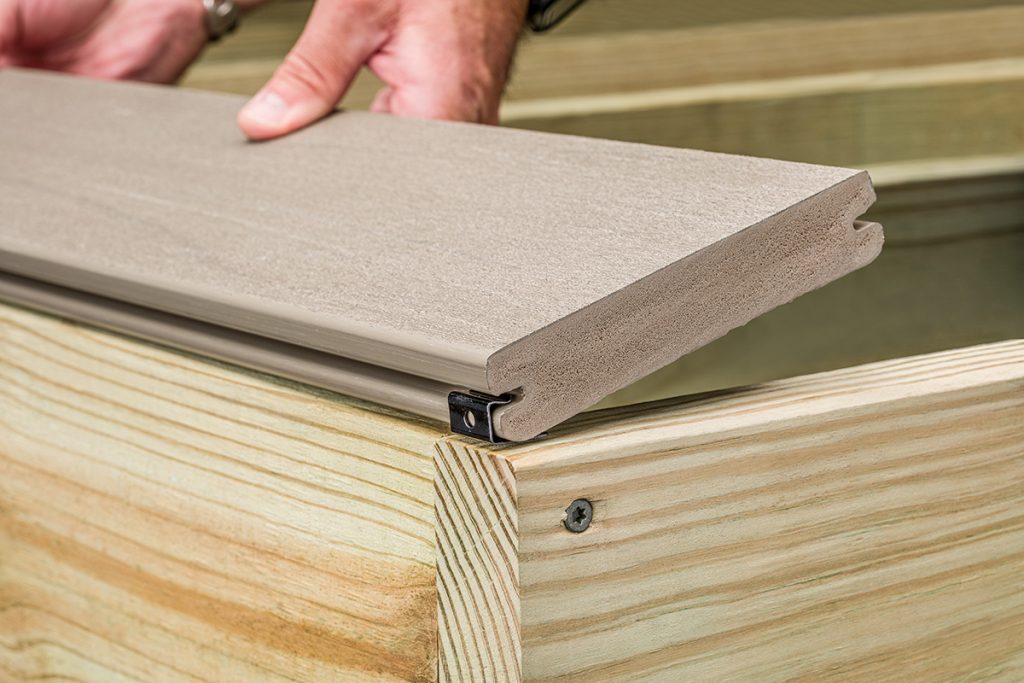
Slide the Trex Hidden Fasteners into the groove of the deck board that’s already laid down. These fasteners have a screw hole through which you will drive a screw into the joist.
4. Lay the Next Board
Position the next deck board so that the grooved edge locks into the hidden fasteners attached to the first board. Ensure the board is properly aligned and seated.
5. Secure the Board
Using the screw gun, drive screws through the hidden fasteners into the joists. This secures the second board in place.
6. Repeat the Process
Continue this process across the deck, ensuring each board is securely fastened and evenly spaced.
7. Finish with the Last Board
The last board may need to be face-screwed, similar to the first board, depending on your deck design.
Final Touches
After all boards are installed, inspect the deck for any adjustments. You can now enjoy your beautifully finished Trex deck, complete with the seamless look provided by Trex Hidden Fasteners.
In conclusion, Trex Hidden Fasteners offer an elegant solution for a flawless deck surface. They combine aesthetics, durability, and safety, making your outdoor space not just a deck, but a work of art. Whether you’re a DIY enthusiast or a professional builder, these fasteners are a brilliant choice for a sleek, long-lasting, and beautiful deck.