
Building a deck is a gratifying experience that adds beauty and value to your home. If you’ve chosen Trex decking for its durability and eco-friendliness, you’re in for a treat. In this post, we’ll guide you through the steps of fastening Trex decking efficiently and effectively.
What You Need:
- Trex decking boards
- Trex Hideaway Universal Fasteners or similar compatible fasteners
- A power drill
- A circular saw or miter saw (for cutting boards)
- Tape measure
- Pencil
- Safety equipment (gloves, goggles)
Step 1: Prepare the Area Before you start, ensure the area where you’re building the deck is clear and level. If you’re replacing an old deck, remove the previous decking.
Step 2: Install the Ledger Board If you’re attaching the deck to your house, secure a ledger board with appropriate hardware. Ensure it’s level and properly flashed to prevent water damage.
Step 3: Set Up the Frame Build your deck frame according to your design, ensuring all joists are secure and level. This will be the foundation for your Trex decking.
Step 4: Cutting the Boards Measure and cut the Trex decking boards to fit your deck frame. Remember to leave a small gap between boards for expansion and drainage. Read our blog post on Trex Deck Board Spacing if you are not sure how much spacing each deck board should have.
Step 5: Fastening the Boards
- Start at the edge closest to the house. Install the Trex Hideaway Universal Starter Clips, which fit into the grooves of the decking boards.
- Slide the groove of the first deck board onto the starter clip that you fastened to the joist along the edge of the house.
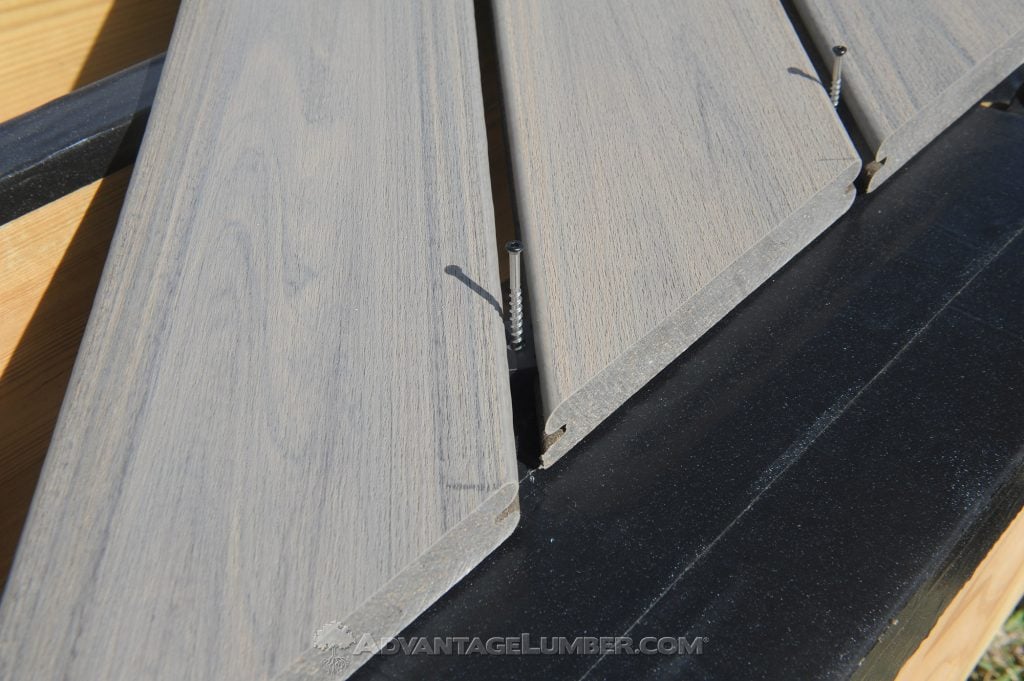
- Install the Trex Hideaway® Universal Hidden Fasteners into the outer groove of the first deck board.
- Insert the next board so that its groove engages with the fastener’s other side. Ensure the boards are straight and aligned. Tighten the fasteners down when the first two deck boards are aligned and spaced perfectly.
- Repeat the process until all boards are secured.
Step 6: Finishing Touches For a clean finish, use a fascia board around the deck edges.
How to Fasten Non-Grooved Trex Boards
Fastening non-grooved Trex deck boards, also known as square-edged boards, is slightly different from fastening grooved boards, as they do not accommodate hidden fasteners. Here’s how you can do it:
- Preparation: As with any decking project, start by preparing your work area. Ensure your deck frame is sturdy and level. Gather all necessary tools and materials, including Trex non-grooved deck boards, screws, a power drill, a saw, measuring tape, a pencil, and safety equipment.
- Board Spacing: Non-grooved deck boards require traditional top-down fastening. It’s crucial to leave appropriate spacing between boards for expansion and drainage. Generally, a gap of about 1/8 inch to 1/4 inch is recommended, but you should always follow the manufacturer’s guidelines.
- Pilot Holes: Although not always necessary, drilling pilot holes can help prevent the wood from splitting, especially near the ends of the boards. The pilot holes should be slightly smaller than the diameter of your screws.
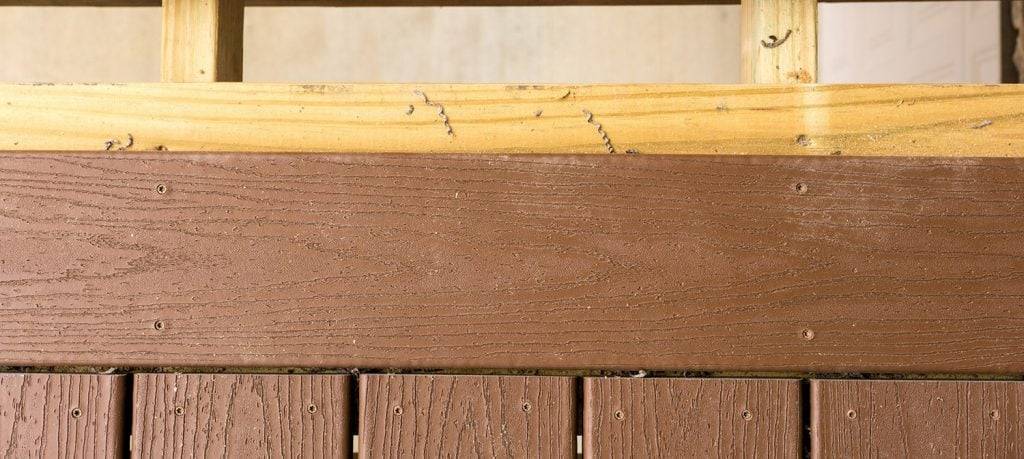
- Screwing the Boards: Use high-quality, outdoor-grade screws designed for composite decking. Start at one end of the board and work your way across. Place screws at each joist along the board. The screws should be driven in perpendicular to the board and should be countersunk slightly for a clean finish. For the best appearance, try to align the screws in straight lines across the deck.
- Spacing from the Wall: When you install the first and last boards of your decking, make sure to maintain proper spacing from the wall or any permanent structure. This gap is usually about 1/4 inch but can vary based on the manufacturer’s recommendations and your local climate.
- Finishing Touches: After all the boards are fastened, you can add finishing touches like trim or fascia boards. These can be attached with screws in a similar manner to the deck boards.
Remember, each step of the process is important to ensure a long-lasting and safe deck. Always follow the specific guidelines provided by Trex and local building codes. If you’re unsure about any part of the process, it’s wise to consult with a professional.
Tips:
- Always follow the manufacturer’s instructions for specific fastening methods.
- Pre-drill holes if necessary to avoid splitting.
- Keep a consistent gap between boards.
- Regular maintenance will keep your Trex deck looking great for years.
Conclusion: Fastening Trex decking is a straightforward process that results in a beautiful, long-lasting deck. By following these steps, you’ll ensure a secure and aesthetically pleasing outdoor space. Remember, take your time and always prioritize safety during the installation process.