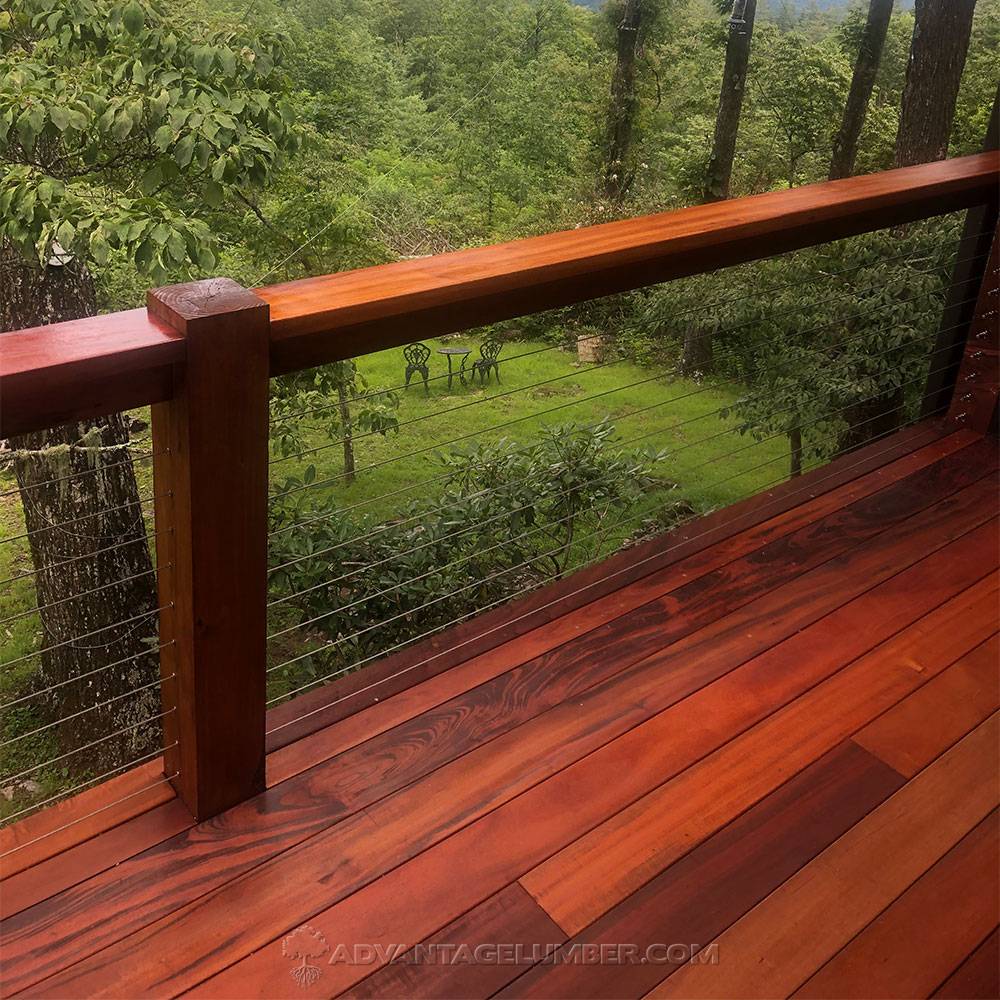
Laying decking boards correctly is essential for a durable and visually appealing deck. Here are the steps for the correct way to lay decking boards:
Plan and Prepare
Start by determining the dimensions, design, and layout of your deck. Ensure you have all necessary materials, tools, and safety equipment. Check local building codes for any restrictions or requirements.
Build a Solid Foundation

Install a proper foundation for your deck, such as concrete footings or deck blocks. Set up beams and joists, ensuring they are level and spaced correctly according to the design and local codes.
Choose Quality Decking Boards
Select decking boards that are straight, free of knots, and of good quality. Composite, PVC, or hardwood boards are popular choices due to their durability and low maintenance requirements.
The top decking products that we recommend are:
Space Boards Correctly
To allow for proper drainage and ventilation, leave a gap of about 1/8 to 1/4 inch (3 to 6 mm) between decking boards. This spacing may vary depending on the type of material and manufacturer’s recommendations.
Stagger the Joints

For a more stable and visually appealing deck, stagger the joints of the decking boards. Create a random pattern or use a specific pattern like a herringbone or diagonal layout.
The picture above shows the ends of the decks boards staggered. This is much more visually appealing like a hardwood floor. Depending on your deck design you can also use full length boards.
Pre-drill Holes
Pre-drill holes for screws or nails to prevent splitting the decking boards. This is especially important for hardwood boards.
Lay the First Board
Start laying the decking boards from one end of the deck, preferably the house or the most visible side. Leave a small gap (usually 1/4 inch or 6 mm) between the board and the edge of the deck for water drainage and expansion.
Secure the Boards
Fasten the boards using appropriate screws, securing them to each joist. Use hidden fasteners, such as Ipe clips for a cleaner finish. Drive the screws flush with the surface, but don’t over tighten, as this may cause the boards to crack or warp.
Continue Laying Boards
Lay each subsequent board, ensuring the spacing and staggering of the joints are consistent. Use a spacer or off cut to maintain even gaps between boards.
Trim the Edges
After all the decking boards are installed, use a circular saw or handsaw to trim any overhanging edges for a clean and finished look.
Finishing Touches
Sand any rough edges and apply a sealer or stain, if desired, to protect the decking from moisture and UV rays.
Remember to follow the manufacturer’s guidelines and local building codes throughout the process for the best results.