Doug Tales – Give Your Decking Room to Breathe
Building a deck is not as simple as laying out some boards and using a hammer, glue, and nails. You can’t avoid the physical properties and nature of ALL decking materials.
With that in mind, it’s important to realize that even though decking materials are not living things, they still do “breathe.”
All decking materials expand and contract during the course of the year. When it’s hot and dry, wood contracts. When it’s humid and/or rainy, wood expands. The way decking materials behave should not be lost on anyone. However, even seasoned deck builders can sometimes forget, or be altogether unaware of just how important proper air ventilation is. Proper deck planning will ensure that air can flow freely through the deck and under the joists. Allowing for proper air ventilation will ensure that moisture can evaporate evenly and consistently. Why should you even bother planning for how air moves under a deck?
Decking “breathes” on all sides. Both the surface area and the underside of the decking MUST be exposed to the same levels of humidity. For decks that don’t allow proper ventilation and the underside of the deck gets “choked off” from the surrounding supply of air, the decking ends up getting exposed to two completely different levels of moisture.
And, because the decking will naturally try to balance itself out, you can predict two outcomes depending on the moisture variance.
If the decking has too much moisture on the underside of the deck, the material will cup.
Similarly, if the top side of the decking is exposed to more moisture than the underside, the material will buckle.
These two results create havoc for many unsuspecting homeowners like Doug.
You see, Doug didn’t allow for proper ventilation under his deck and because he lives in a state like Florida that gets a lot of rain, his decking started to cup.
What could Doug have done differently? And, what can you do keep your deck ventilated?
Create a slope of soil under the deck that starts away from the home. Many professionals will also cover the soil with a plastic sheet. Also, ensure even gap spacing between deck boards. Gap spacing between boards can range from 1/4″ (6.35mm) to 3.32″ (2.38mm). Ask your lumber supplier, whether your decking is air-dried, or kiln-dried as this will help you figure out how much space to put between each deck board. Proper fastening is also a must. We highly recommend a deck fastening system such as Ipe Clip® brand deck fasteners. Using deck fasteners over top screws will ensure a longer and healthier deck in the long run. Regardless of the deck fastening method you choose, you can expect the decking material to expand and contract.
Also, don’t forget to consult local building codes. Don’t be afraid to call your lumber supplier. At Advantage we will do everything in our power to give you the best chance of having a successful and safe DIY hardwood deck installation.
Share your deck building success (or horror) story with us. Use the comment form below and help others with their DIY deck building, today.
What allowance on the gaps if any should be made at but joints?
Do you have any pricing per foot as a rule of thumb to use for hidden clip fasteners installation on 1×6 pre-grooved boards on a per sq foot basis?
Dean,
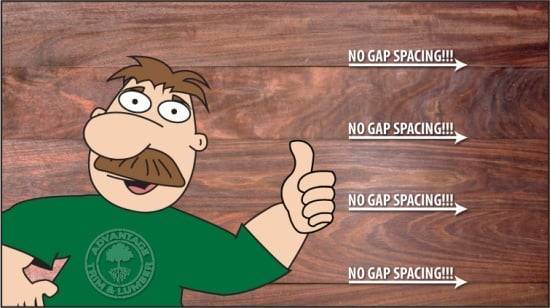
There should be no spacing on your butt joints. Wood normally has little to no movement on its length. 1 Fastener kit covers 100 sqft of 1×6″ on 16″ centers and is $119.00. So, they are roughly $1.20 per sqft. If you have any other questions or concerns, please feel free to contact us via telephone or email.
Thanks,
Chris Foreman
General Manager
Should you bevel cut butt joints and if you are using hidden clip fasteners how do you attach butt joints together or is not recommended. Thank you
Claude,
Ipe will not expand or contract on length, so simply square up your ends and put the boards as close together as possible. For the Ipe Clip installation use one clip above the seam and drive your one screw (be sure to pre-drill your holes). Once the screw catches the joist it will basically clamp the clip in to place and in turn hold the boards in place as well. I hope this helps please let me know if there is anything else I can help you with. Thank you for your time.