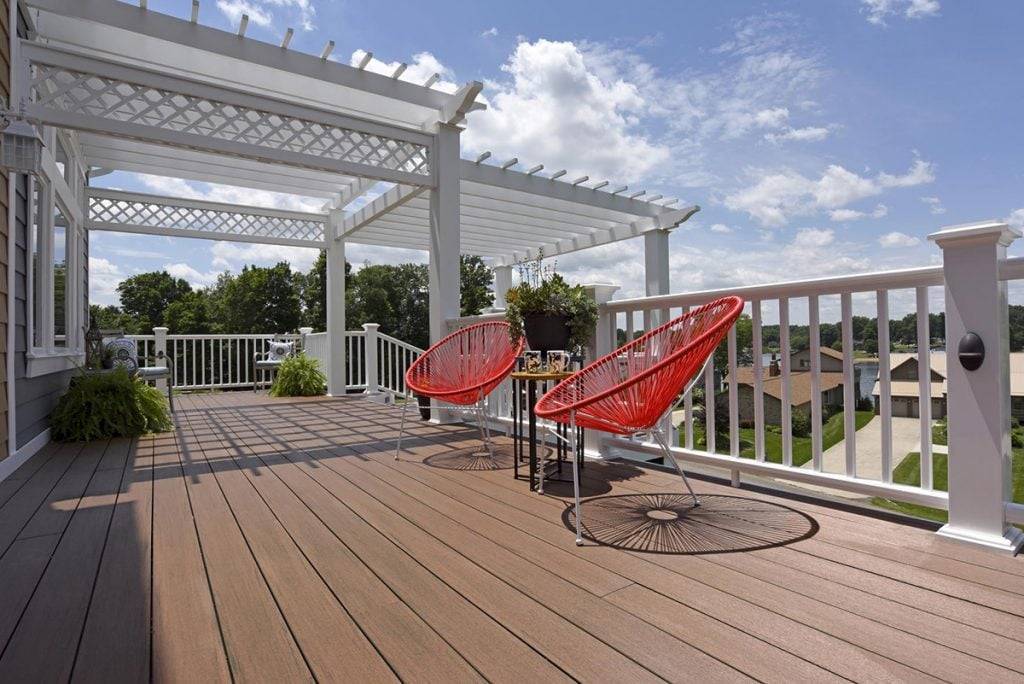
Installing composite or PVC decking is a great way to enhance the aesthetic and functionality of your outdoor living spaces. TimberTech’s products are high-quality and come in a variety of styles and colors.
Here’s a step-by-step guide to installing TimberTech composite and PVC decking. Please note that it’s always recommended to consult with professional installers and refer to TimberTech’s installation guidelines before attempting a DIY installation.
You can find TimberTech’s guidelines on our website:
TimberTech PRO®, TimberTech EDGE® and Specialty Decking Installation Guide
Also, each region may have specific building codes which need to be adhered to, and certain tools and safety gear may be required for the installation process.
Materials and Tools:
- TimberTech Composite or PVC Decking Boards
- Compatible Fasteners (check TimberTech’s guidelines)
- Joist and Beam Tape (optional)
- Drill with Screwdriver Bits
- Chop Saw with Fine-Tooth, Carbide-Tipped Finish Trim Blade
- Tape Measure
- Carpenter’s Pencil
- Safety Glasses
- Gloves
Steps:
- Create Your Design: Determine the layout of your deck. It may be helpful to sketch out your design and calculate the amount of decking you’ll need. Always add 10% more for waste or mistakes. The deck boards should ideally run perpendicular to the house for water run-off, and board ends should meet at joists.
- Prepare the Frame: Your deck frame should already be built, with the ledger board securely fastened to the house, and the joists and beams in place, with joist spacing complying with TimberTech’s recommendations (usually 16 inches on-center for residential applications). Cover the tops of the joists with joist tape to help protect from moisture.
- Cut the Decking: Measure and cut your first board to the correct length, accounting for overhang (if any). Always use a fine-tooth, carbide-tipped blade for best results and wear safety glasses.
- Install the First Board: The first board is the starting point for the deck. It’s usually installed against the house if the deck is adjacent to it. Secure the first board by using the recommended fasteners (typically hidden fastener systems for most TimberTech decking lines).
- Install Hidden Fasteners: If you’re using hidden fasteners, you’ll attach a clip at each joist. The clips will not only hold the boards in place but also maintain consistent spacing between the boards. Install the clips as per manufacturer’s instructions.
- Add More Boards: Add the next board, ensuring it slots into the hidden fasteners correctly. Continue this process, regularly checking that the boards are straight and flush. Cut boards as necessary to fit your design.
- Finish the Edges: When all boards are installed, you can finish the deck edges. There are several options depending on your design, like picture framing, or using a fascia board for a clean finish.
- Install Railings: Many railing systems can be installed last make sure to check your railing instructions to determine if they need to be installed before the decking or can be installed after.
Remember to always follow TimberTech’s installation instructions precisely. Deviating from these instructions can lead to issues with the deck and may void the warranty.
Additionally, you should take into consideration that composite decking will slightly change size with temperature fluctuations and should be installed at a temperature as close as possible to average local temperature to avoid any large expansions or contractions.
Always allow for appropriate expansion gaps at the end of boards as specified by TimberTech.
Moreover, care should be taken to keep the decking clean during installation – sawdust and other debris can leave stains. After installation, clean the deck thoroughly to remove any residue.
Finally, keep in mind that even though composite and PVC decking are low-maintenance compared to traditional wood decking, they still require care to keep them looking their best, including regular cleaning and