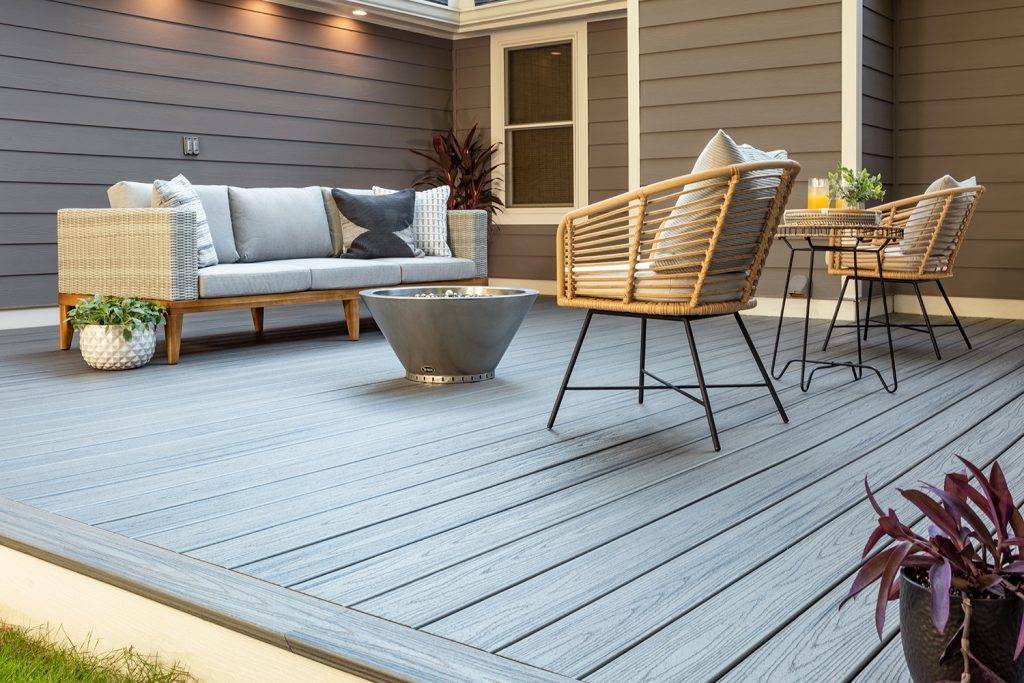
Framing a deck with a picture frame border involves installing the main deck boards and then adding a border that runs around the perimeter.
This border not only adds visual appeal but also helps protect the end grain of the main deck boards from moisture damage. Here are the steps to frame a deck with a picture frame border:
Plan and Prepare
Before starting, make sure you have a detailed plan of your deck, including the dimensions and location of the picture frame border.
You’ll need to account for the width of the border when measuring and cutting the main deck boards. Gather all necessary tools and materials, such as decking boards, joist hangers, fasteners, and a miter saw.
Install the Ledger Board
Attach the ledger board to your house, ensuring it is level and properly secured. This board will support the ends of the deck joists.
Install the Main Deck Joists

Space the deck joists according to your deck plan, using joist hangers to secure them to the ledger board. Install the rim joists along the outer edges of the deck, securing them to the ends of the main deck joists.
Add Blocking
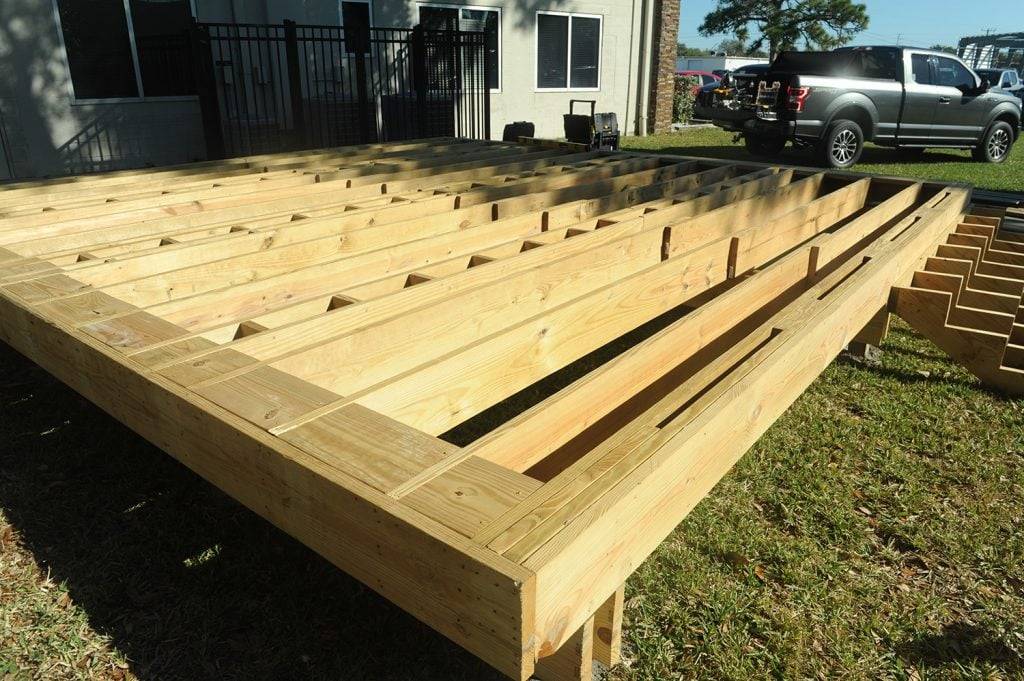
Install blocking between the joists at the location where the picture frame border will meet the main deck boards. This will provide additional support for the border and prevent the ends of the main deck boards from sagging.
Apply Joist Tape
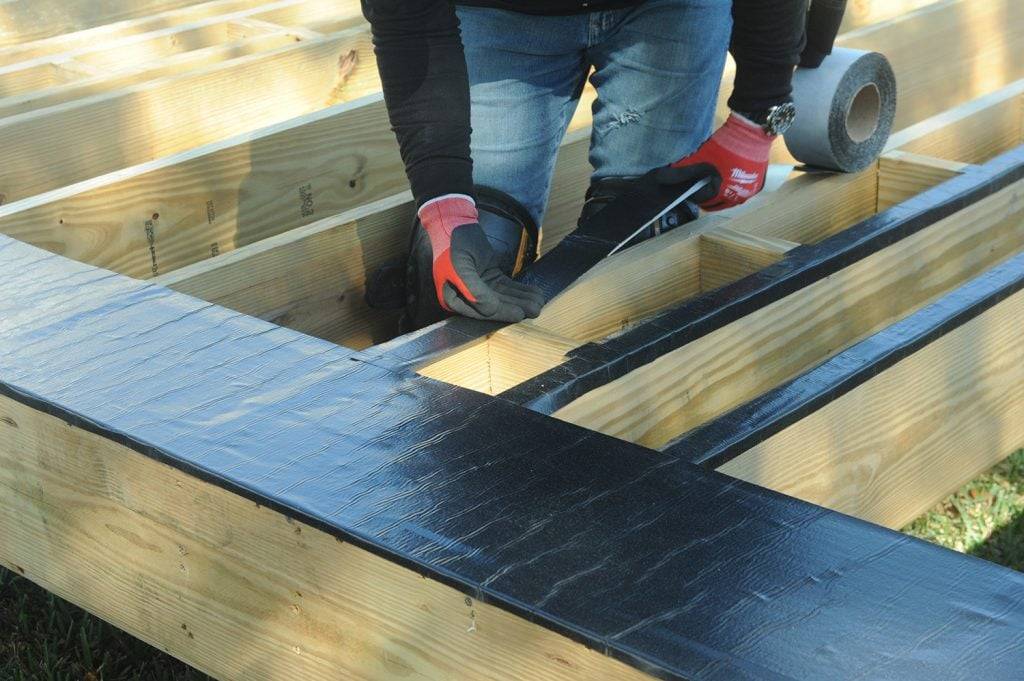
Applying joist tape to the top of deck joists before installing deck boards can help extend the lifespan of the deck and early deck failure.
Joist tape creates a waterproof barrier between the deck boards and the joists, preventing water and moisture from seeping into the wood. This helps prevent rot, decay, and the growth of mold and mildew, ultimately extending the life of the deck structure.
Install Main Deck Boards
Starting from the house, install the main deck boards perpendicular to the joists, leaving a gap for the picture frame border. Cut the deck boards to the appropriate length, and fasten them to the joists with deck screws or hidden fasteners.
Miter the Border Corners
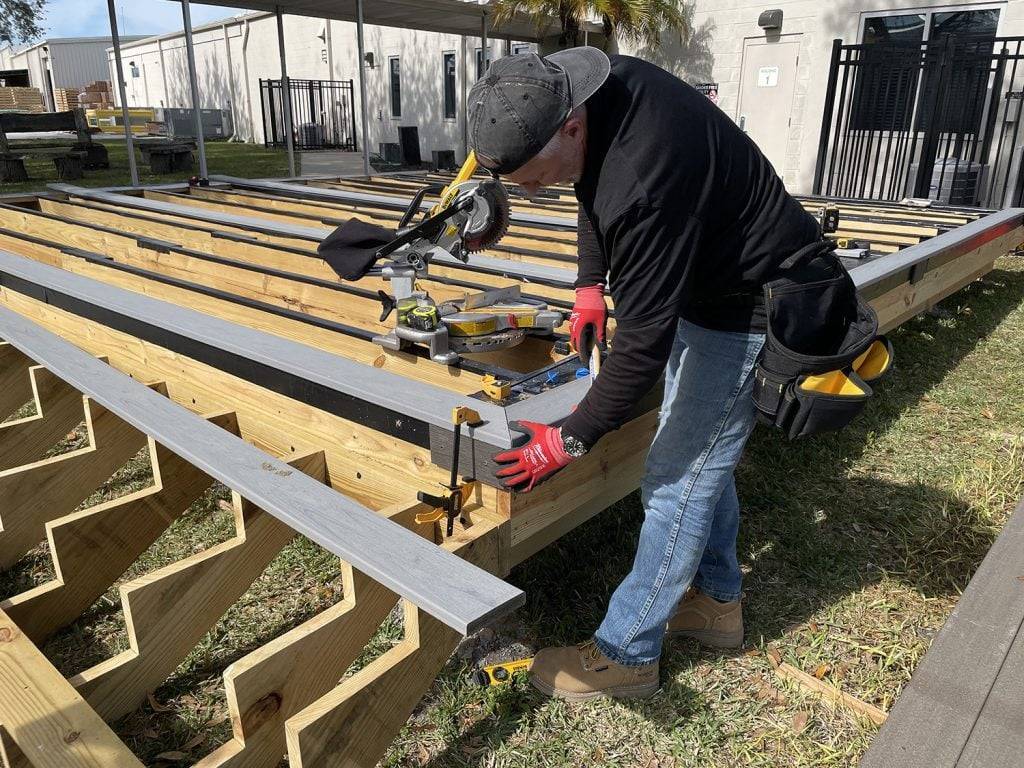
For a professional-looking finish, miter the corners of the picture frame border. Cut the border decking boards at a 45-degree angle, so the ends meet cleanly at each corner.
Install the Picture Frame Border
Attach the border decking boards to the blocking and rim joists, making sure they are flush with the main deck boards. Use deck screws or hidden fasteners to secure the border to the deck structure. Ensure that the mitered corners align properly and that there is a consistent gap between the main deck boards and the border.
Finish and Seal
Once the picture frame border is installed, sand any rough edges, and apply a sealant or stain to protect the wood from moisture and UV damage.
If you installed a composite or PVC decking product you can skip this step and instead sweep and wash the construction debris and dirt off the deck.
Remember to always follow local building codes and consult a professional if you are unsure about any part of the process.